

The E-commerce tag
The e-commerce tag is used to keep track of the e-commerce transactions happening on the site and empower analysis with revenue-related metrics.
It needs to be fired a single time on the confirmation page, after the transaction has been finalised, and needs the following mandatory parameters to function:
- Transaction ID, which is the unique identifier for that transaction
- Revenue, which is the total amount of the purchase
You can also include the following optional parameters:
- Currency, which is the currency used for the purchase and also in our platform for a potential conversion. Full technical documentation firing the e-commerce tag...
Google Tag Manager (Template)
Section titled Google Tag Manager (Template)-
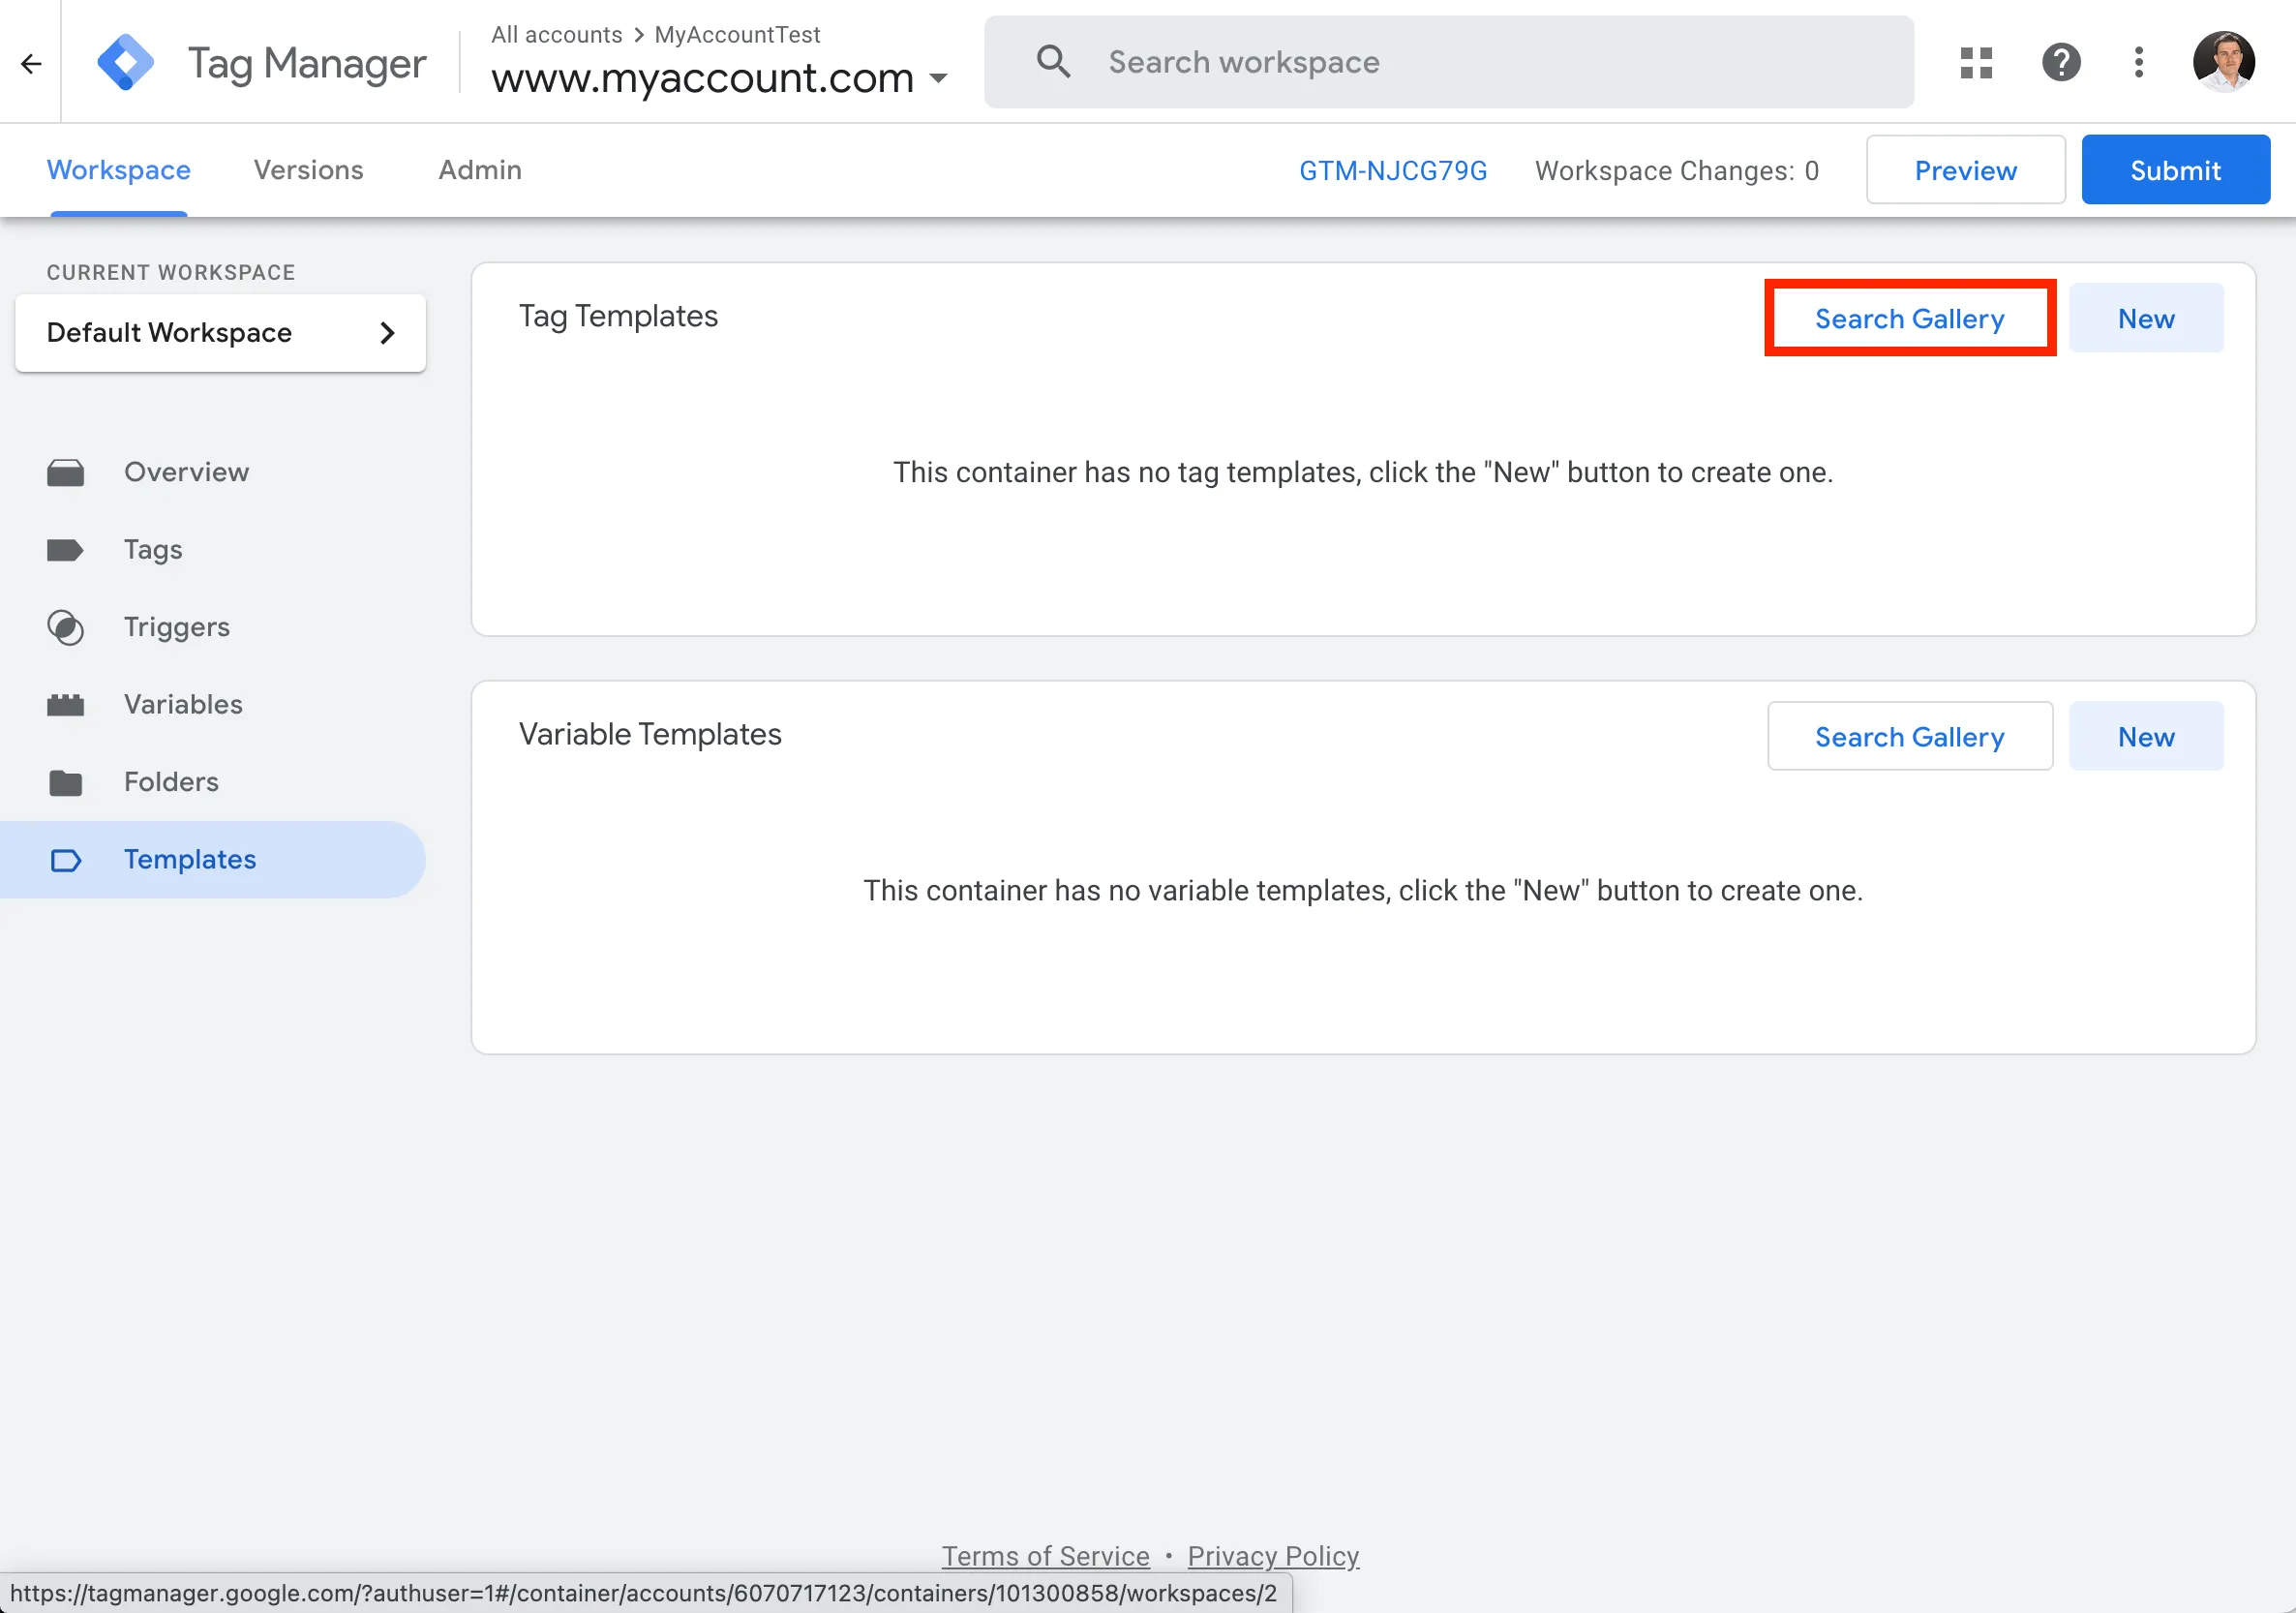
Open your container and go to the templates section
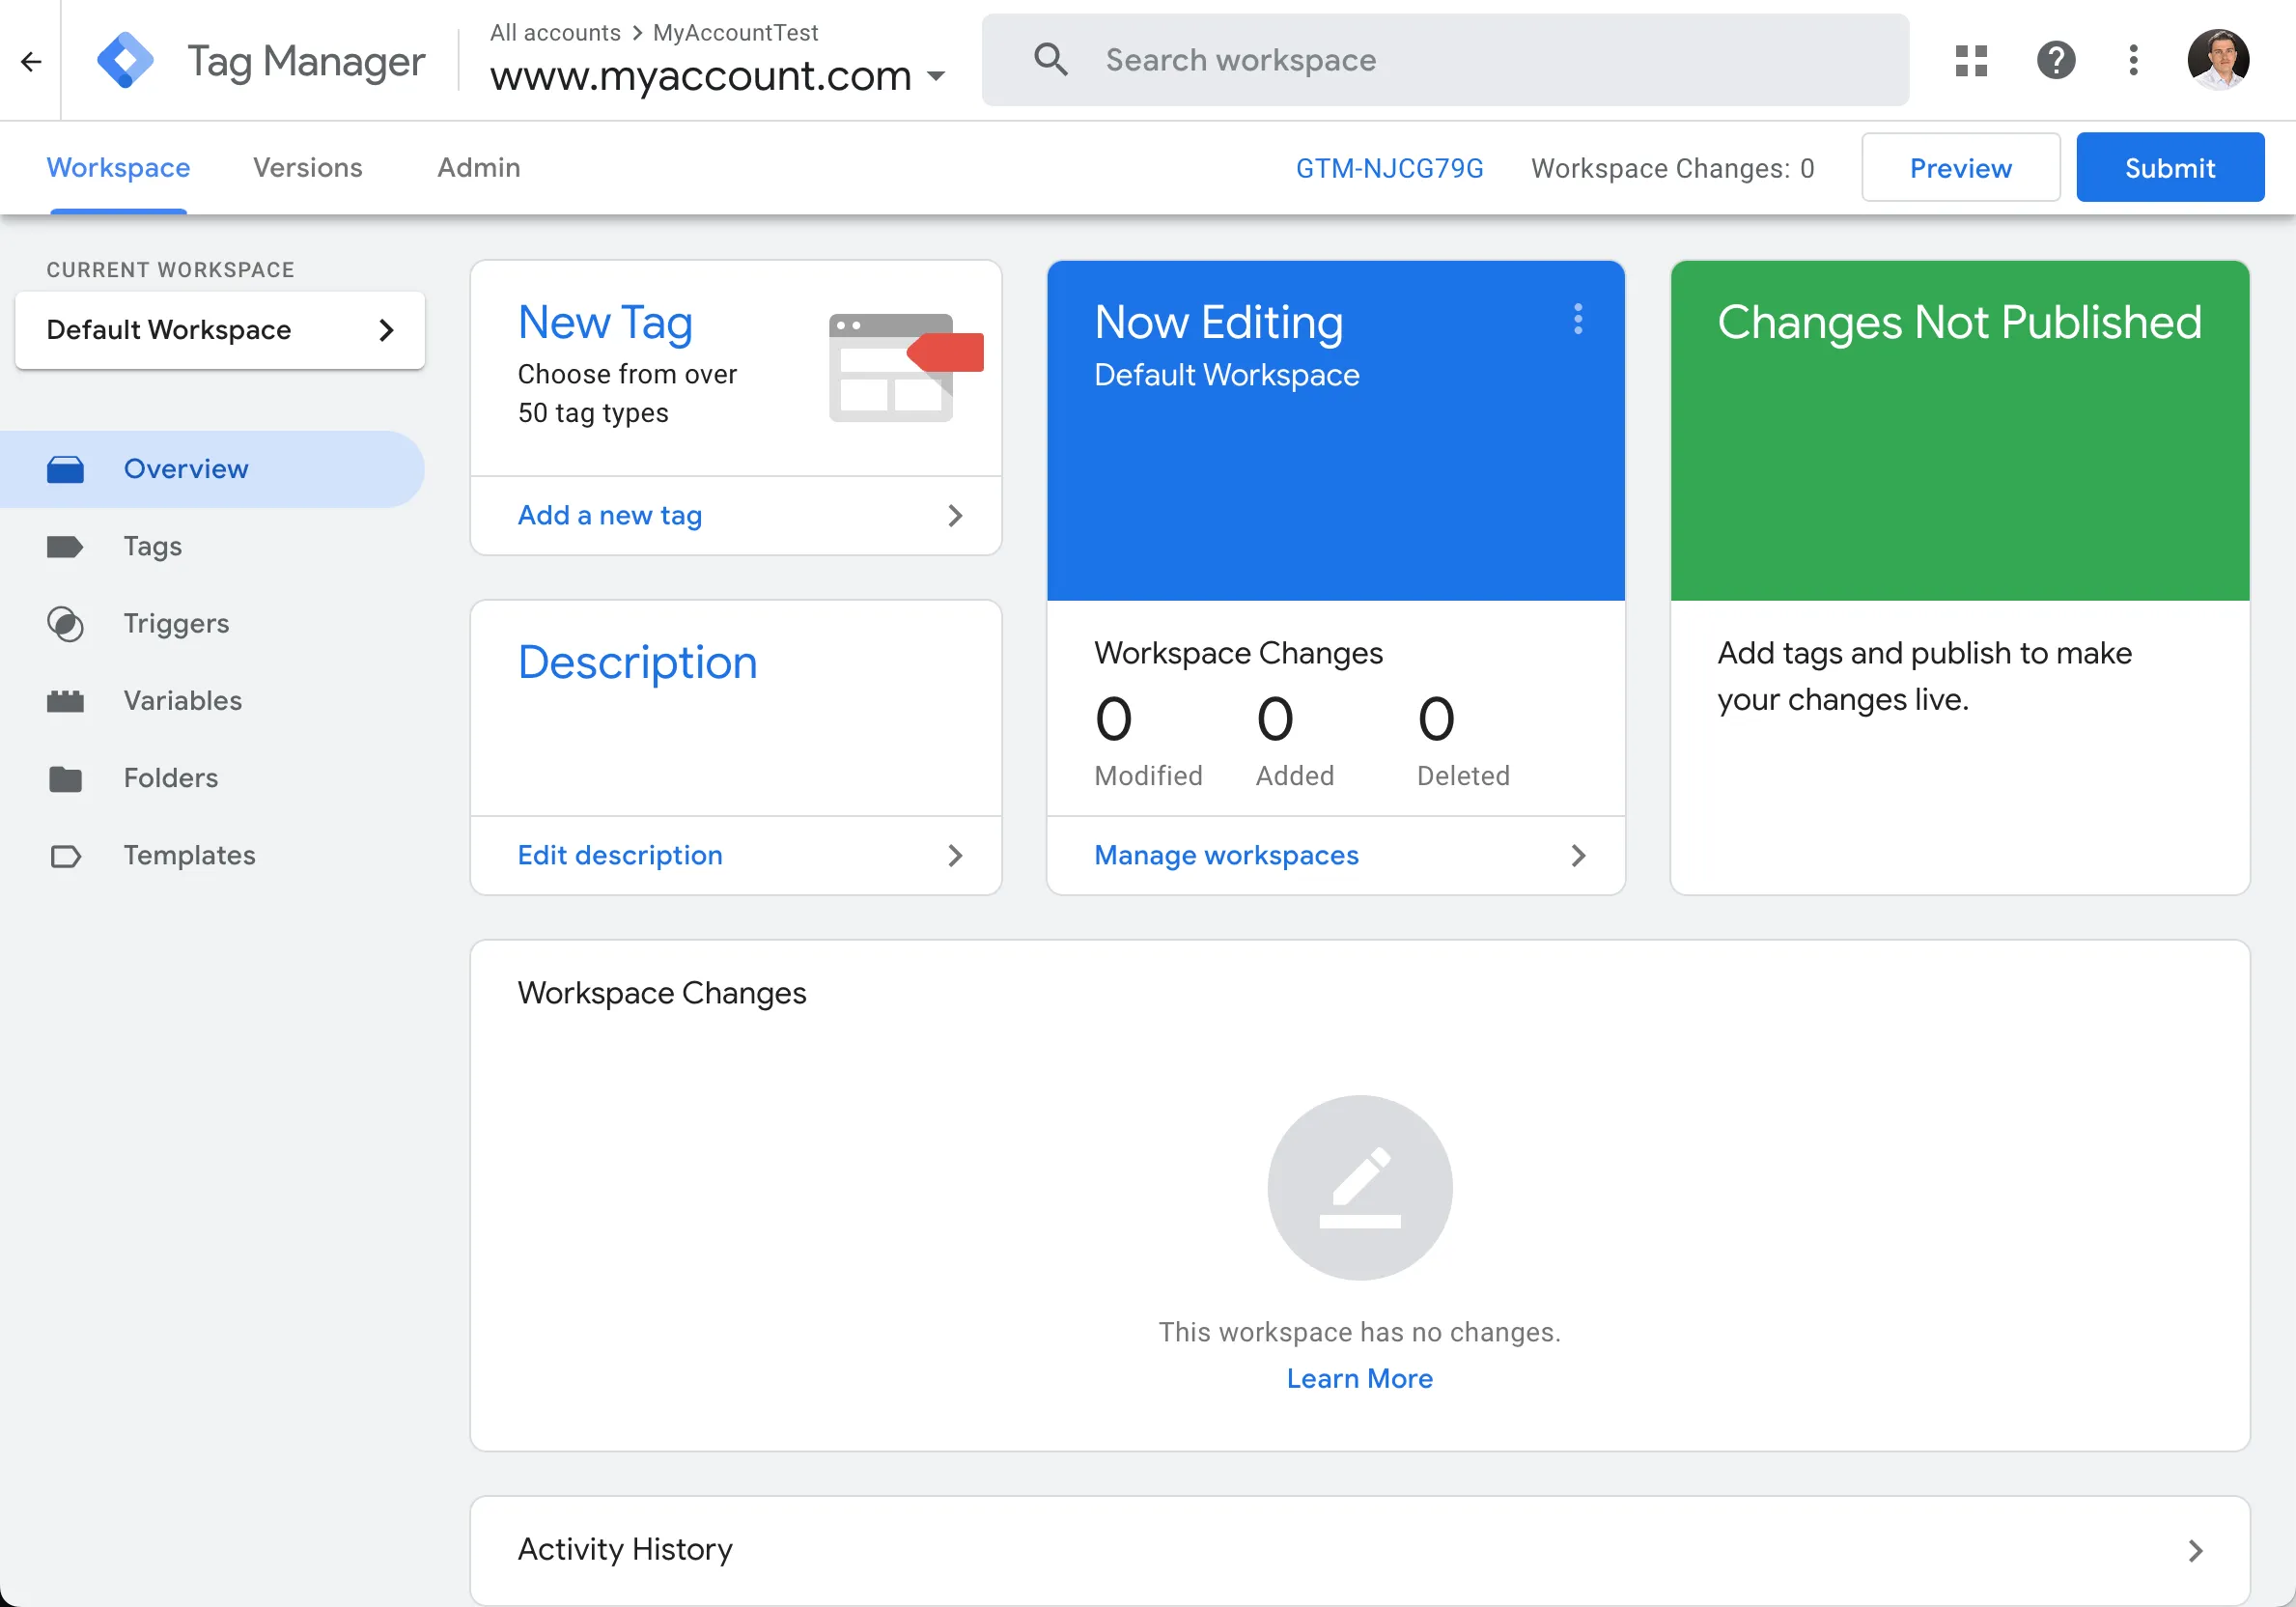
-
Select Search gallery
-
Type in
contentsquareand select the Contentsquare - E-commerce data option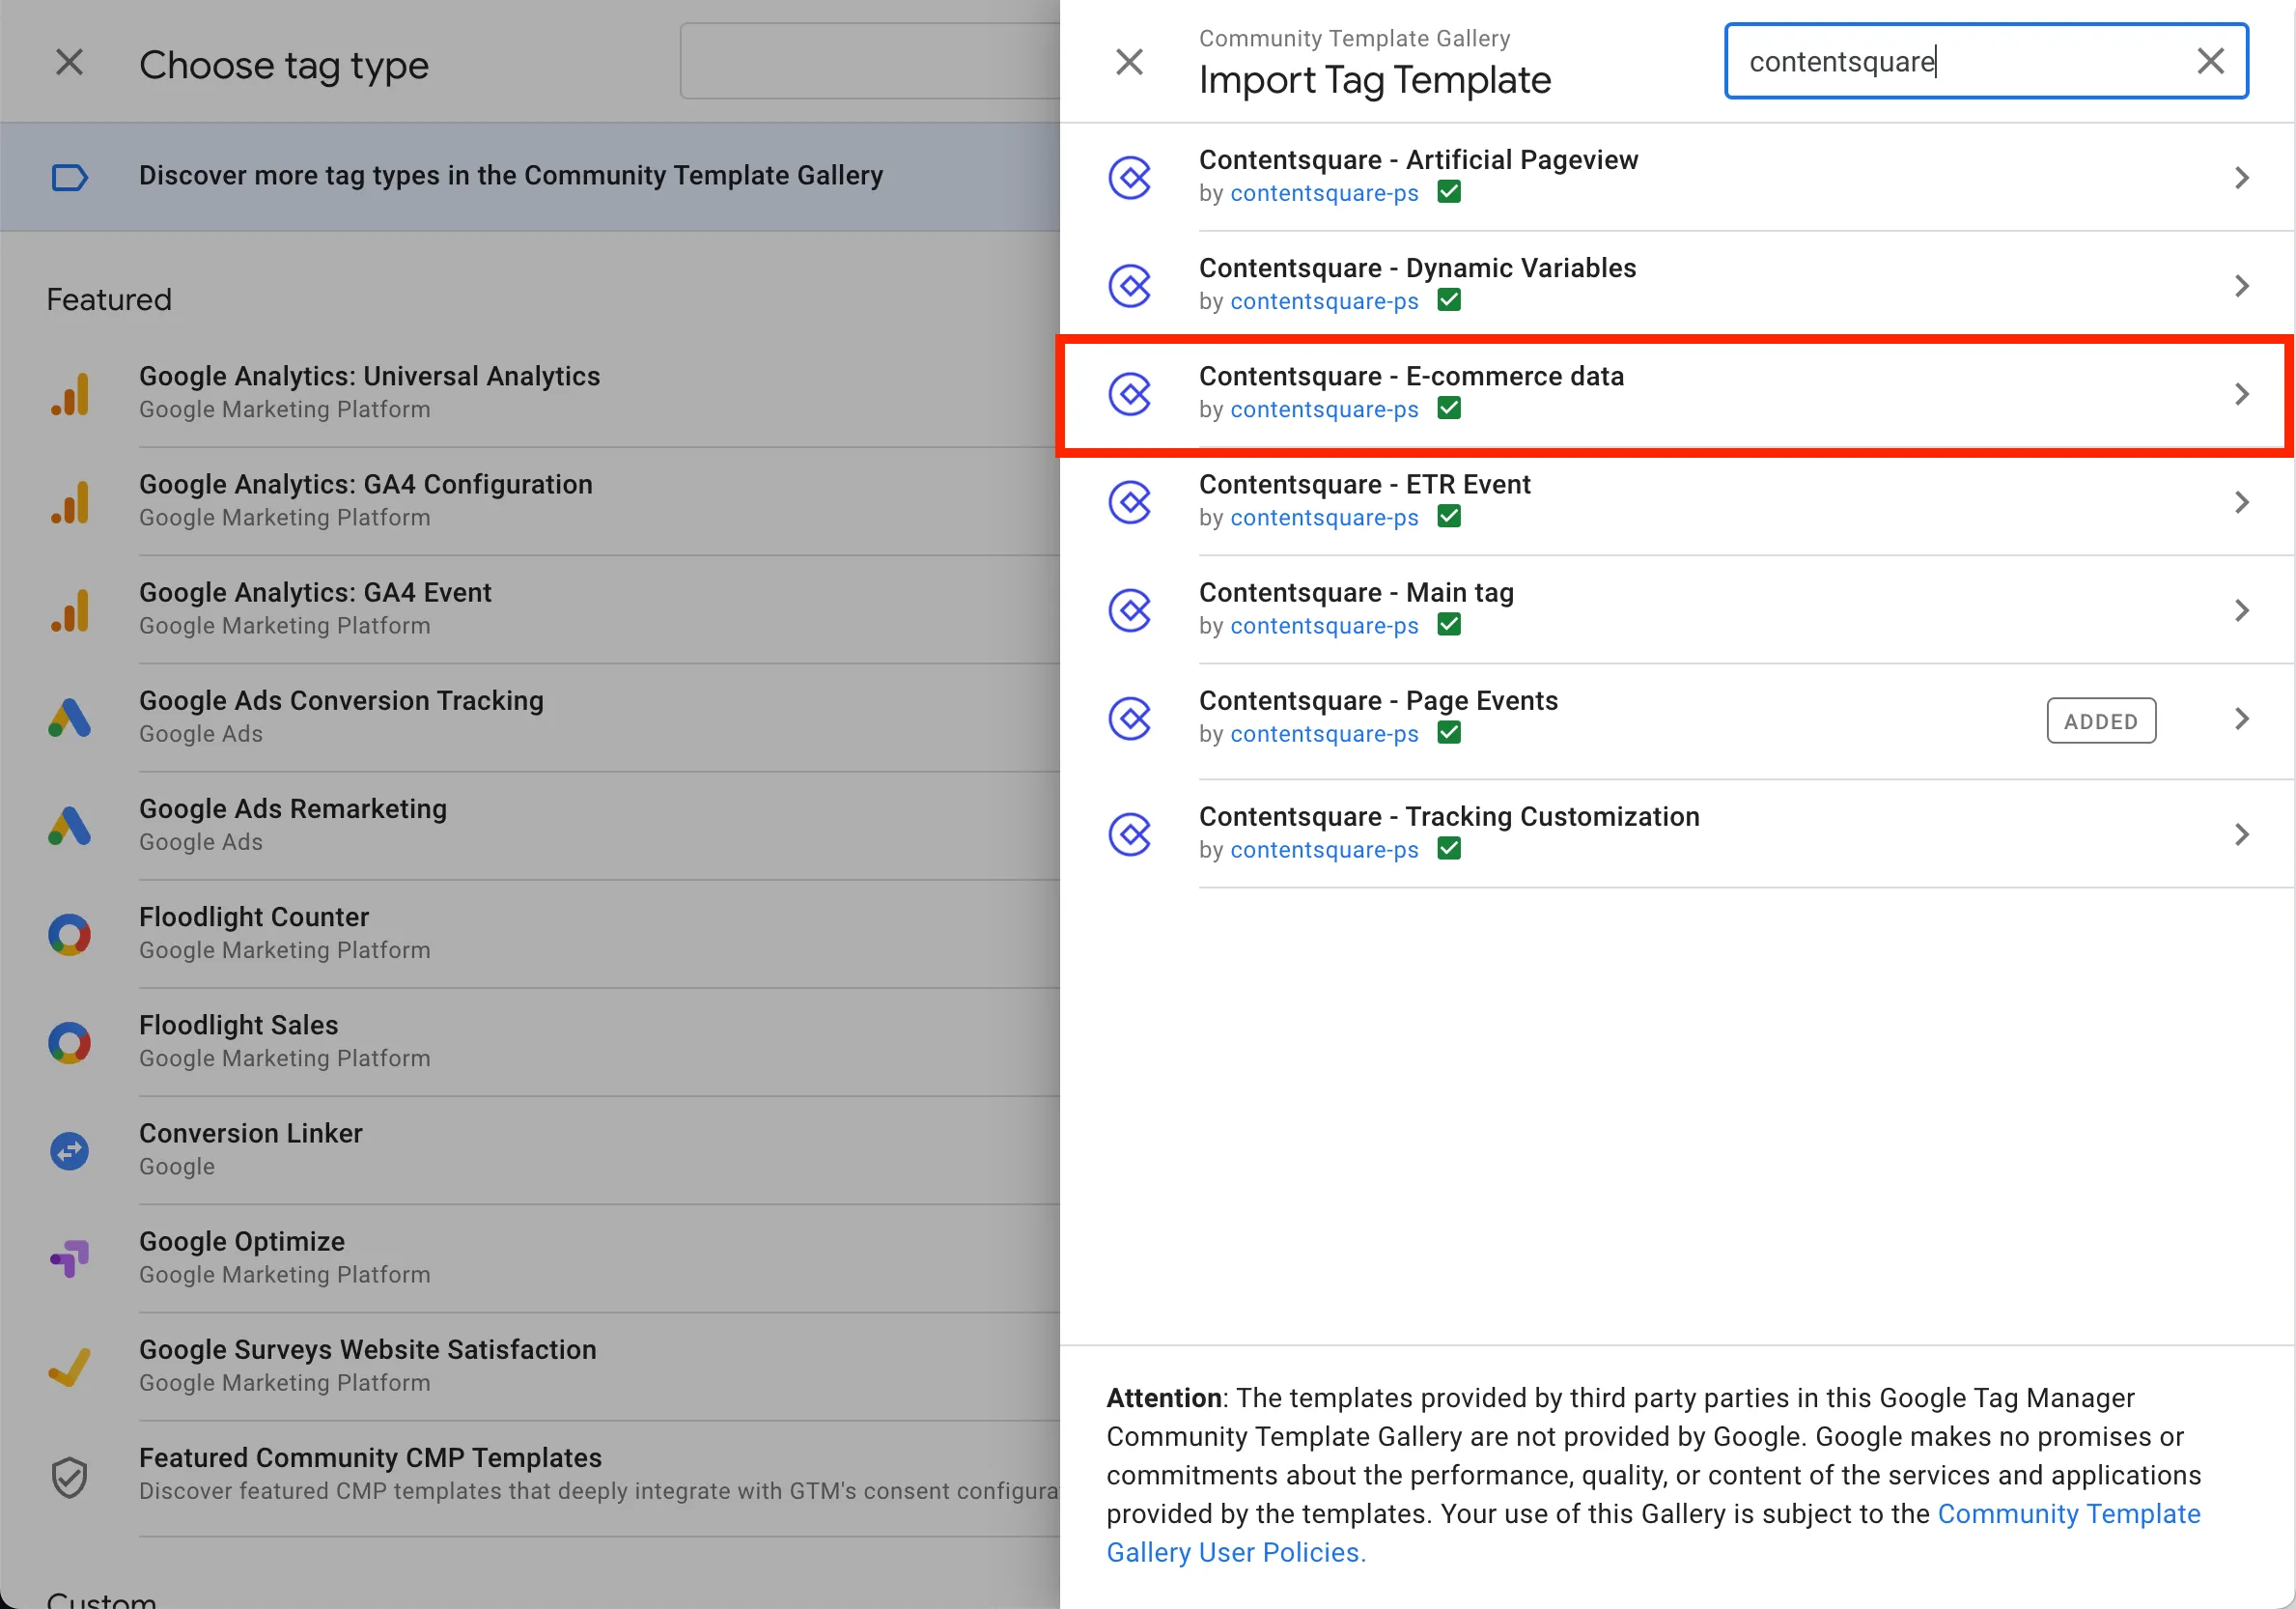
-
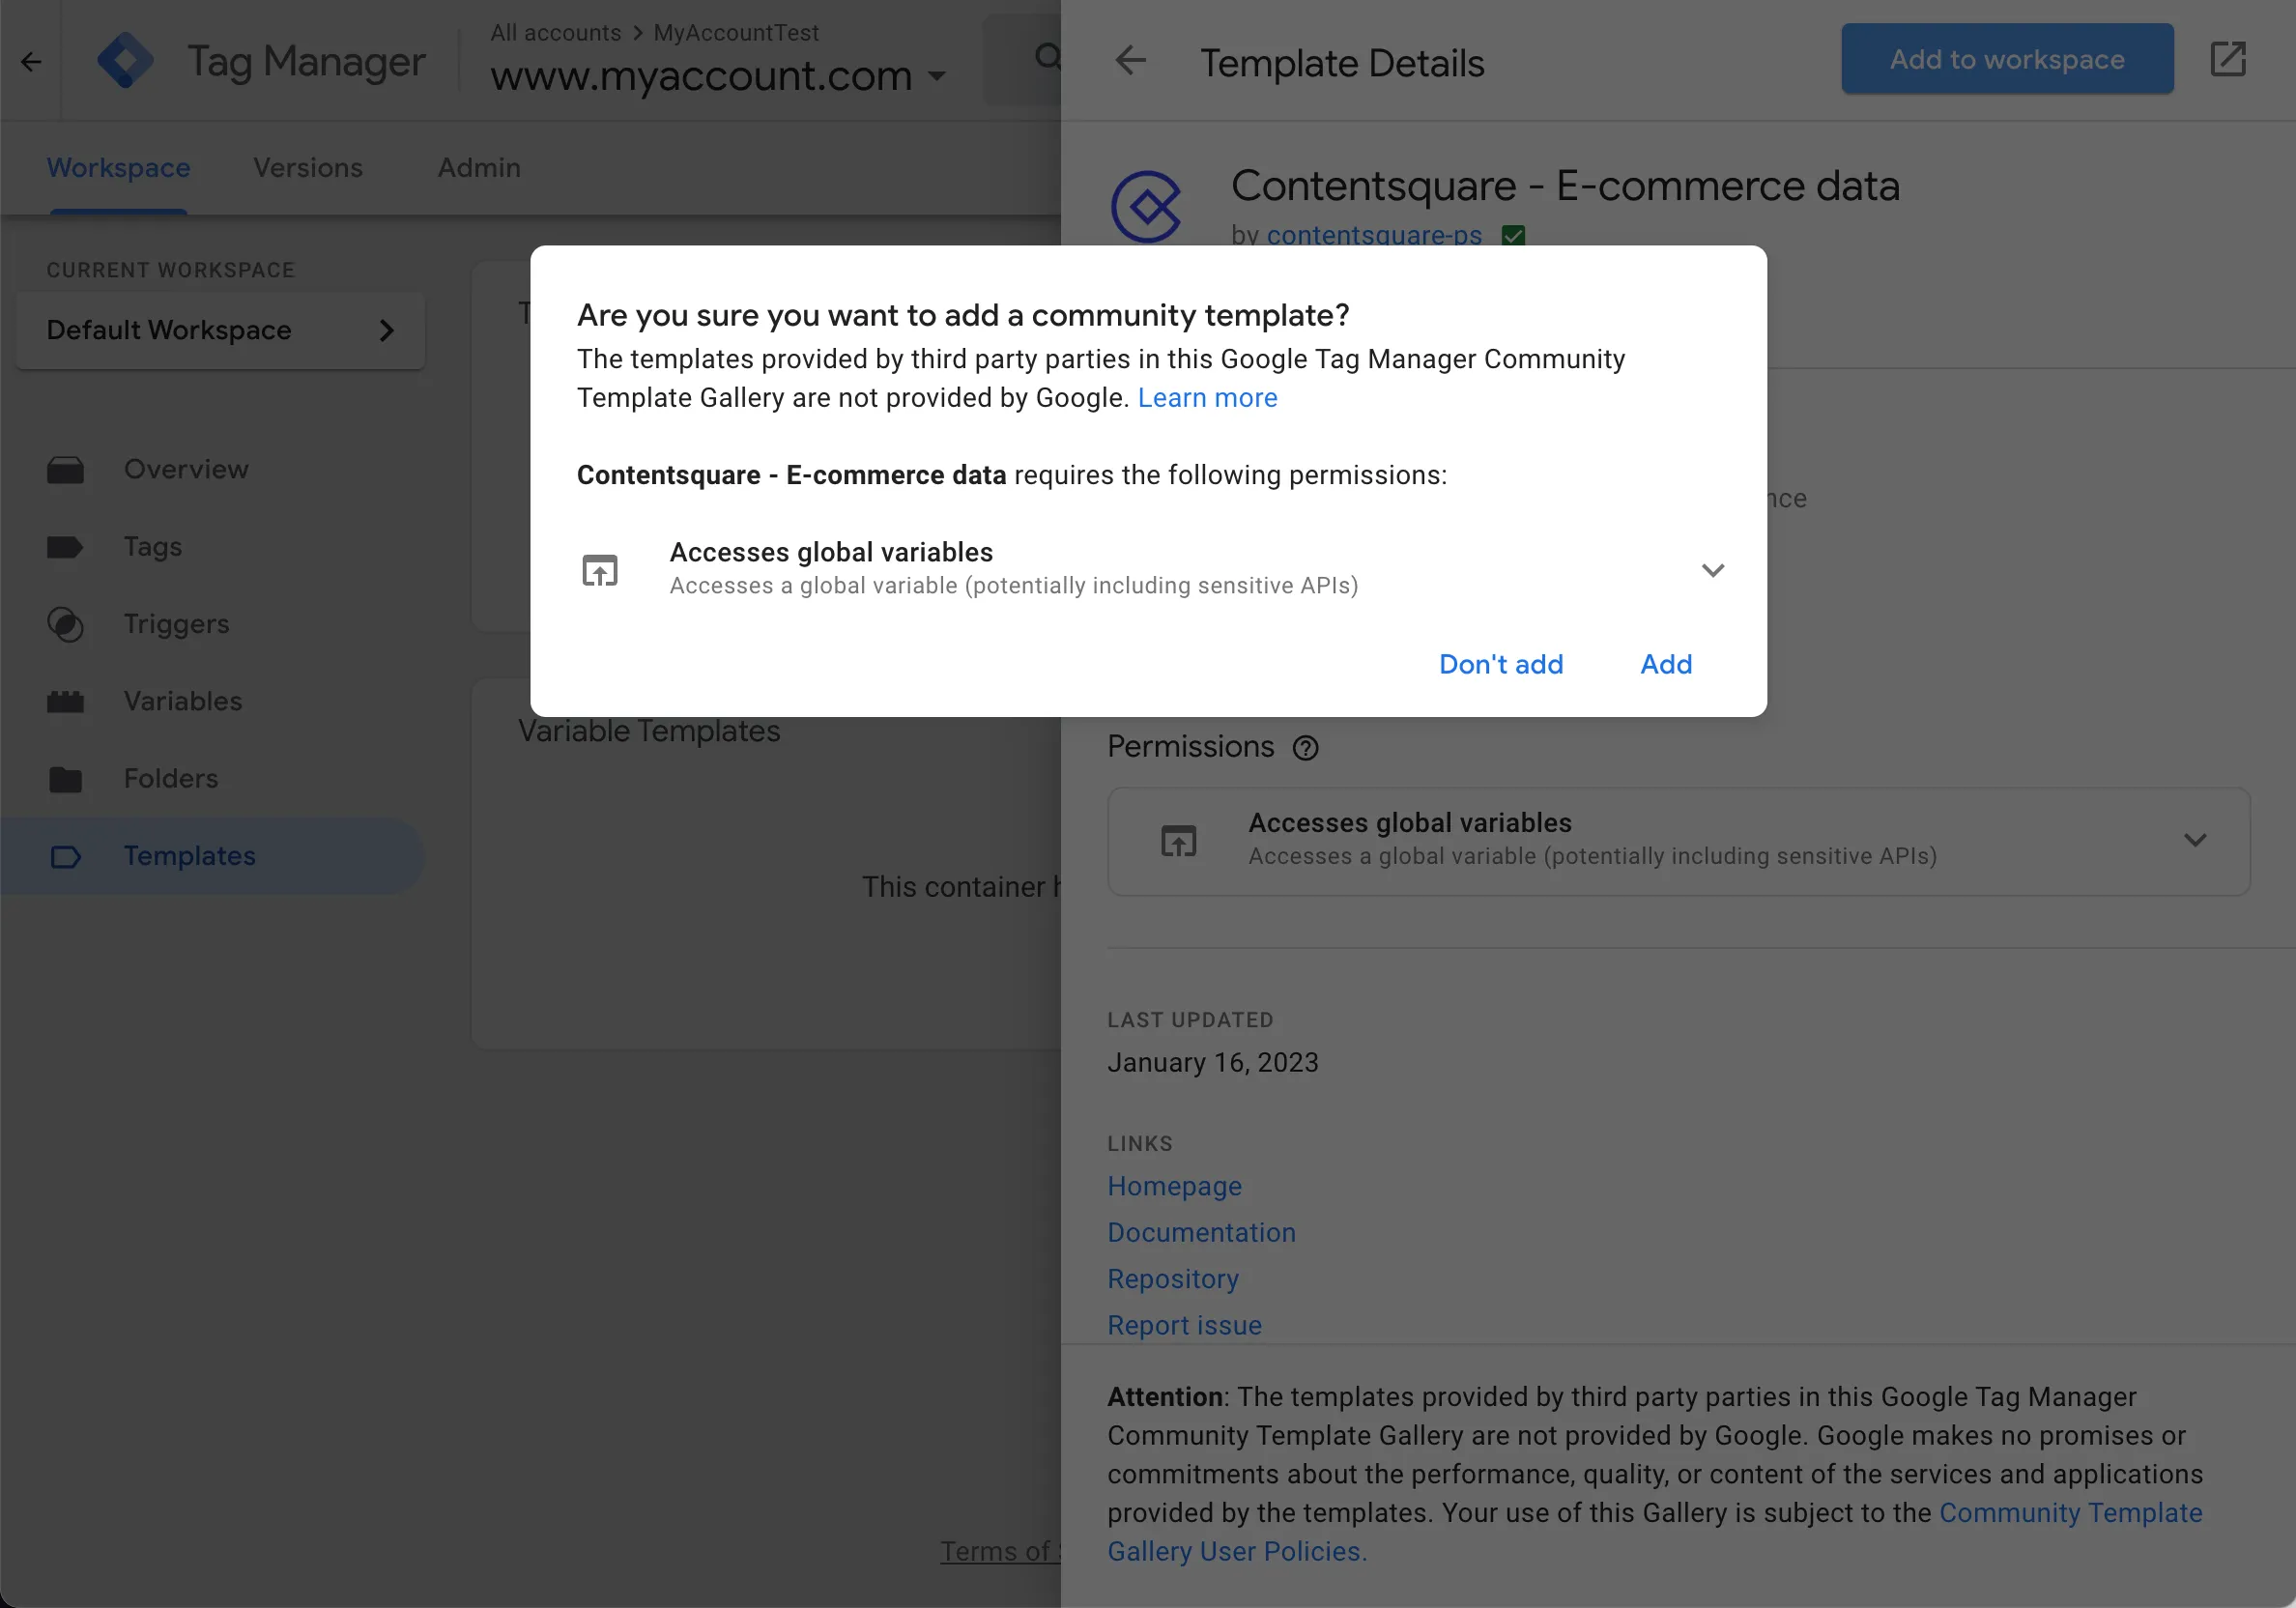
Click Add to workspace
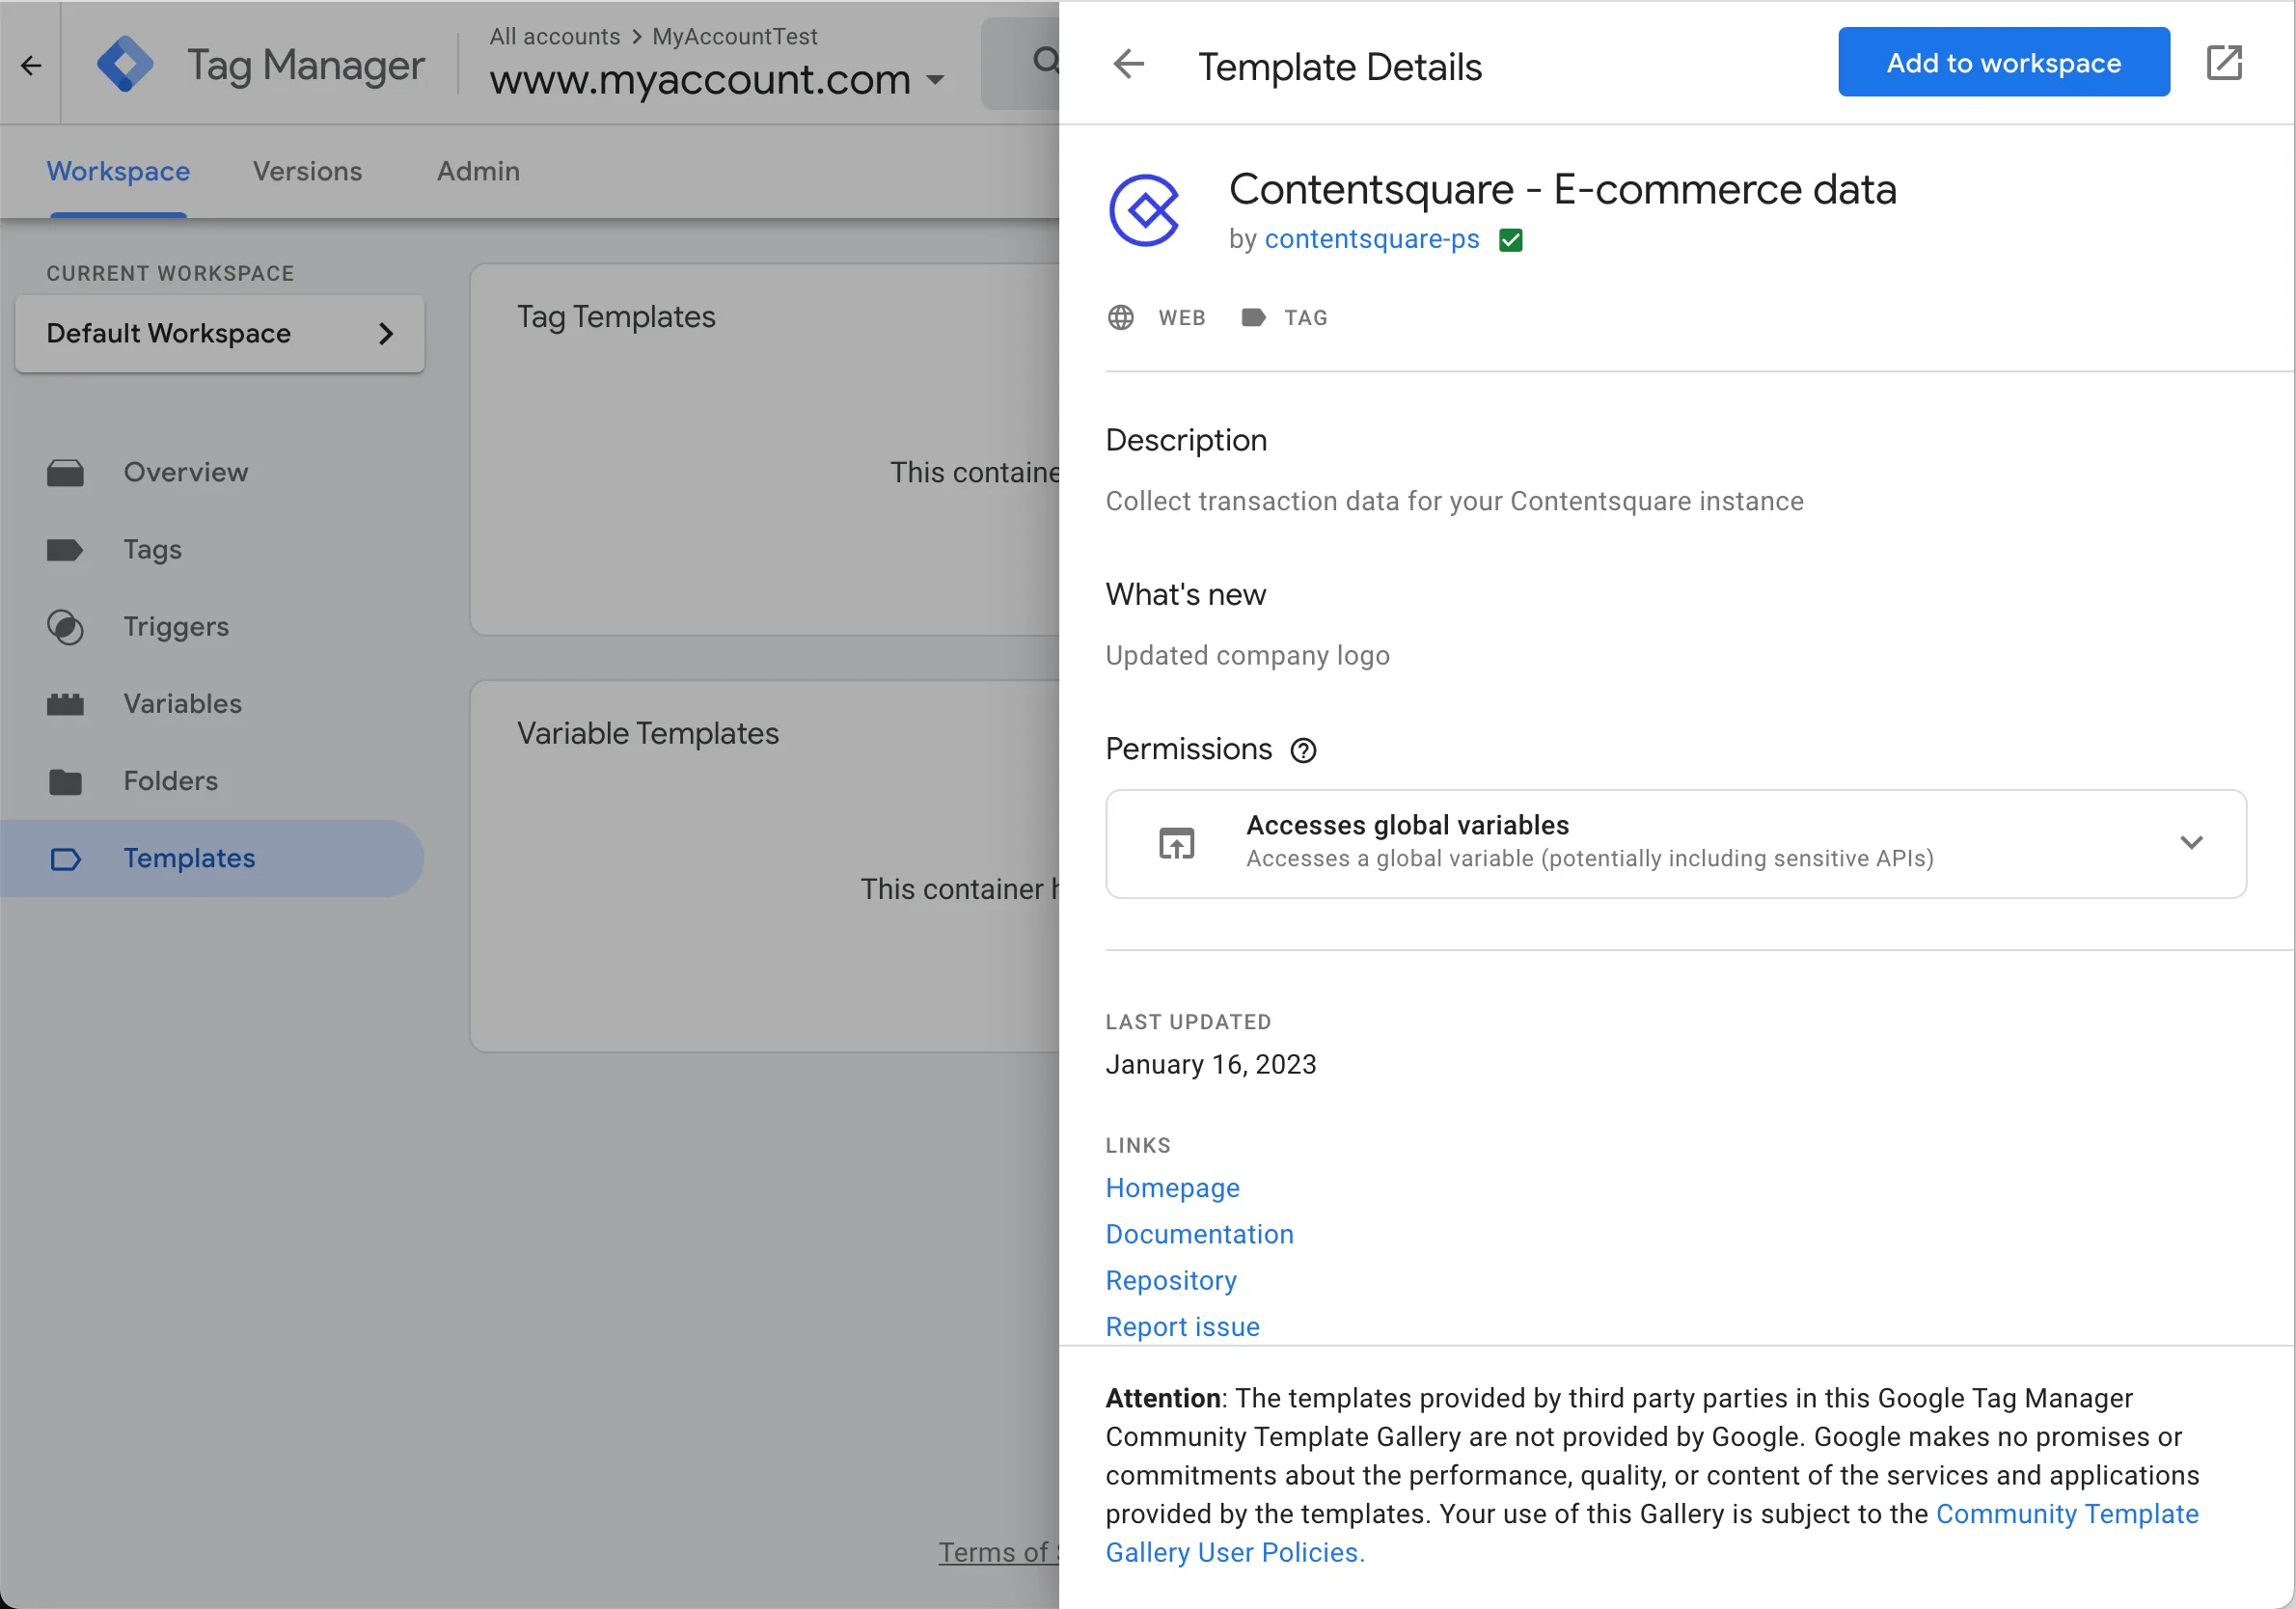
-
Confirm your choice by selecting Add
-
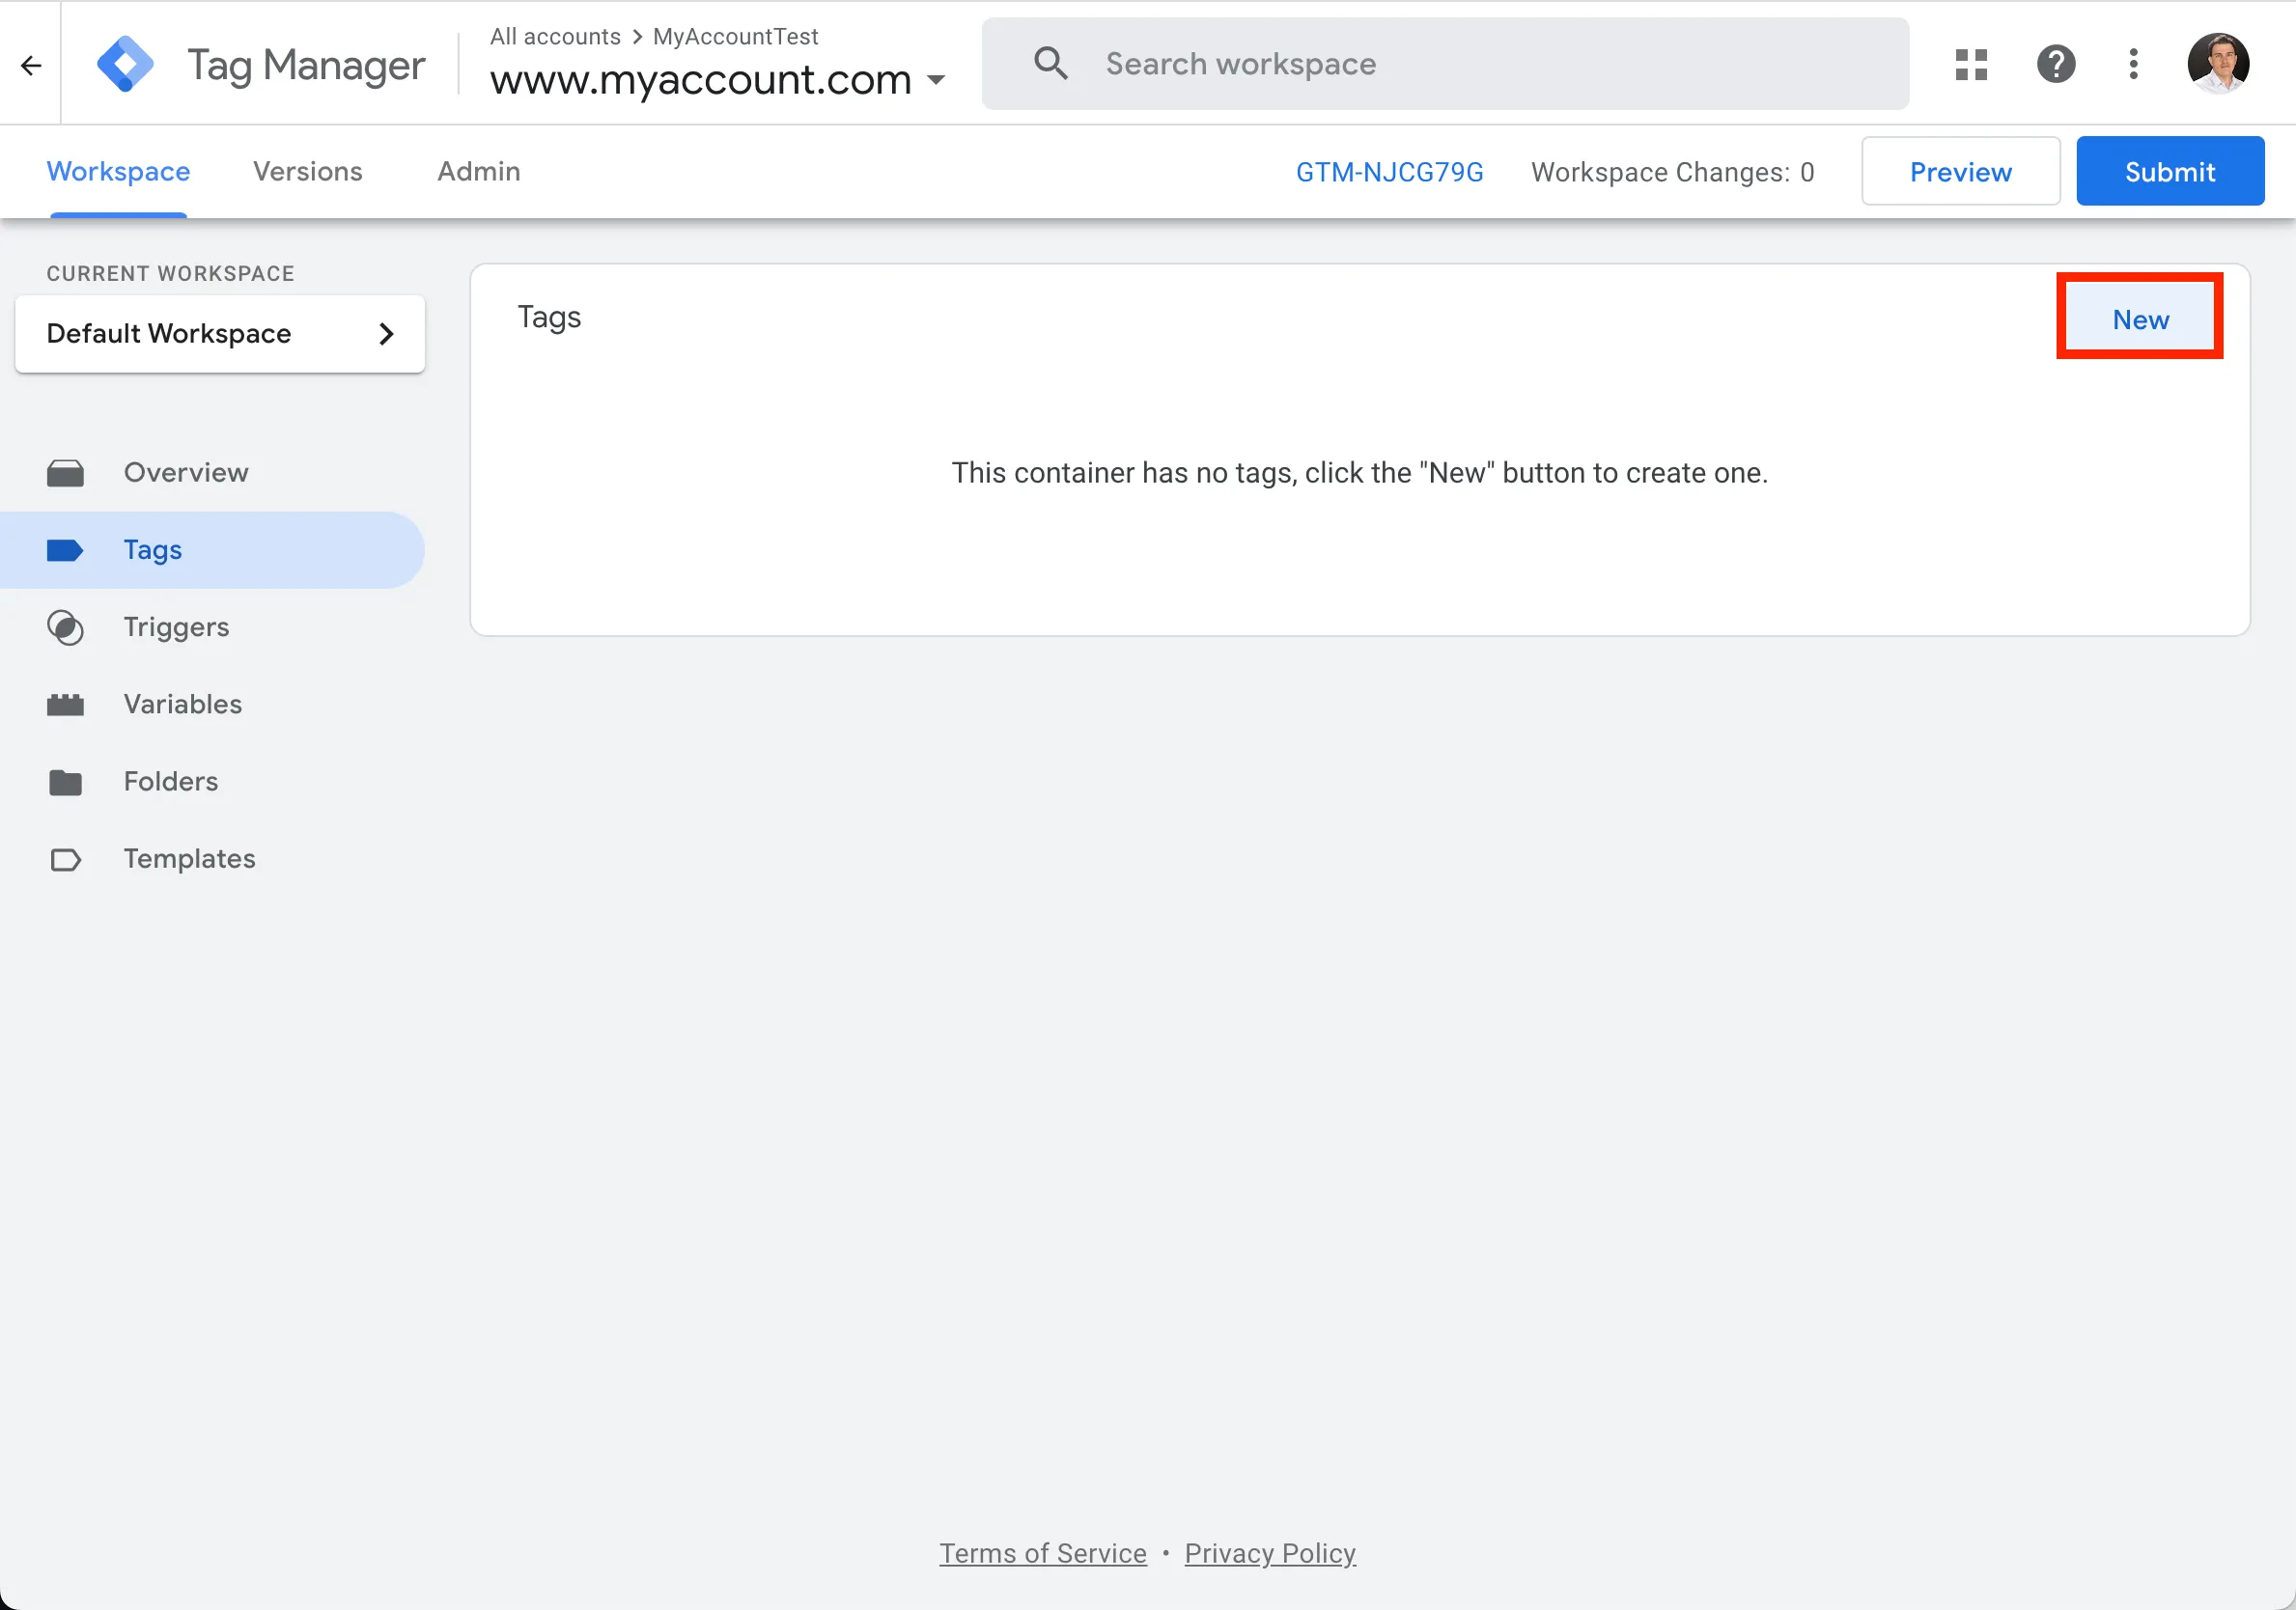
Go to the Tags section and click the New button to create a new tag
-
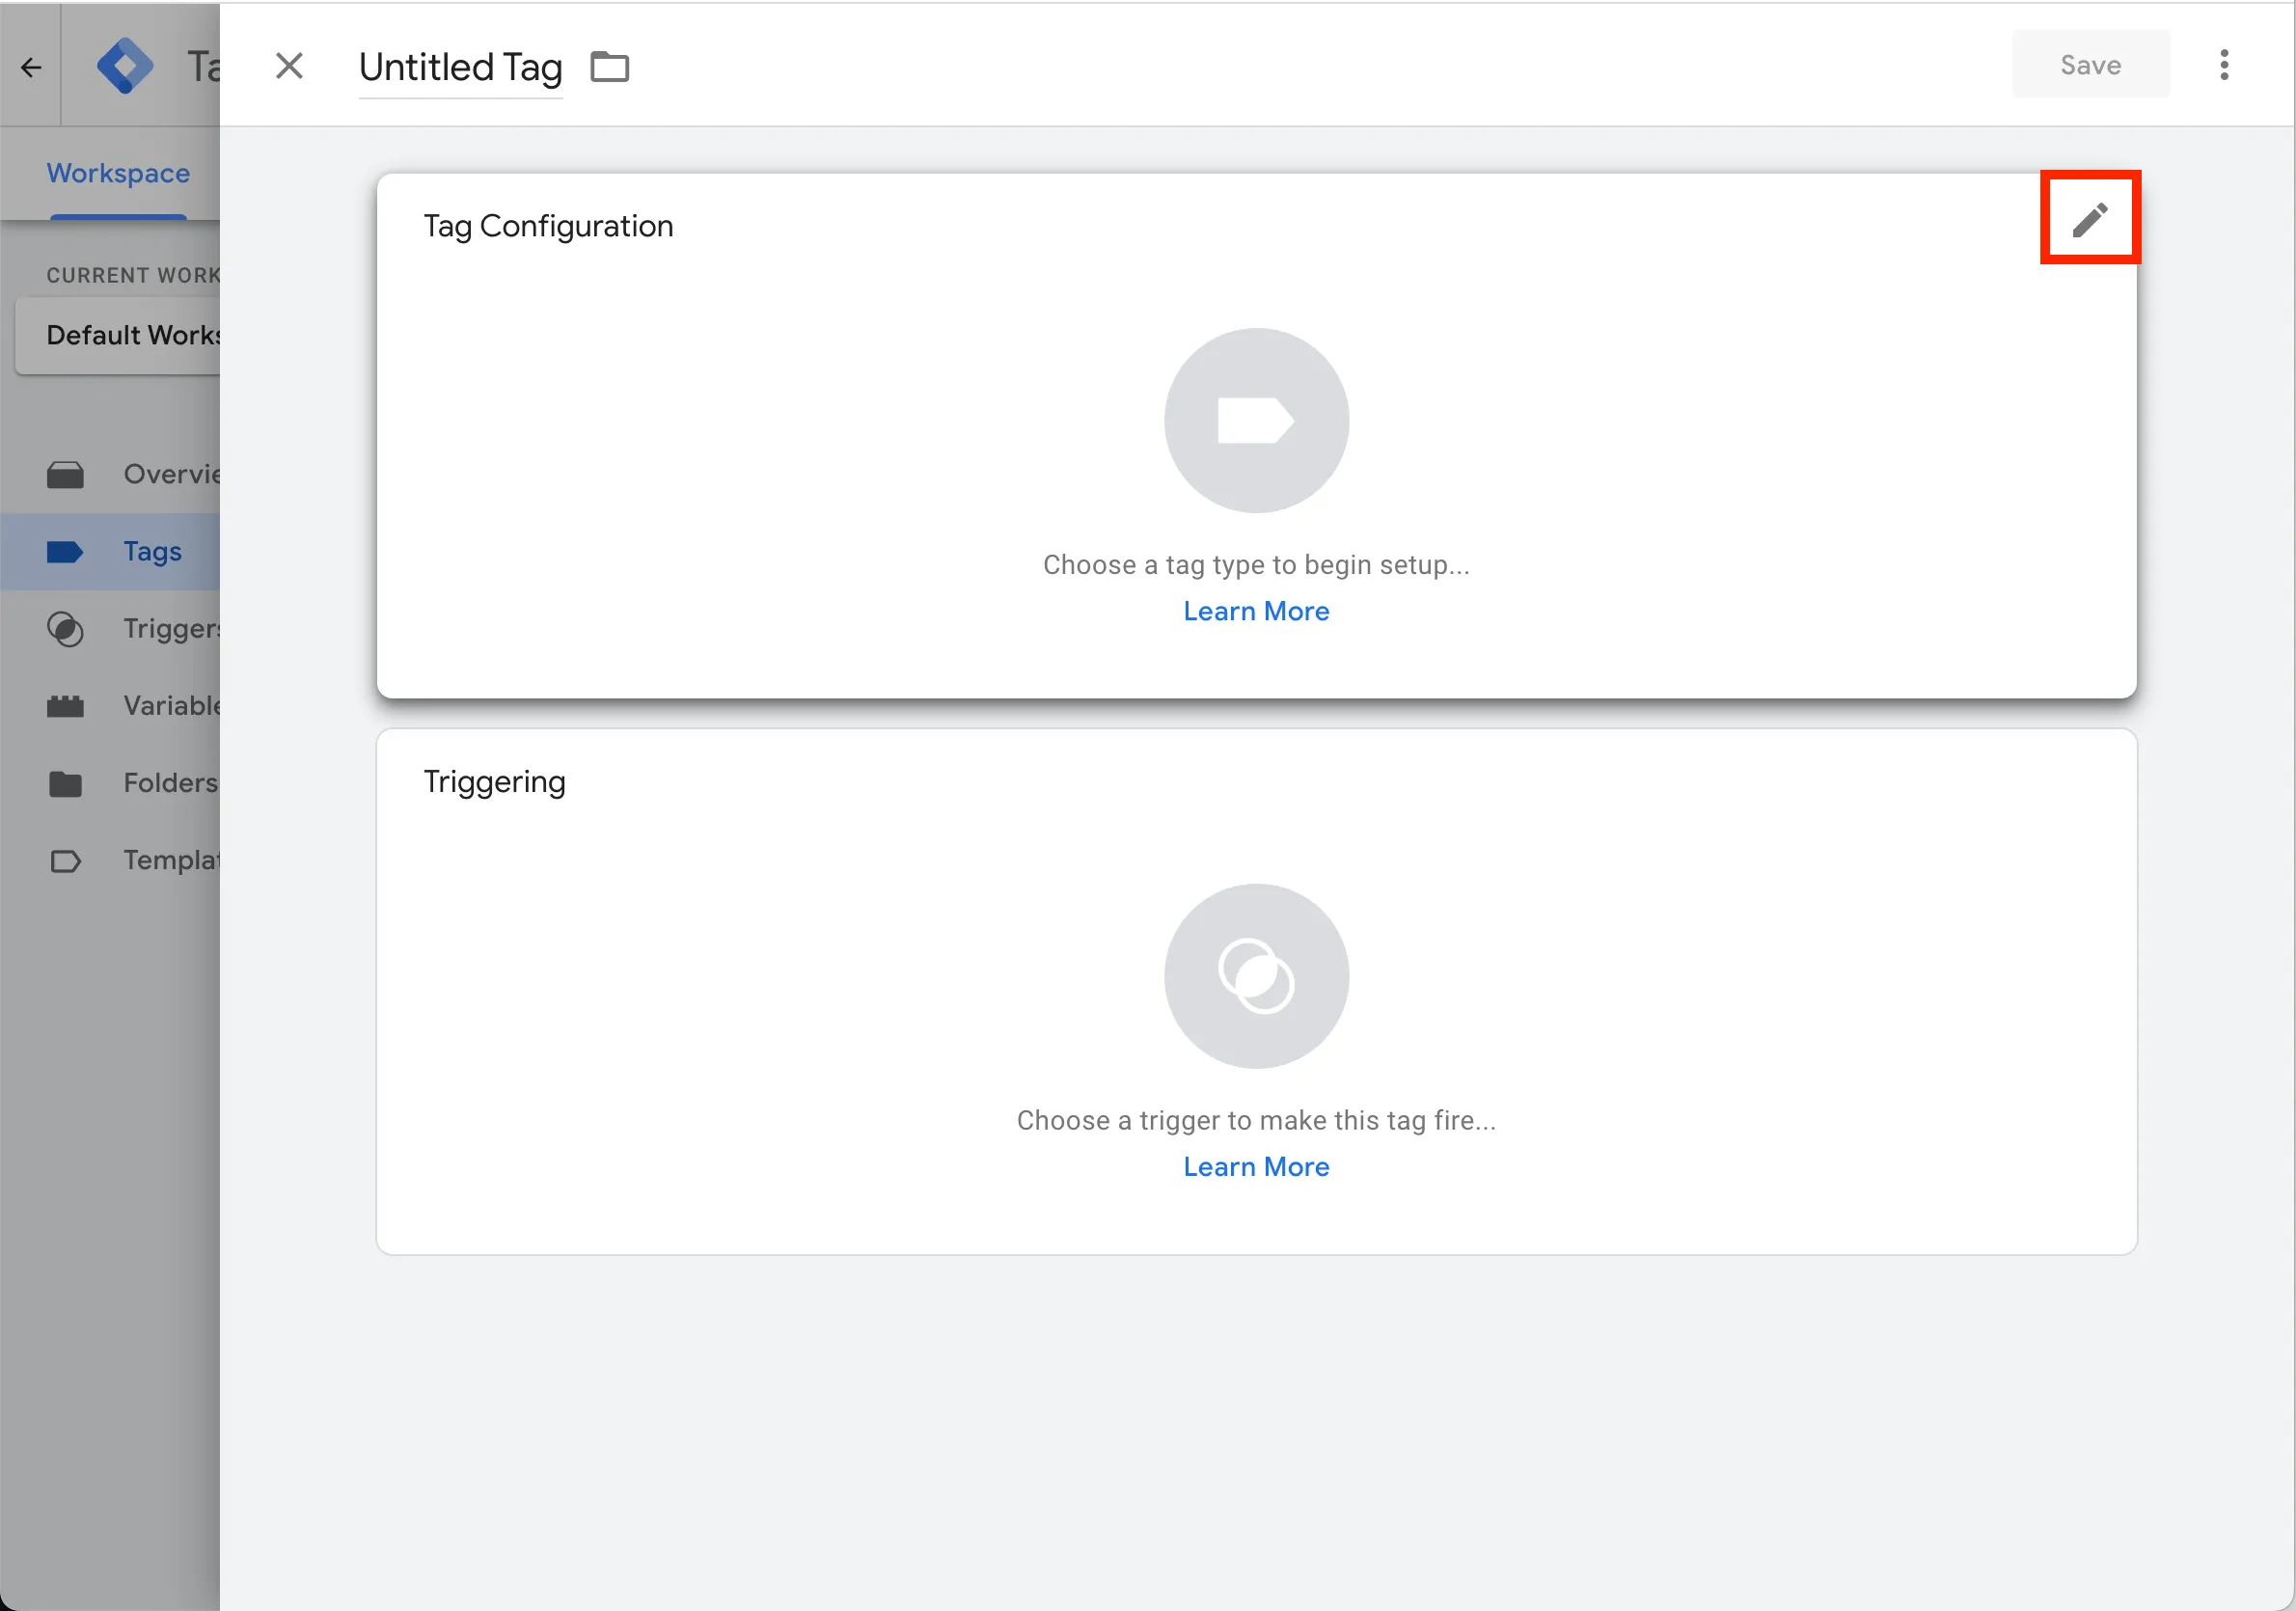
Configure it by selecting the top-right button
-
Search for
contentsquareand select the Contentsquare - E-commerce data template that you've previously added to your container.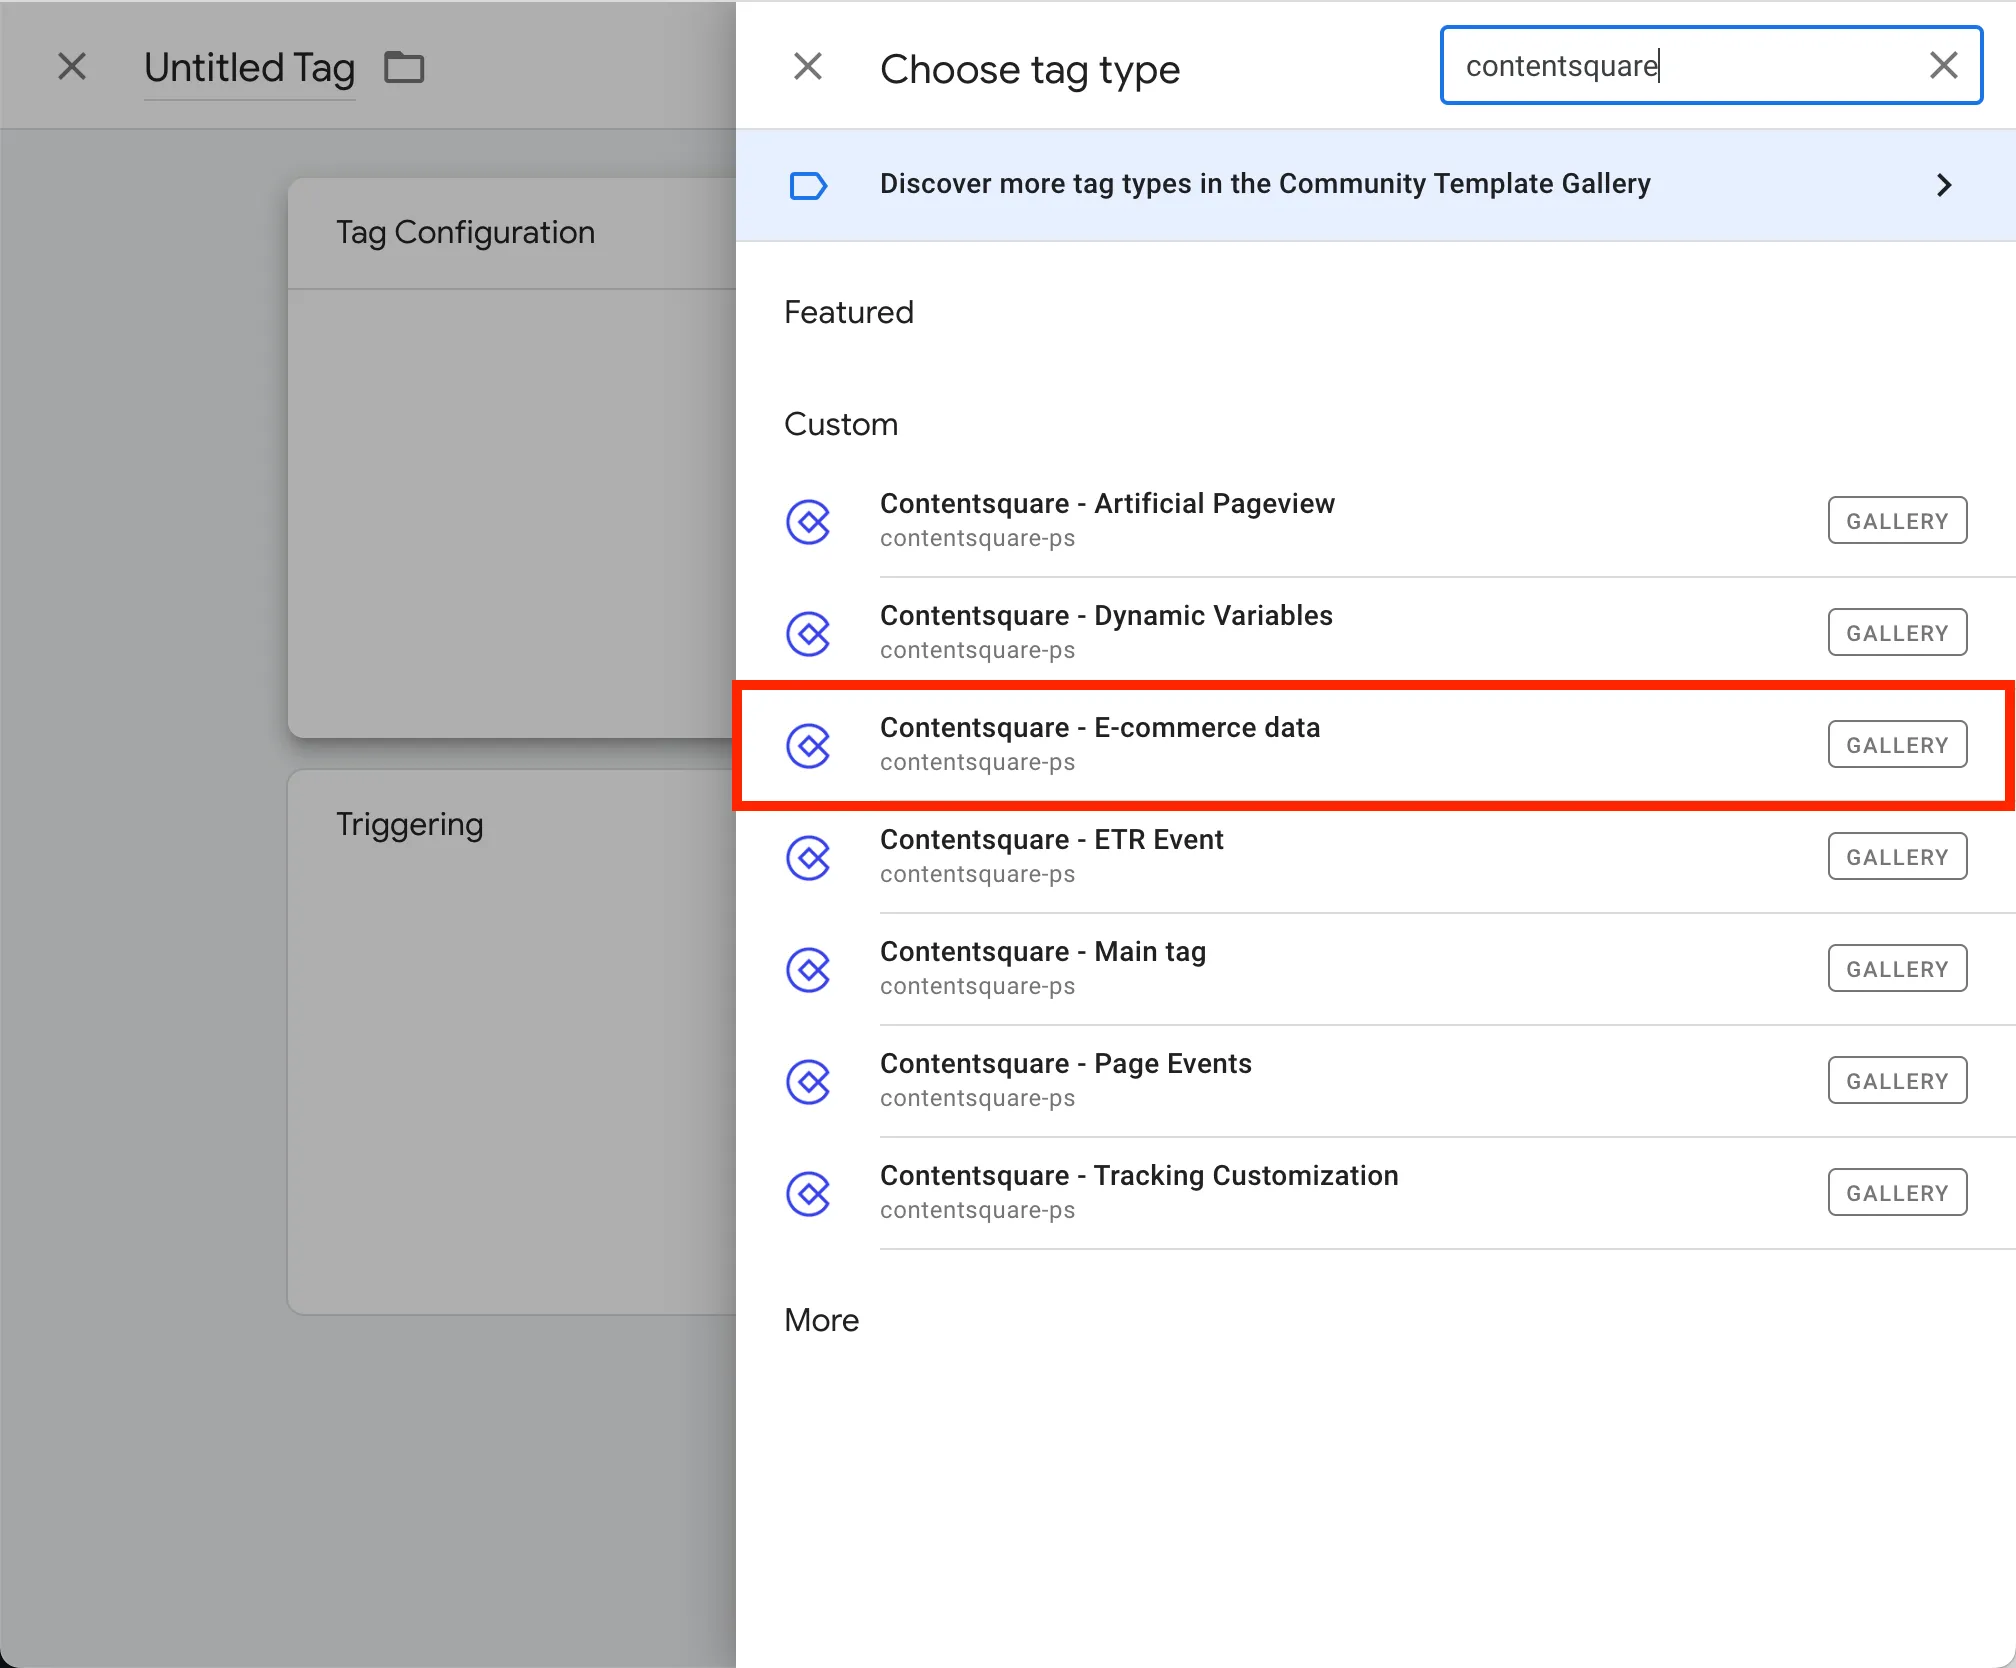
-
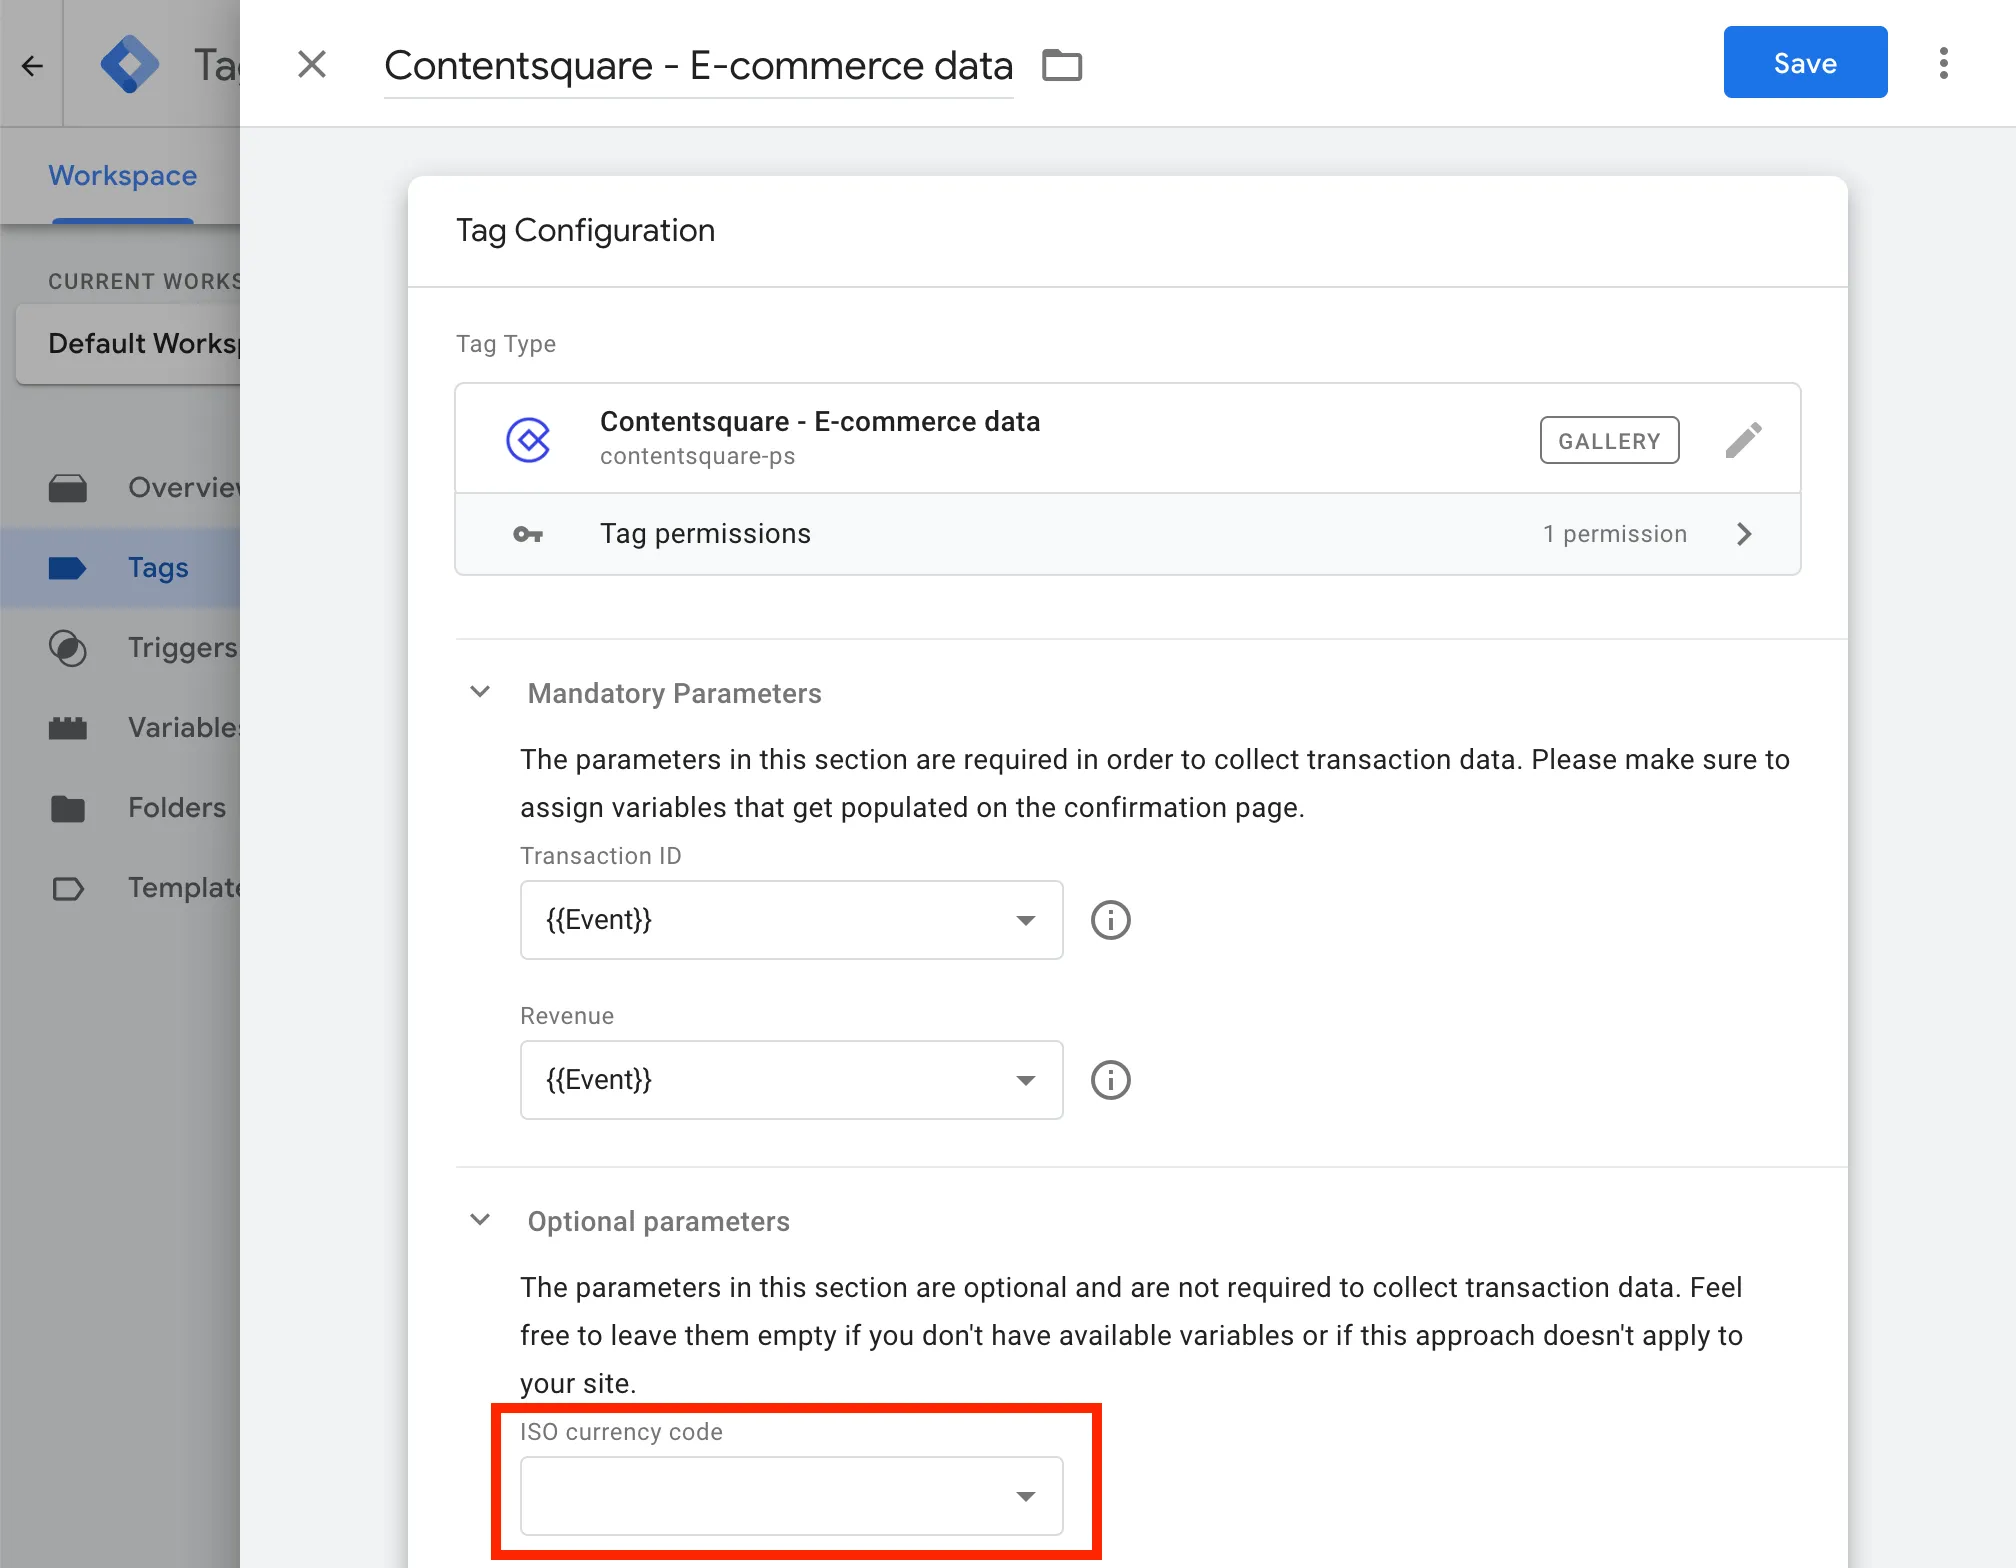
Give a title to the tag and add your GTM Variables to the Transaction IDs and Revenue fields.
Make sure to select a trigger that fires only on the confirmation page, or on all the pages that are needed to keep track of transactions, on which your variables are going to be populated.

-
If you would like to send Contentsquare the currency value as well, fill in the optional parameters section.
-
Save your changes and go back to your container. You should now see both the template and the newly created tag.
Google Tag Manager (Custom HTML)
Section titled Google Tag Manager (Custom HTML)-
Create a new tag and paste the following code in the HTML field:
<script type="text/javascript">window._uxa = window._uxa || [];window._uxa.push(["ec:transaction:create",{id: "{{YOUR ID HERE}}",revenue: "{{YOUR REVENUE HERE}}",currency: "{{CURRENCY ISO CODE HERE}}"},]);window._uxa.push(["ec:transaction:send"]);</script> -
Inside the script, replace all the placeholder variables with your GTM values (using the double brace notation:
{{transaction id}},{{transaction revenue}}).These variables must be available in the "Variables" section of Google Tag Manager.
-
In the trigger list, select the "Confirmation page", or create one if it doesn't exist.
- Select the "+" on the top right,
- Select "Choose a trigger type to begin setup..."
- Pick "Window Loaded"
- You don't want this to be trigger on every page, so choose "Some Window Loaded Events"
- Add a condition to match only the confirmation page — for instance,
"Page URL" contains "checkout/confirmation" - Save and name your trigger "Confirmation page"
Tealium
Section titled TealiumThe Tealium extension will automatically fire the Contentsquare transaction code as soon as the transaction values defined have been populated in your utag datalayer.
Adobe Launch
Section titled Adobe LaunchNavigate to Rules, and open an existing rule or create a new one.
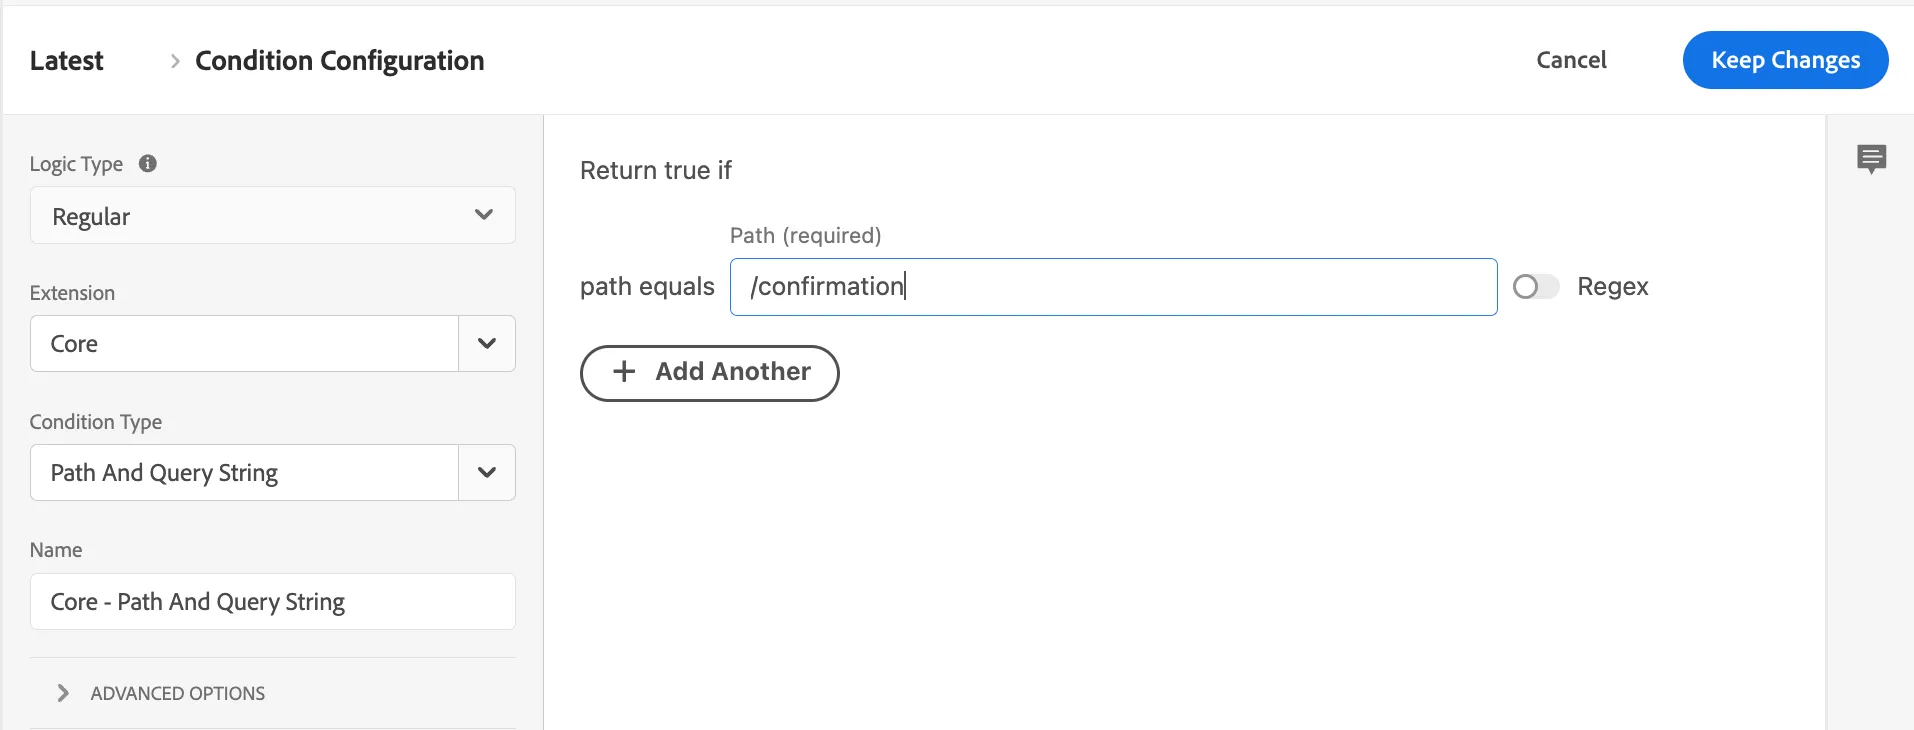
Event Configuration
Section titled Event ConfigurationThe E-commerce tag needs to be fired once on the confirmation page, after a transaction has been made and needs to be tracked. to do so, specify the path or the event to be used as a trigger. For example, if you want to target the confirmation page, you could use a similar condition:
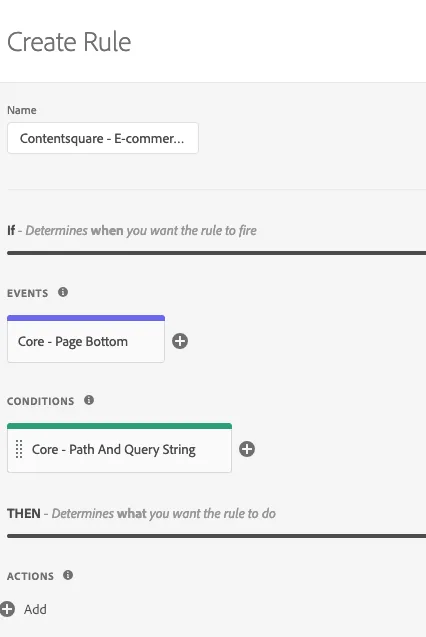
If you have chosen the event+condition route, your setup should look similar to this:
Action Configuration
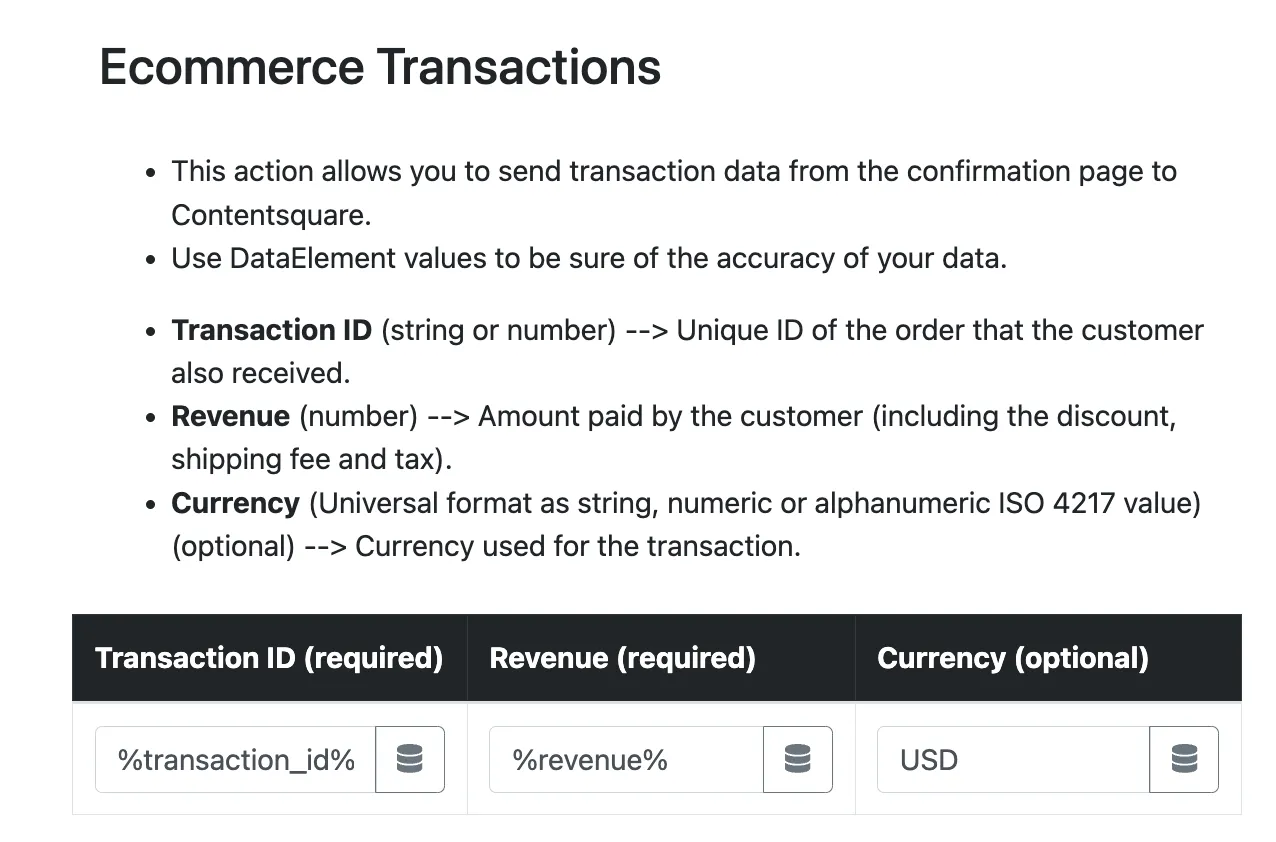
Section titled Action ConfigurationSelect the Contentsquare extension and then Ecommerce Transactions as the action type.
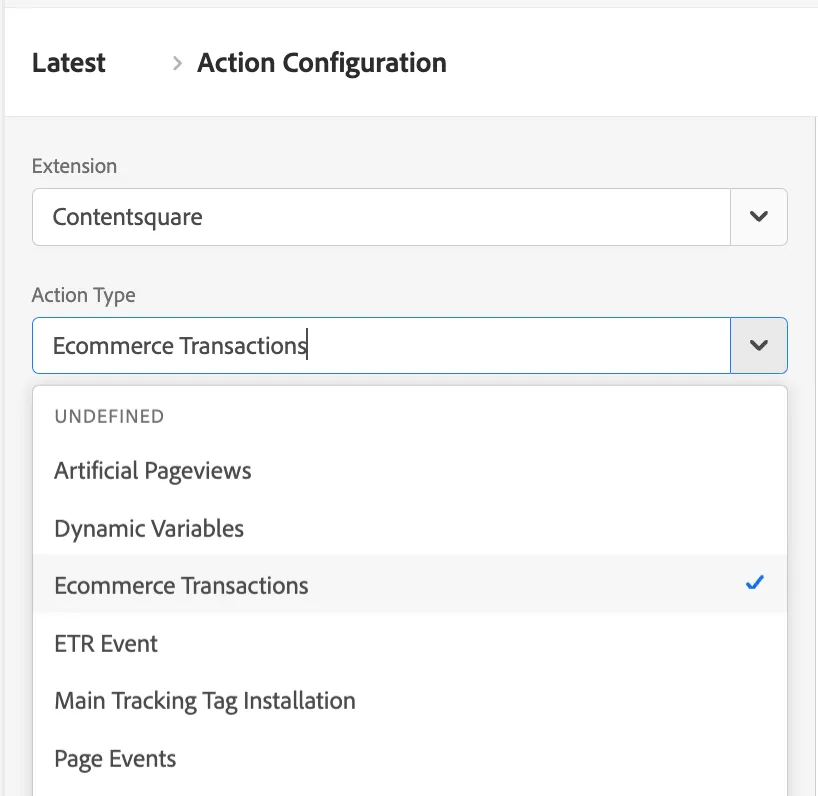
You will then be prompted to fill in the required information by using either strings or Data Elements.
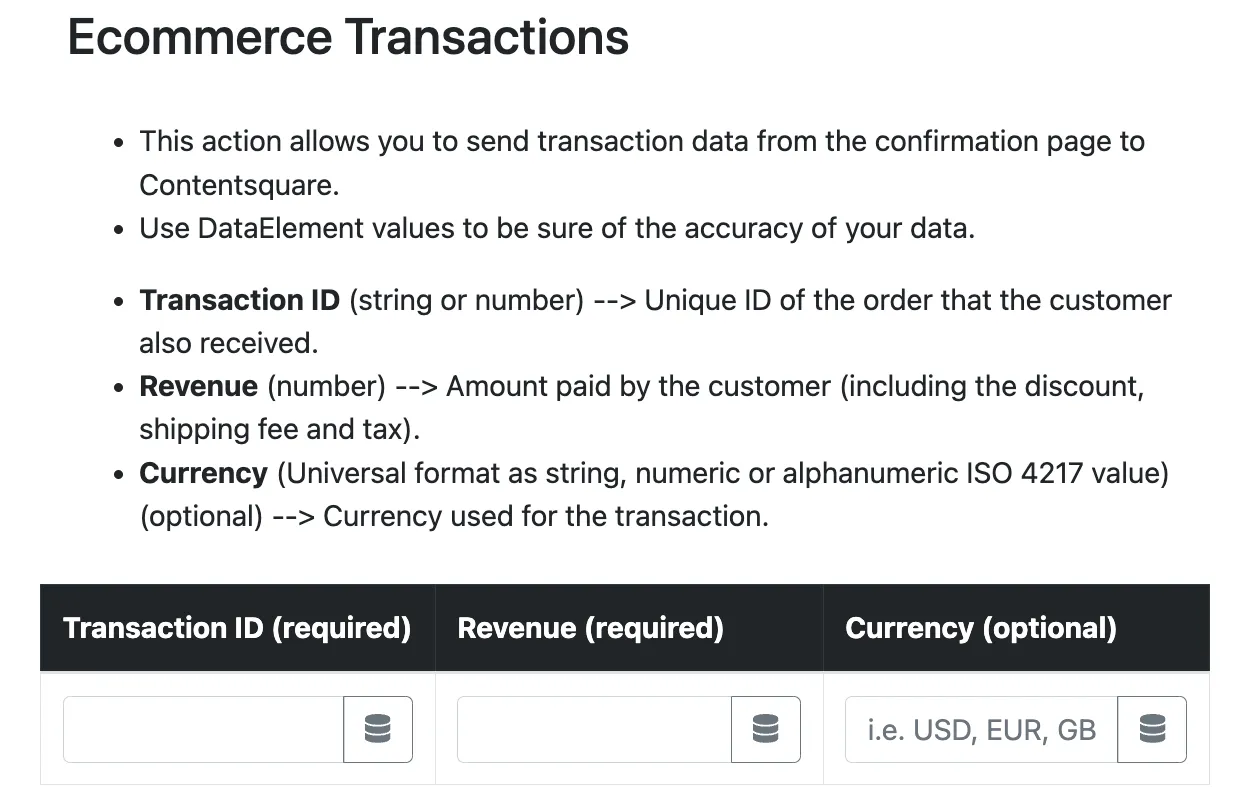
Given the dynamic nature of transaction details, it is required to have previously setup Data Elements with the requested information.
Commanders Act
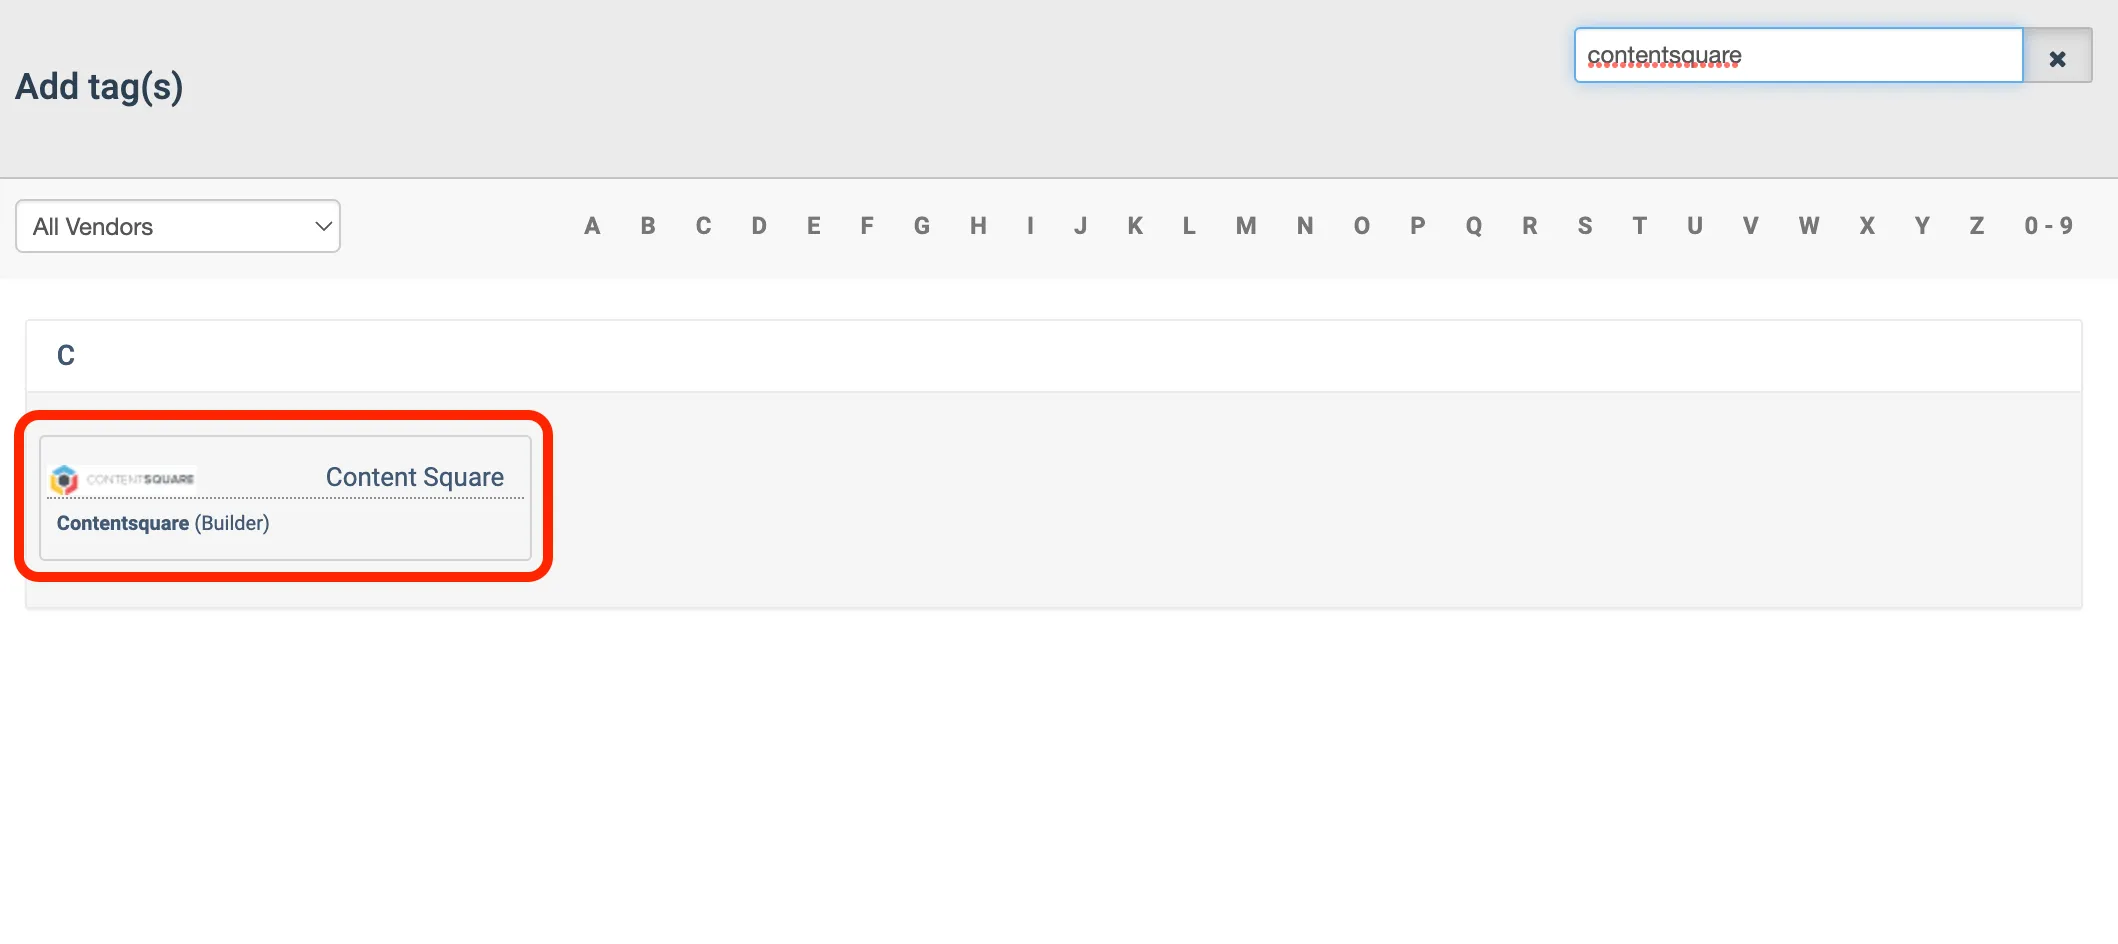
Section titled Commanders Act-
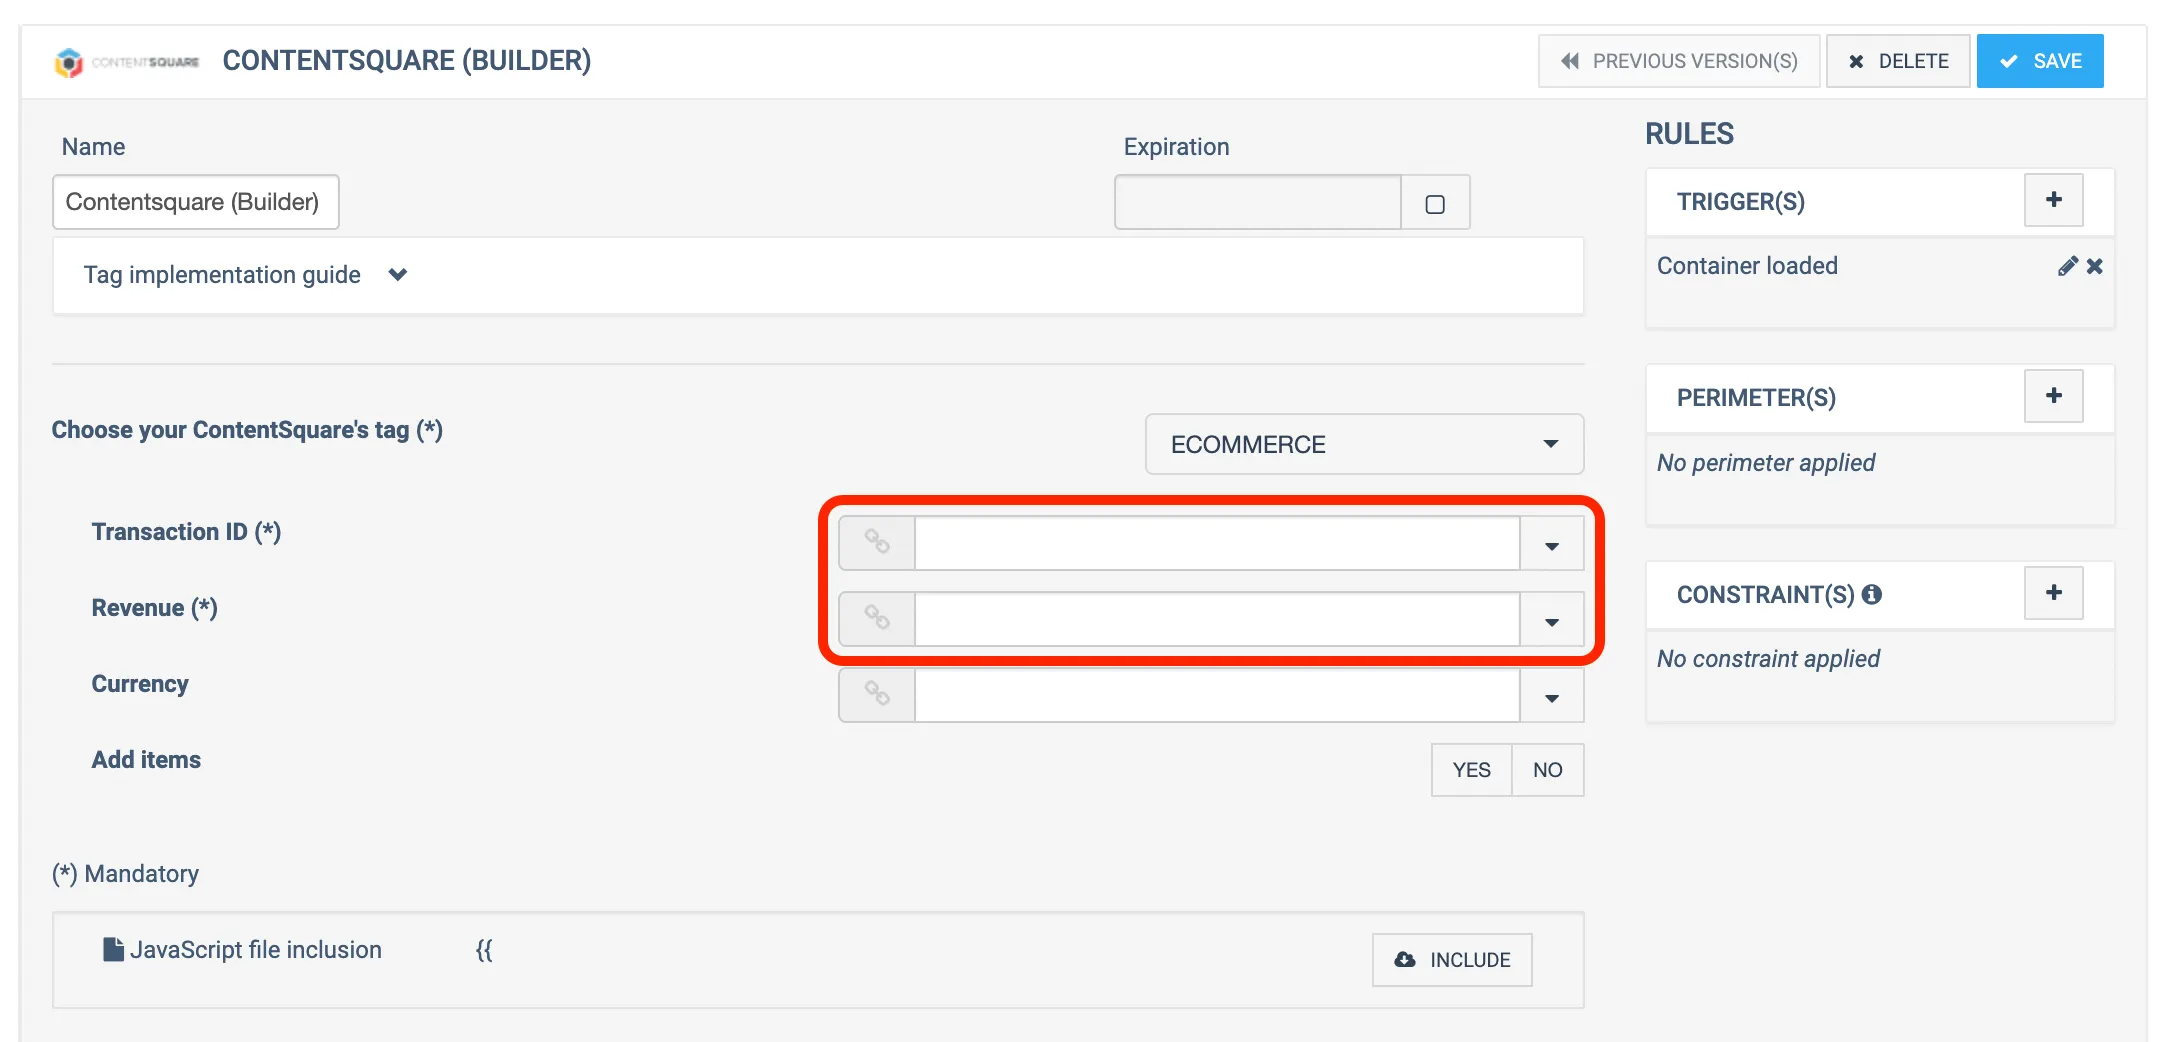
Add a new tag to your container by choosing "Contentsquare (Builder)".
-
Set the right Contentsquare template selecting Ecommerce.
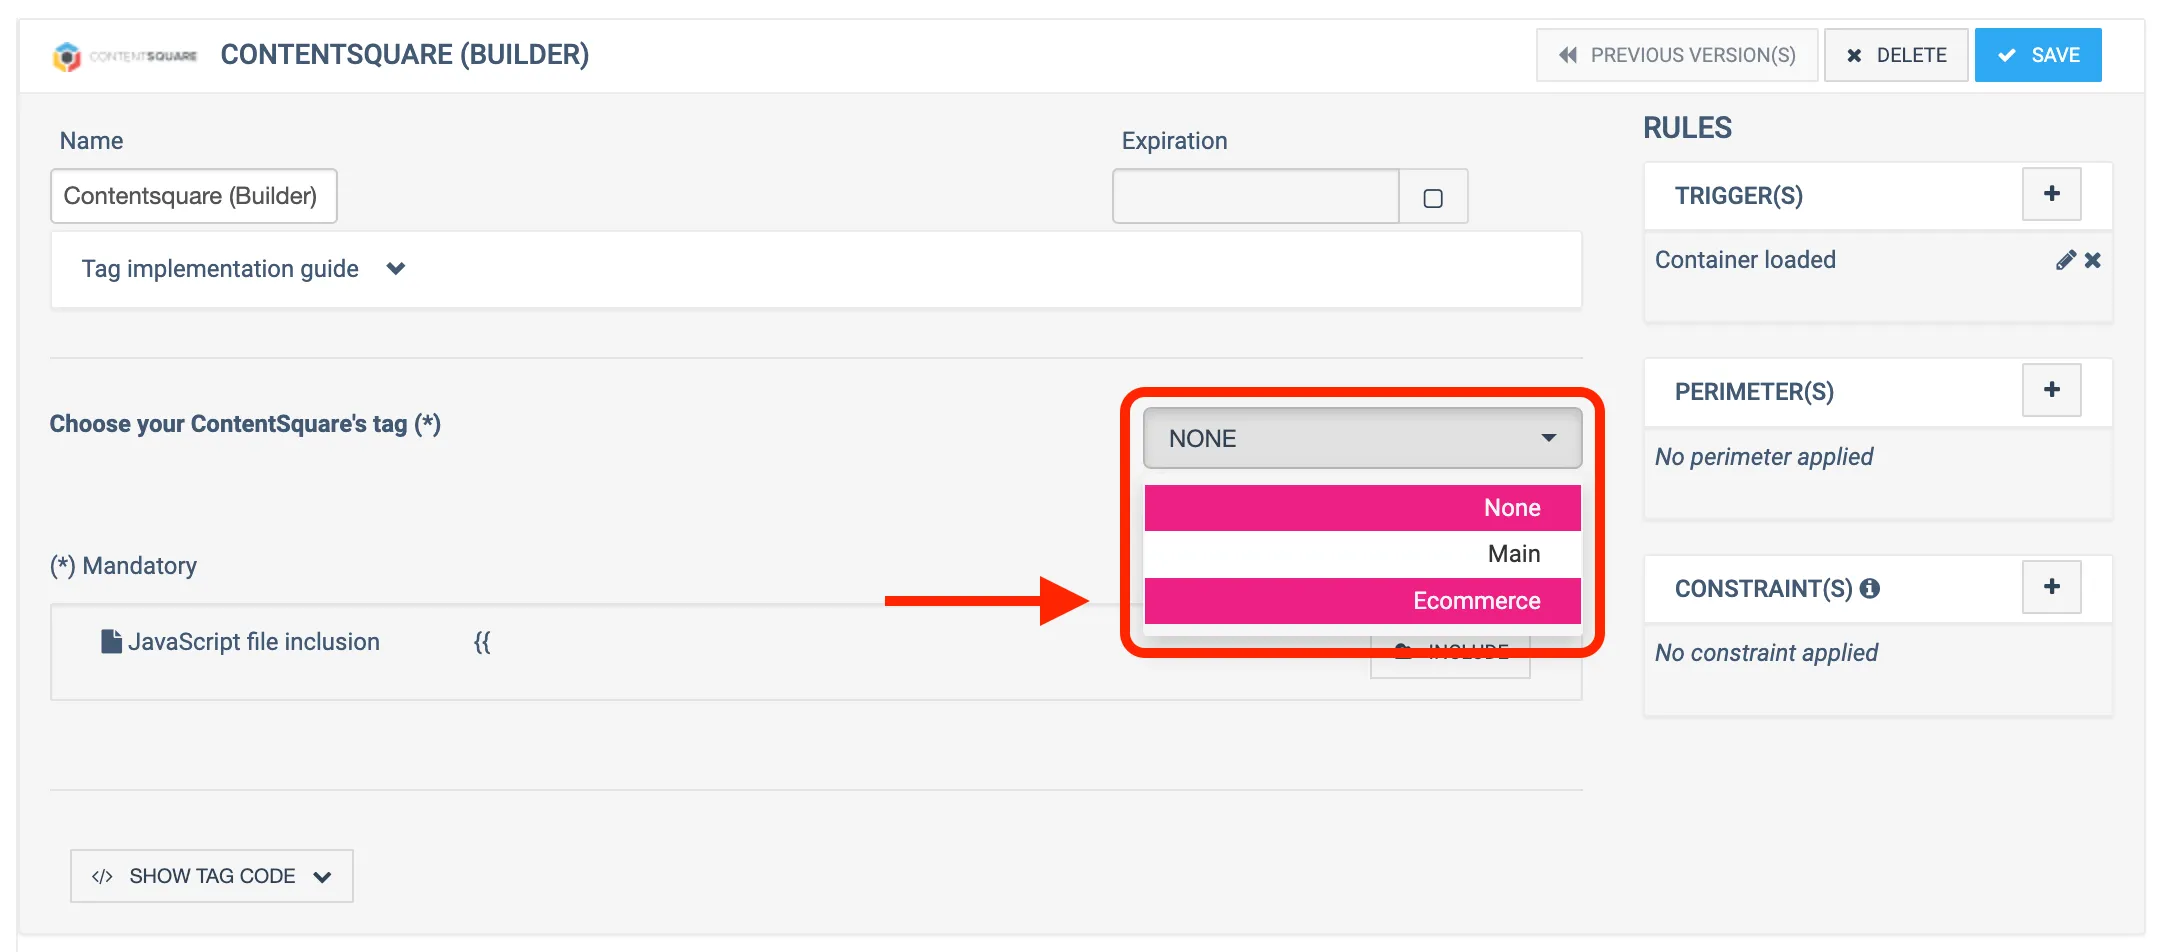
-
Fill in all required fields with your Commanders Act variables.
-
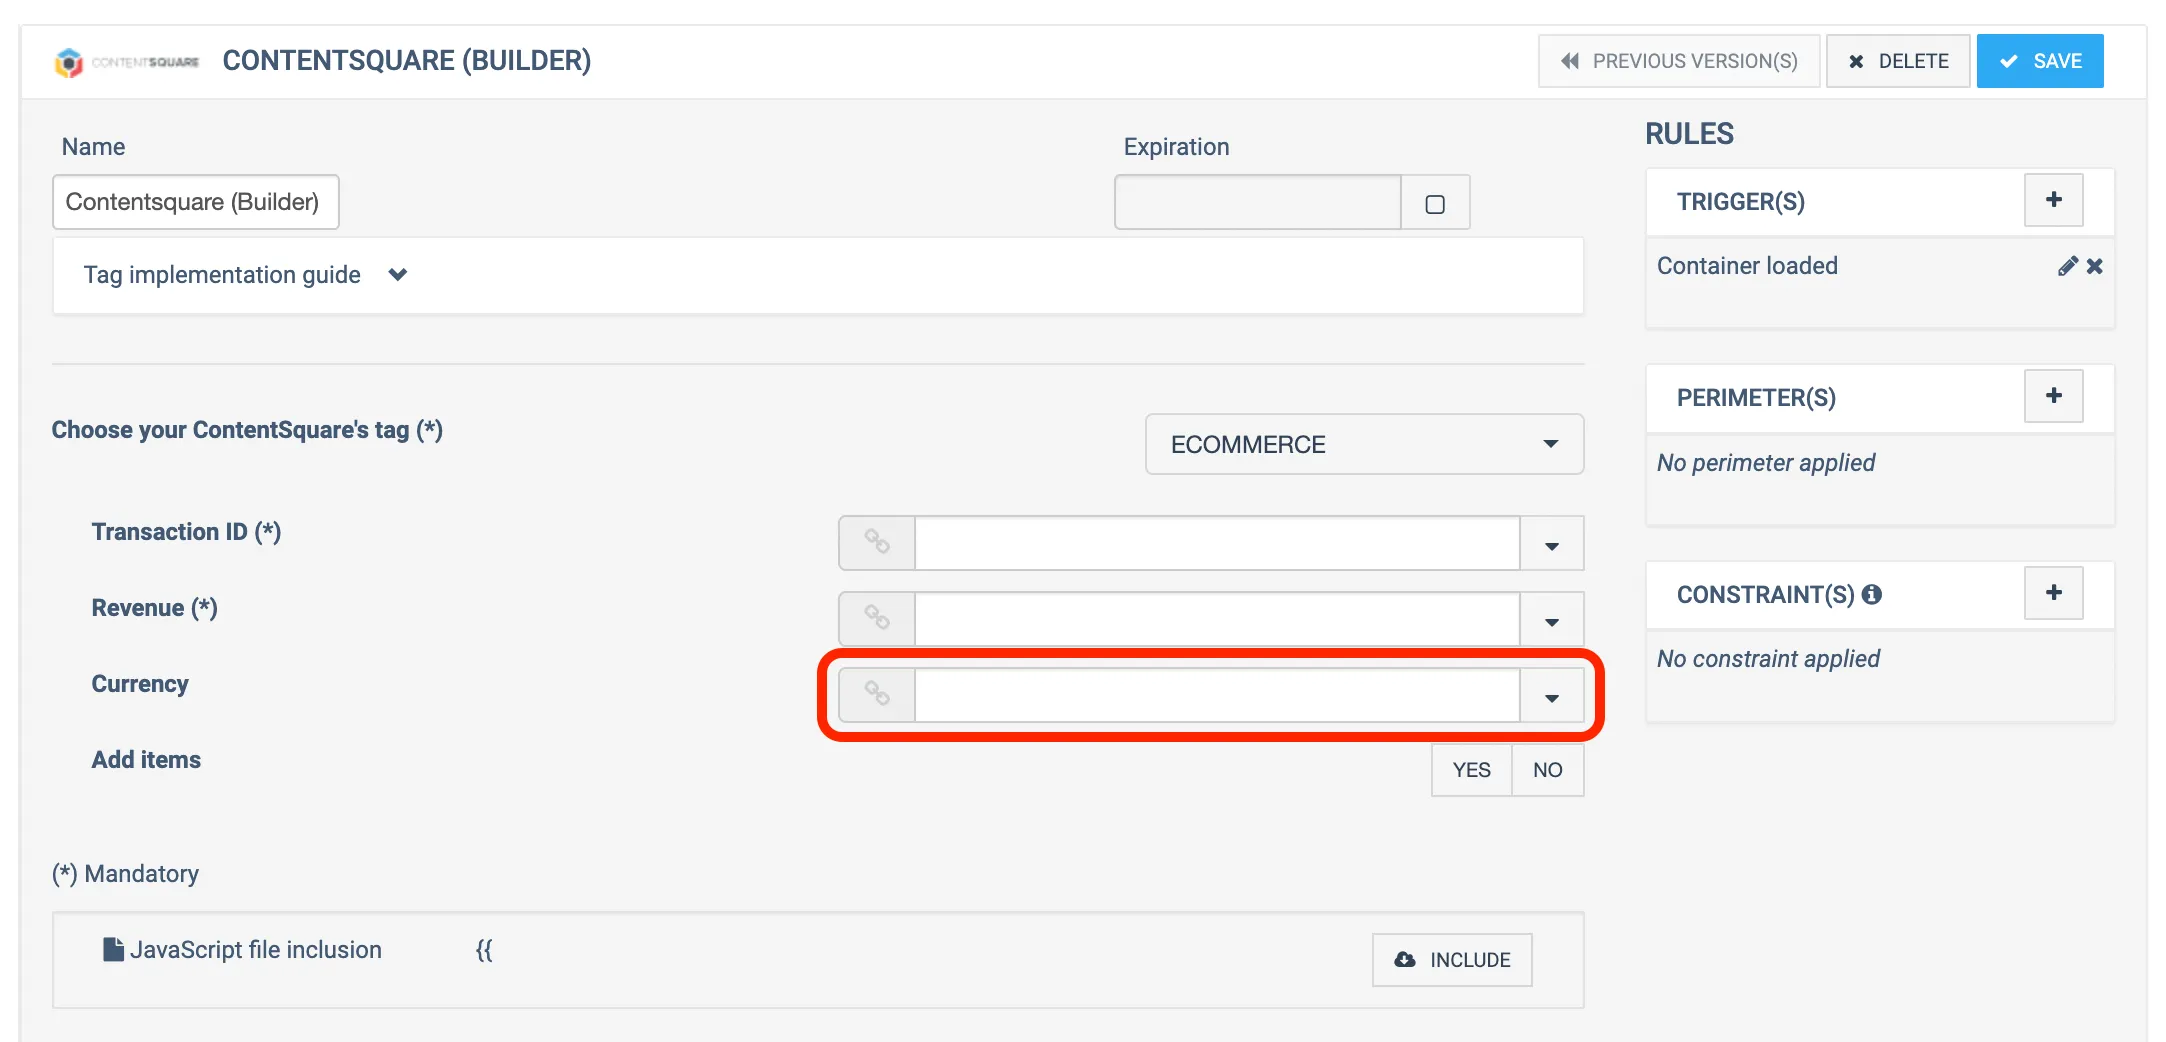
(Optional) If your transactions have different currencies, send Contentsquare the currency value.
-
(Optional) If you are a merchandising customer, add items.
-
Select a trigger/perimeter that fires only on the confirmation page, and click Save.
Your Tag is ready to be deployed.
Shopify
Section titled ShopifyThe Contentsquare Shopify app automatically collects e-commerce transaction data during the checkout flow, eliminating the need for manual tagging.
After you install the app, map each checkout domain to the matching Contentsquare Tag ID in Shopify. Transaction data (order ID, revenue, and currency) is automatically captured on checkout completion for mapped domains.
For installation instructions, see Shopify app installation.
Transaction gaps with redirect-based payment methods
Section titled Transaction gaps with redirect-based payment methodsContentsquare tracks Shopify transactions by listening to the checkout_completed ↗ Web Pixels event, which provides the order ID, amount, and currency.
Some payment methods redirect the user to an external payment page before returning them to the "Thank You" page (for example, PayPal). In these cases, Shopify may not emit the checkout_completed event. As Shopify documents ↗, if the page where the event is supposed to fire fails to load, the event is not triggered at all.
What you may observe: Sessions with a "Checkout" page view followed by a "Thank You" page view can appear in the Sessions without Transactions segment even though the user completed a purchase. This results in fewer collected transactions in Contentsquare.
Custom HTML
Section titled Custom HTMLSupply the transaction ID, revenue, and currency ISO code as parameters to the ec:transaction:create command, then run ec:transaction:send to send the transaction to Contentsquare.
<script type="text/javascript"> window._uxa = window._uxa || []; window._uxa.push(['ec:transaction:create', { 'id': {{TRANSACTION_ID}}, // String - unique transaction identifier 'revenue': {{TRANSACTION_REVENUE}}, // Number - transaction total (49.99) 'currency': {{CURRENCY_ISO_CODE}} // String - ISO 4217 currency code ('USD') }]); window._uxa.push(['ec:transaction:send']);</script>