

Custom Page Events
Custom page events are named signals you send from JavaScript to mark specific user actions, which can then be used for segmentation and as triggers for Event Triggered Replay.
General principles
Section titled General principlesCustom page events are additional information on the session that can be used to segment sessions. Similar to dynamic vars, custom page events can be sent at any time during a session.
Custom pages events are used when we want to segment based on a specific visitor (action or onload) event.
They are as flexible as anything you can do with JavaScript on a web page. For instance, VoC events triggered (3 stars only, smiley face emoji…), specific messages and validation errors and even things like if page took more than x seconds to load, visitor's status, such as "is the user logged in?",option selected in drop-down menu. And many more..., up to your imagination.
Furthermore, it can also be used as a trigger for Event Triggered Replay (ETR) where the full user session or specific pageview is collected.
Limits
Section titled Limits- It is possible to save up to 40 page events per pageview. If more are received, only the first 40 will be kept.
- The maximum size is 255 characters.
Contentsquare Tag Configurator (CSTC)
Section titled Contentsquare Tag Configurator (CSTC)Use the Contentsquare Tag Configurator ↗ to implement page events through a visual interface.
Google Tag Manager (Template)
Section titled Google Tag Manager (Template)-
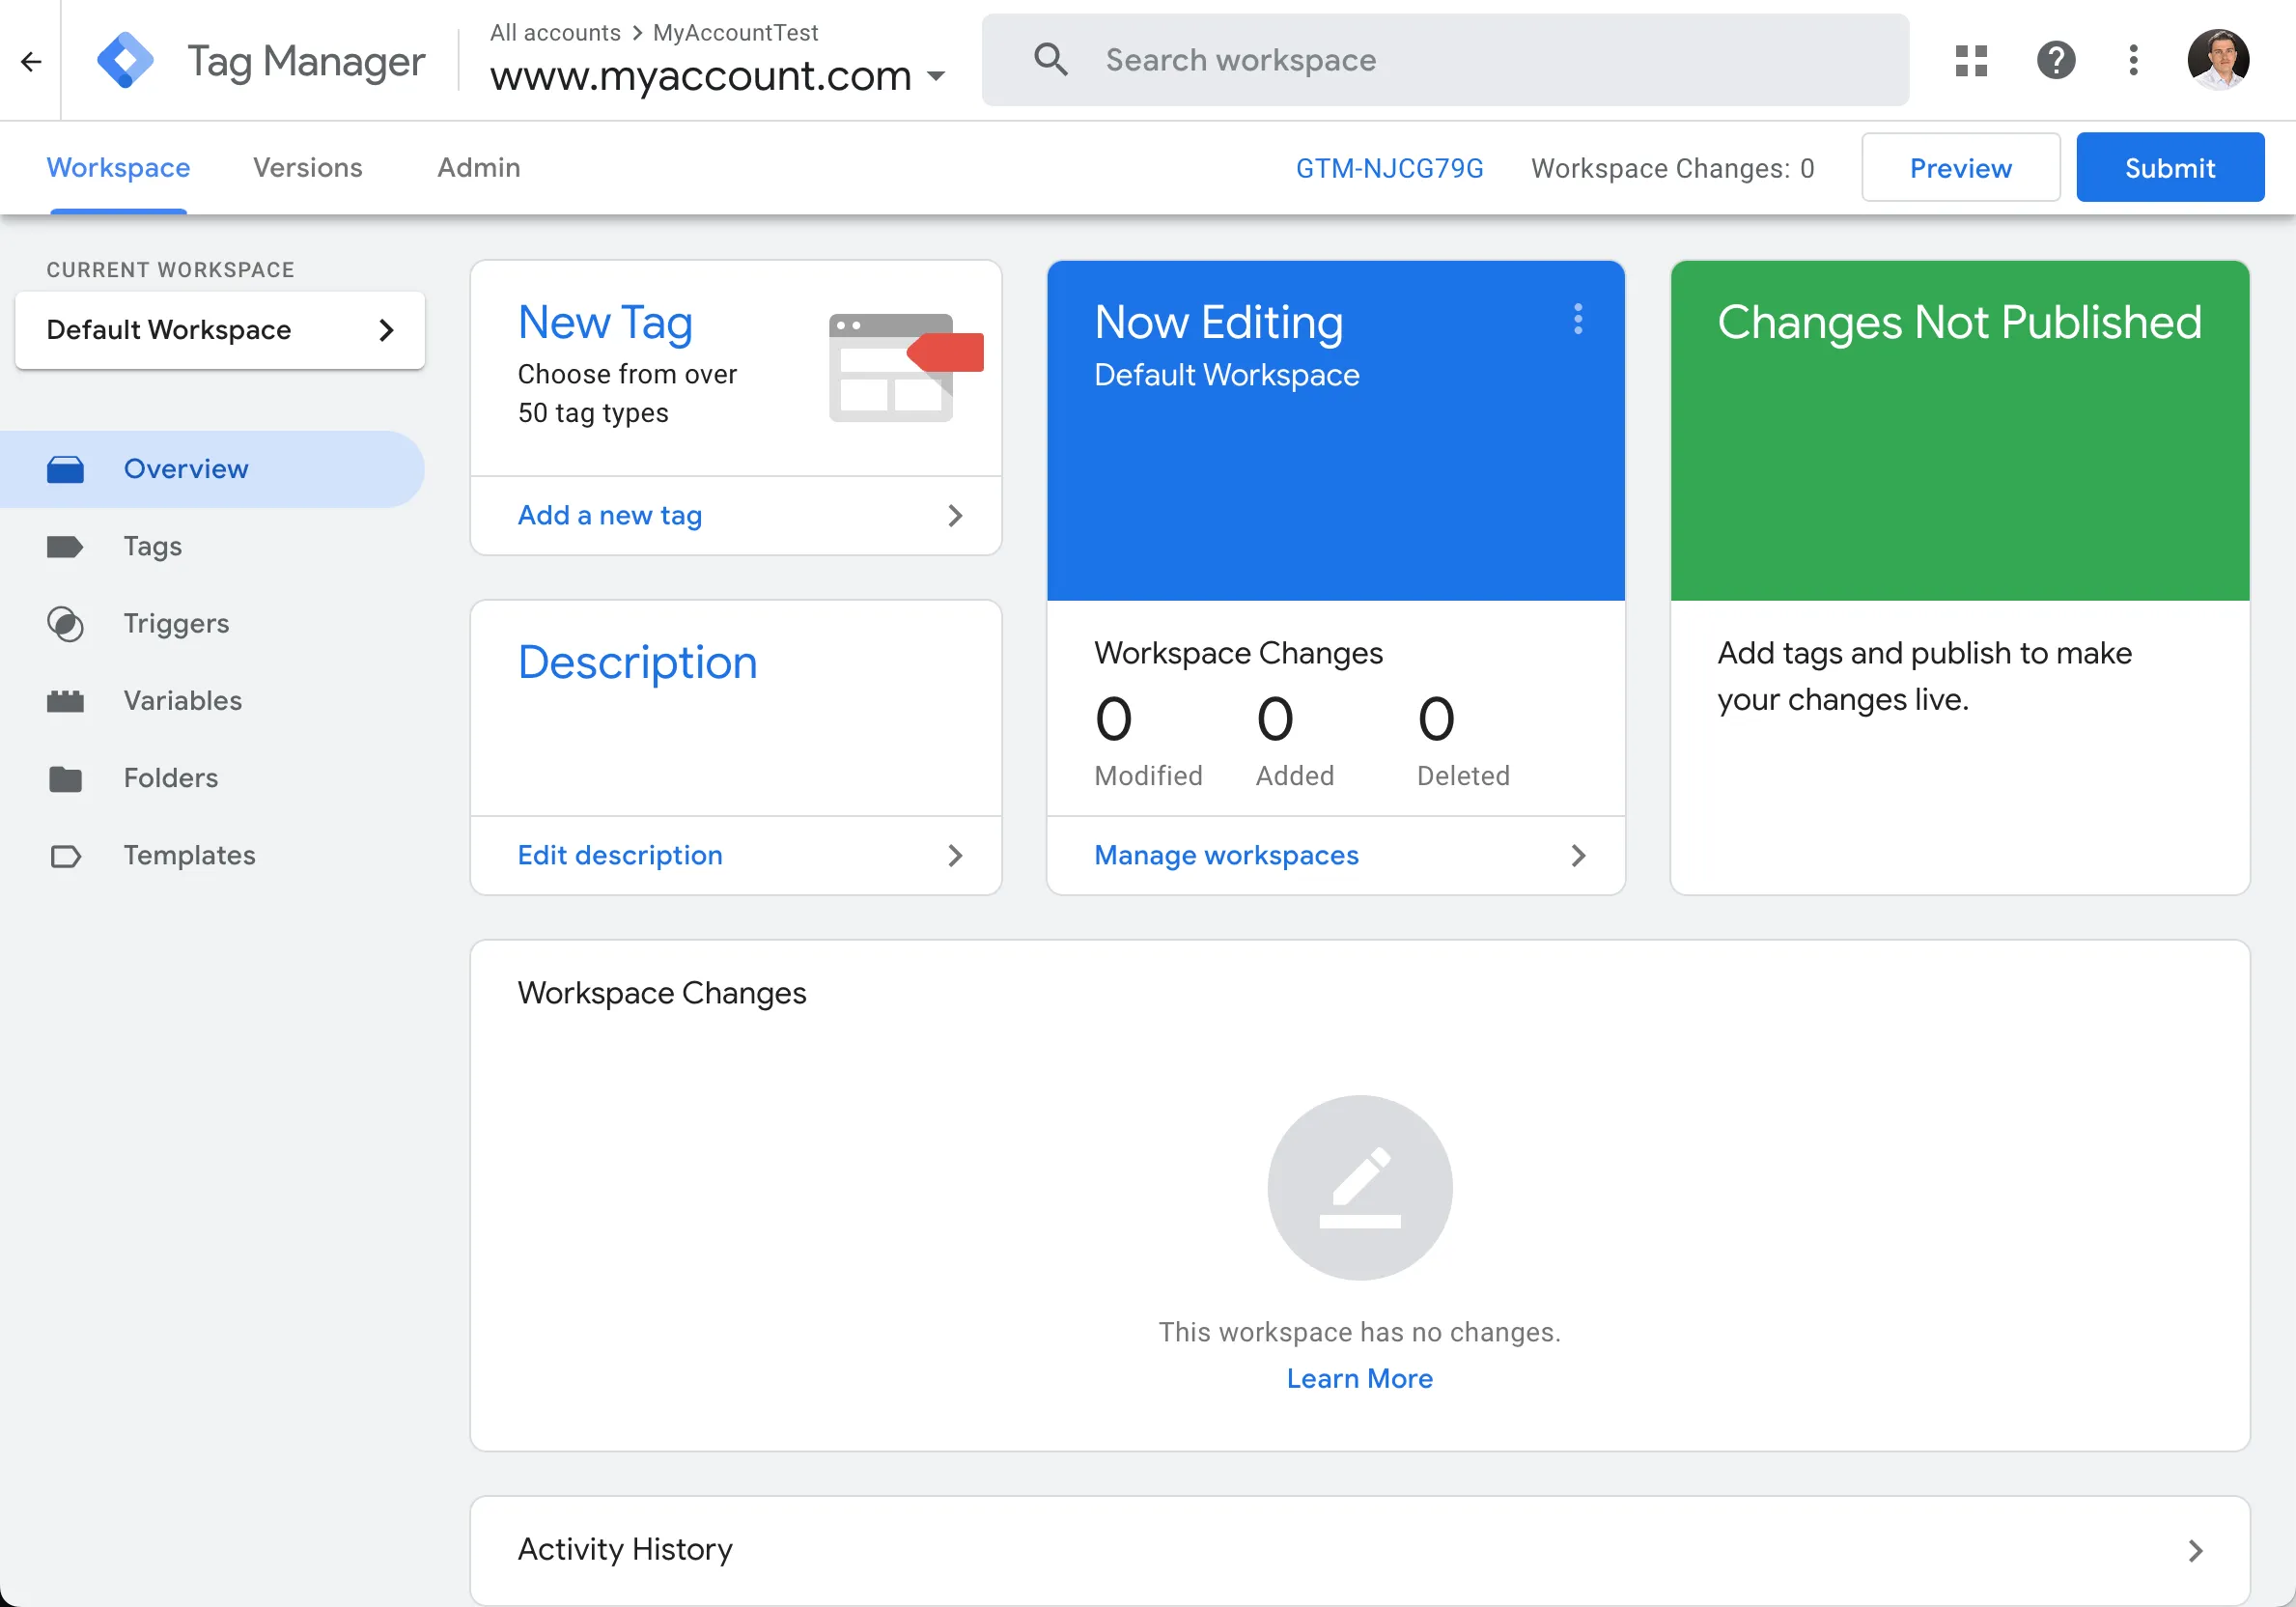
Open your container and go to the templates section.
-
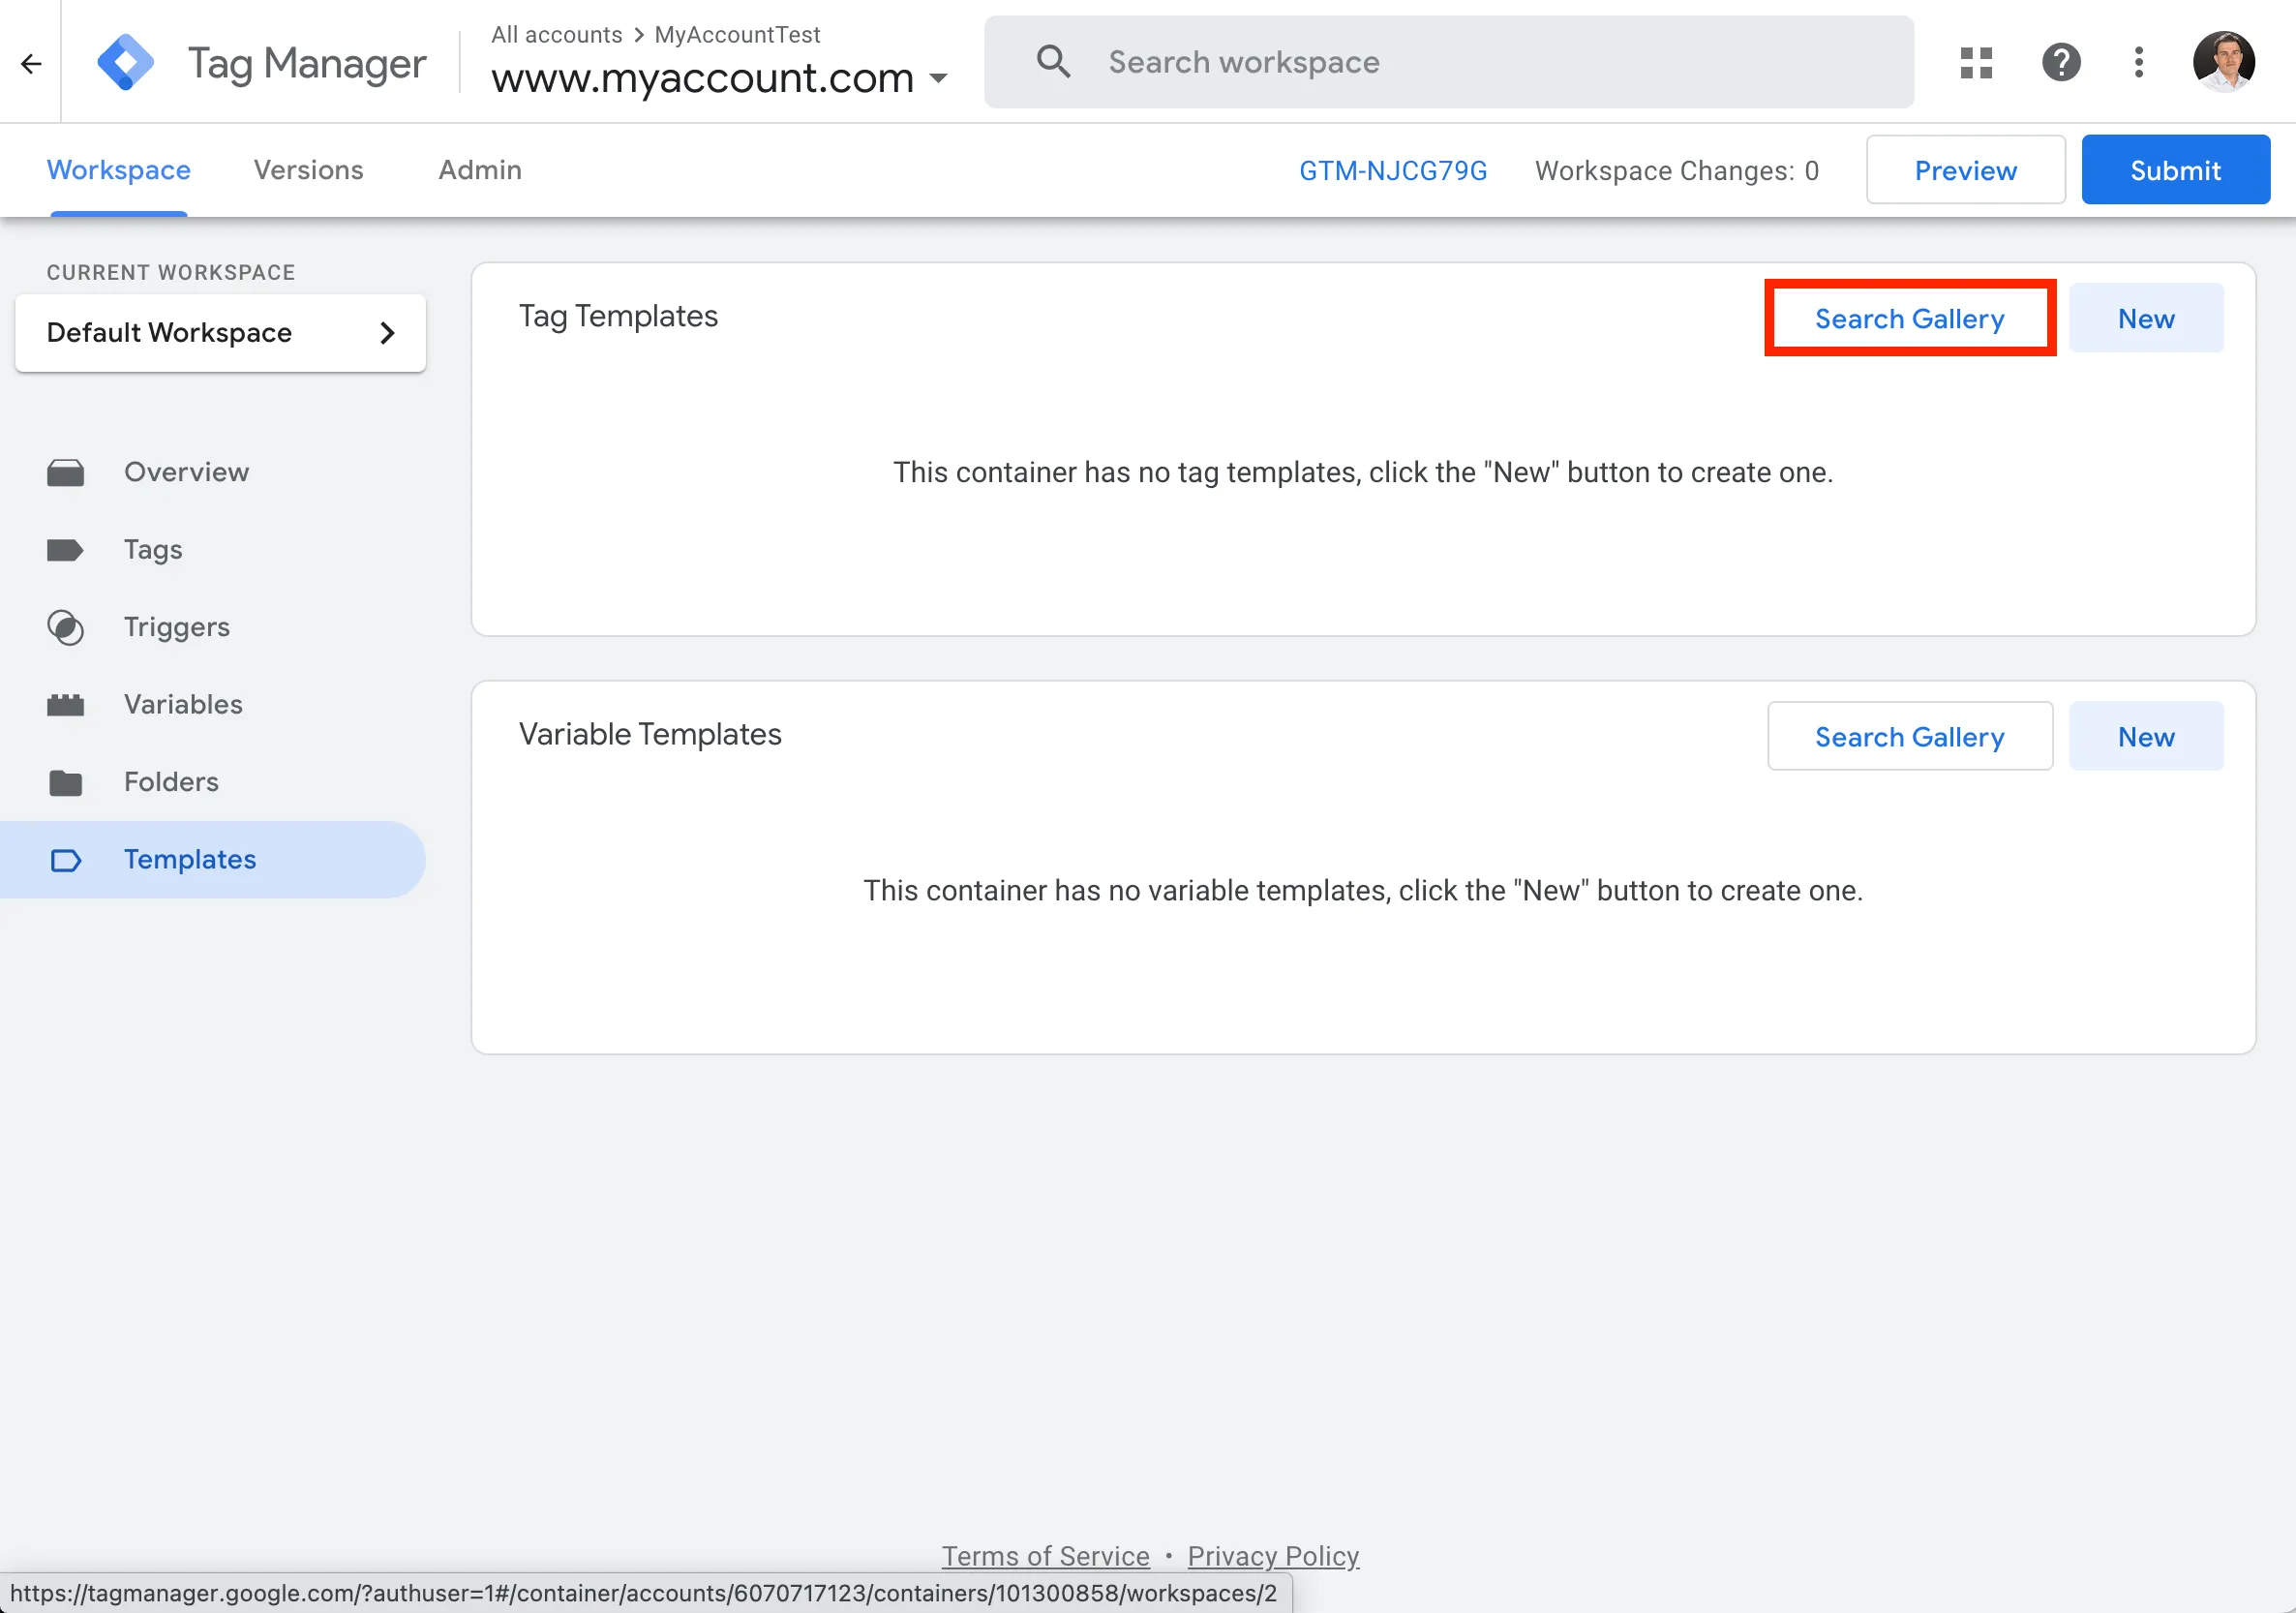
Select Search Gallery.
-
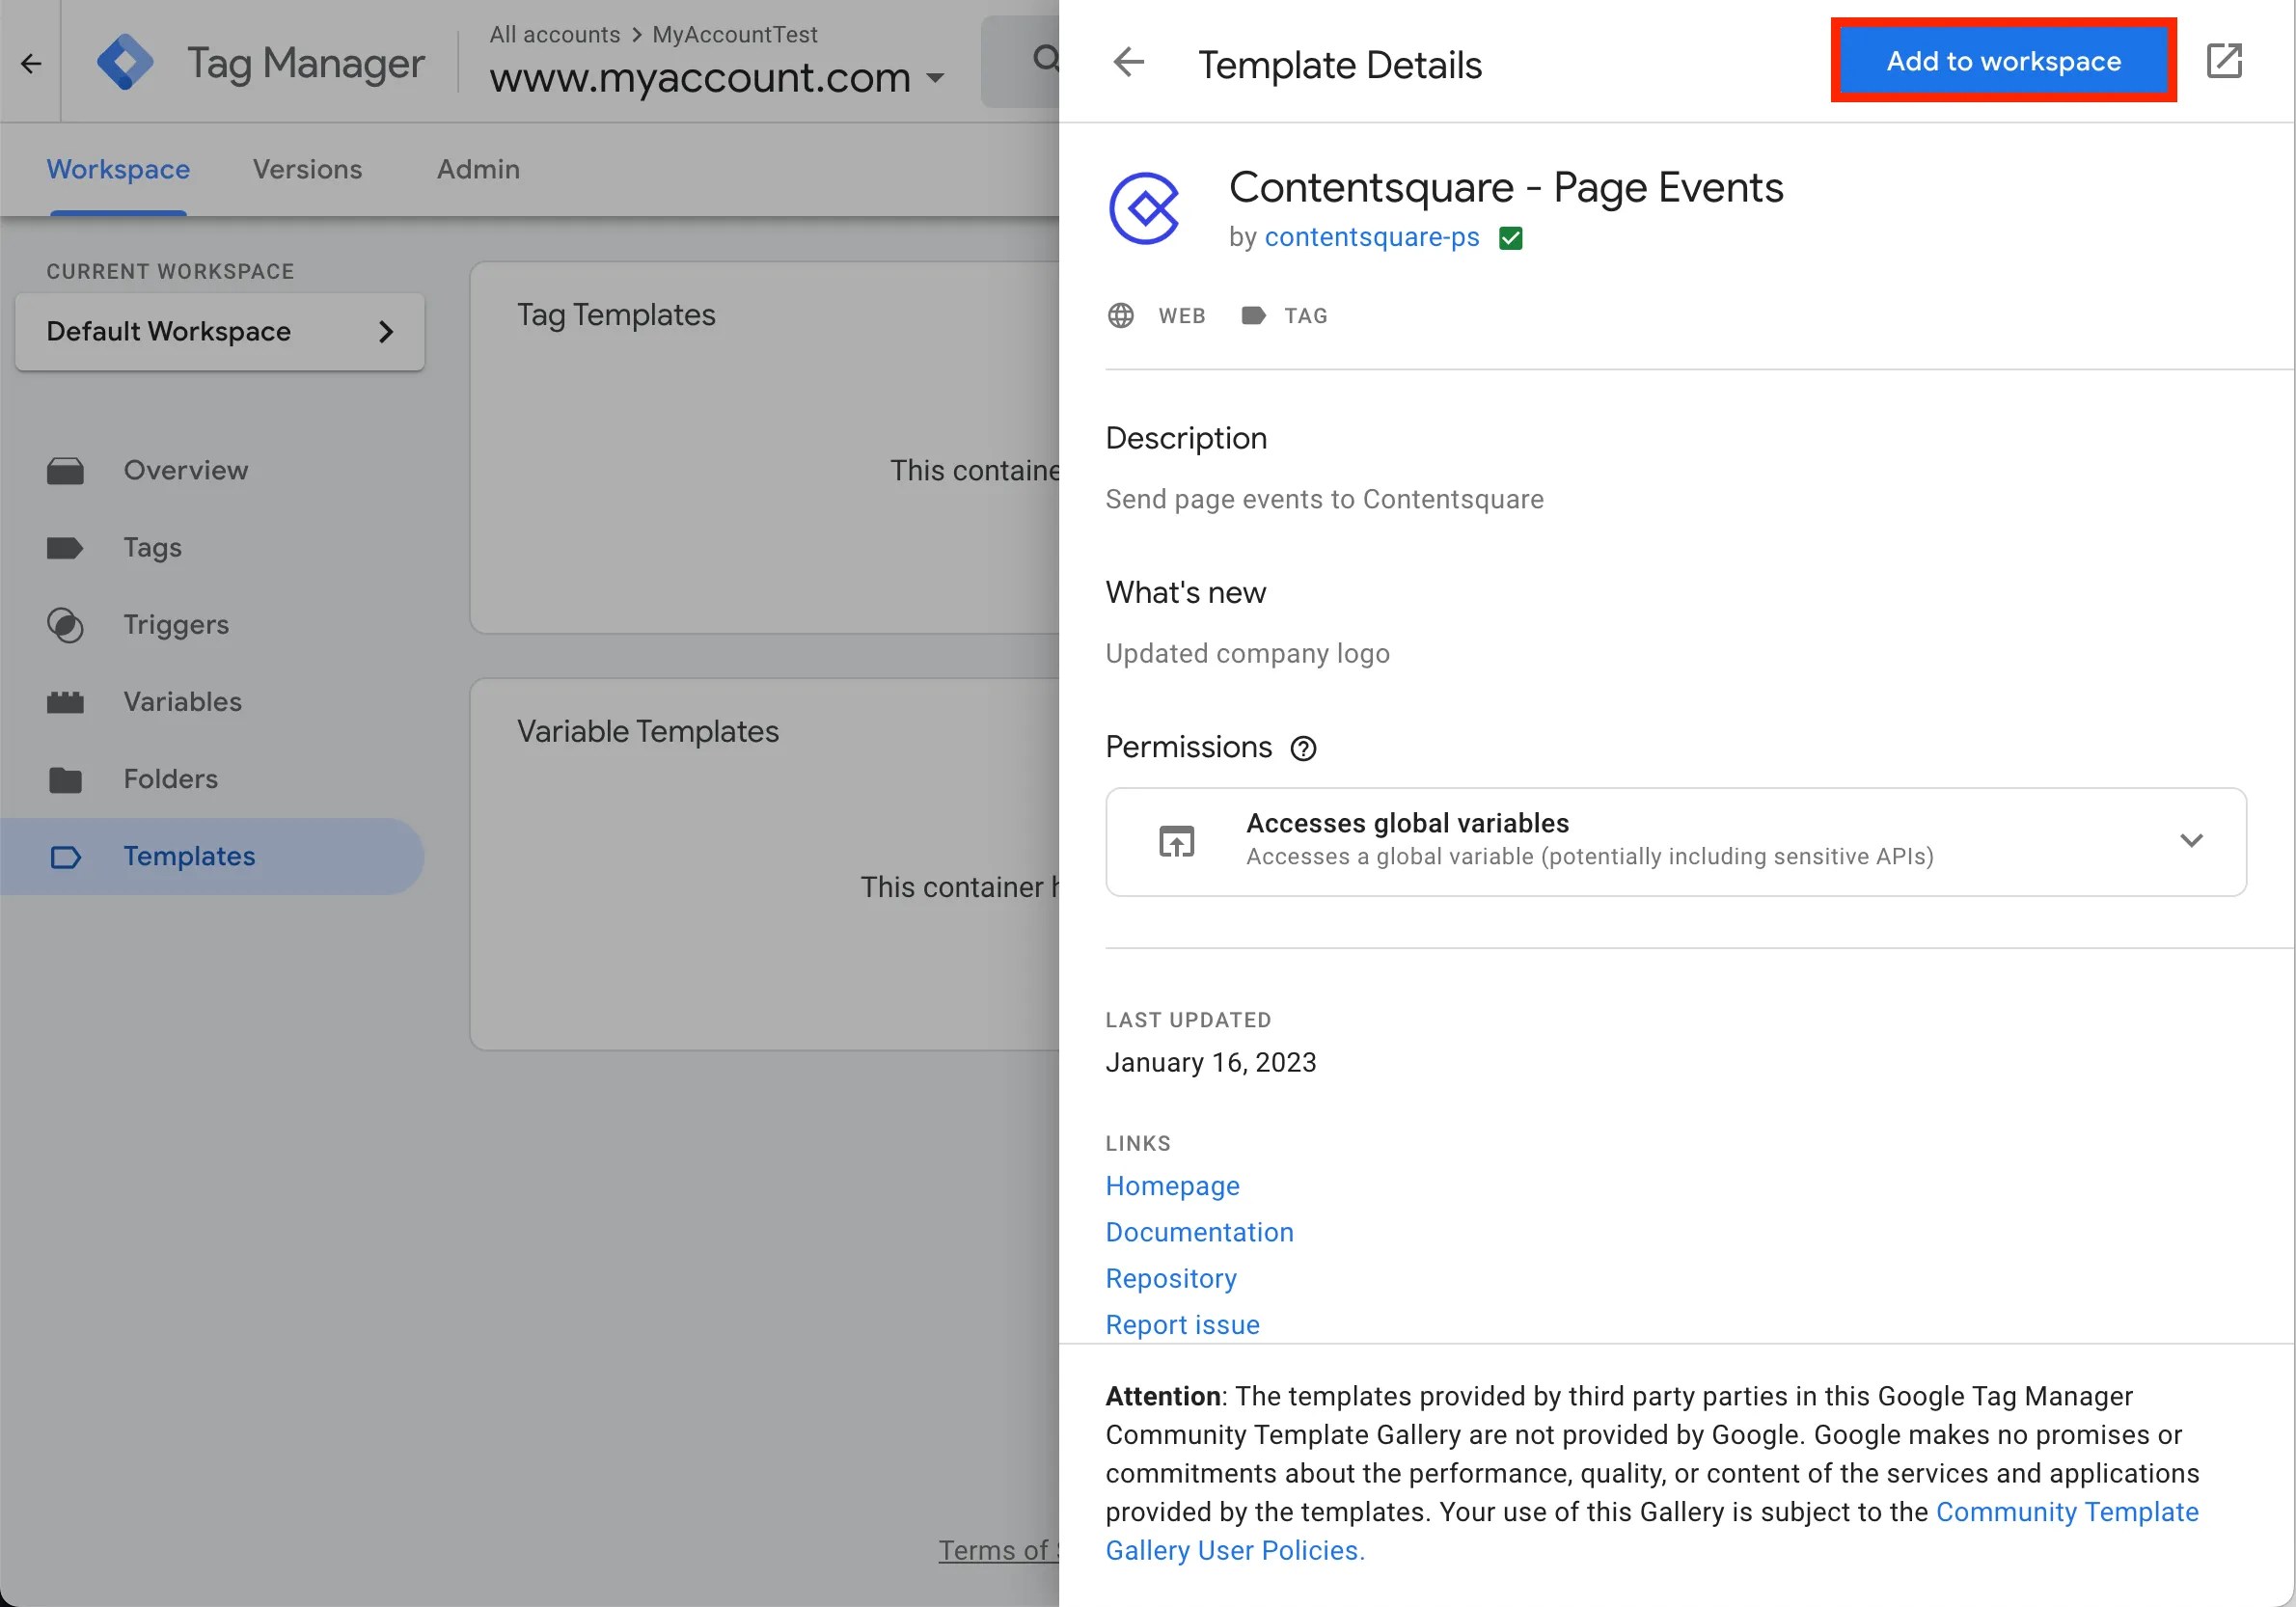
Type in
contentsquareand select the Contentsquare - Page Events option.
-
Click Add to workspace.
-
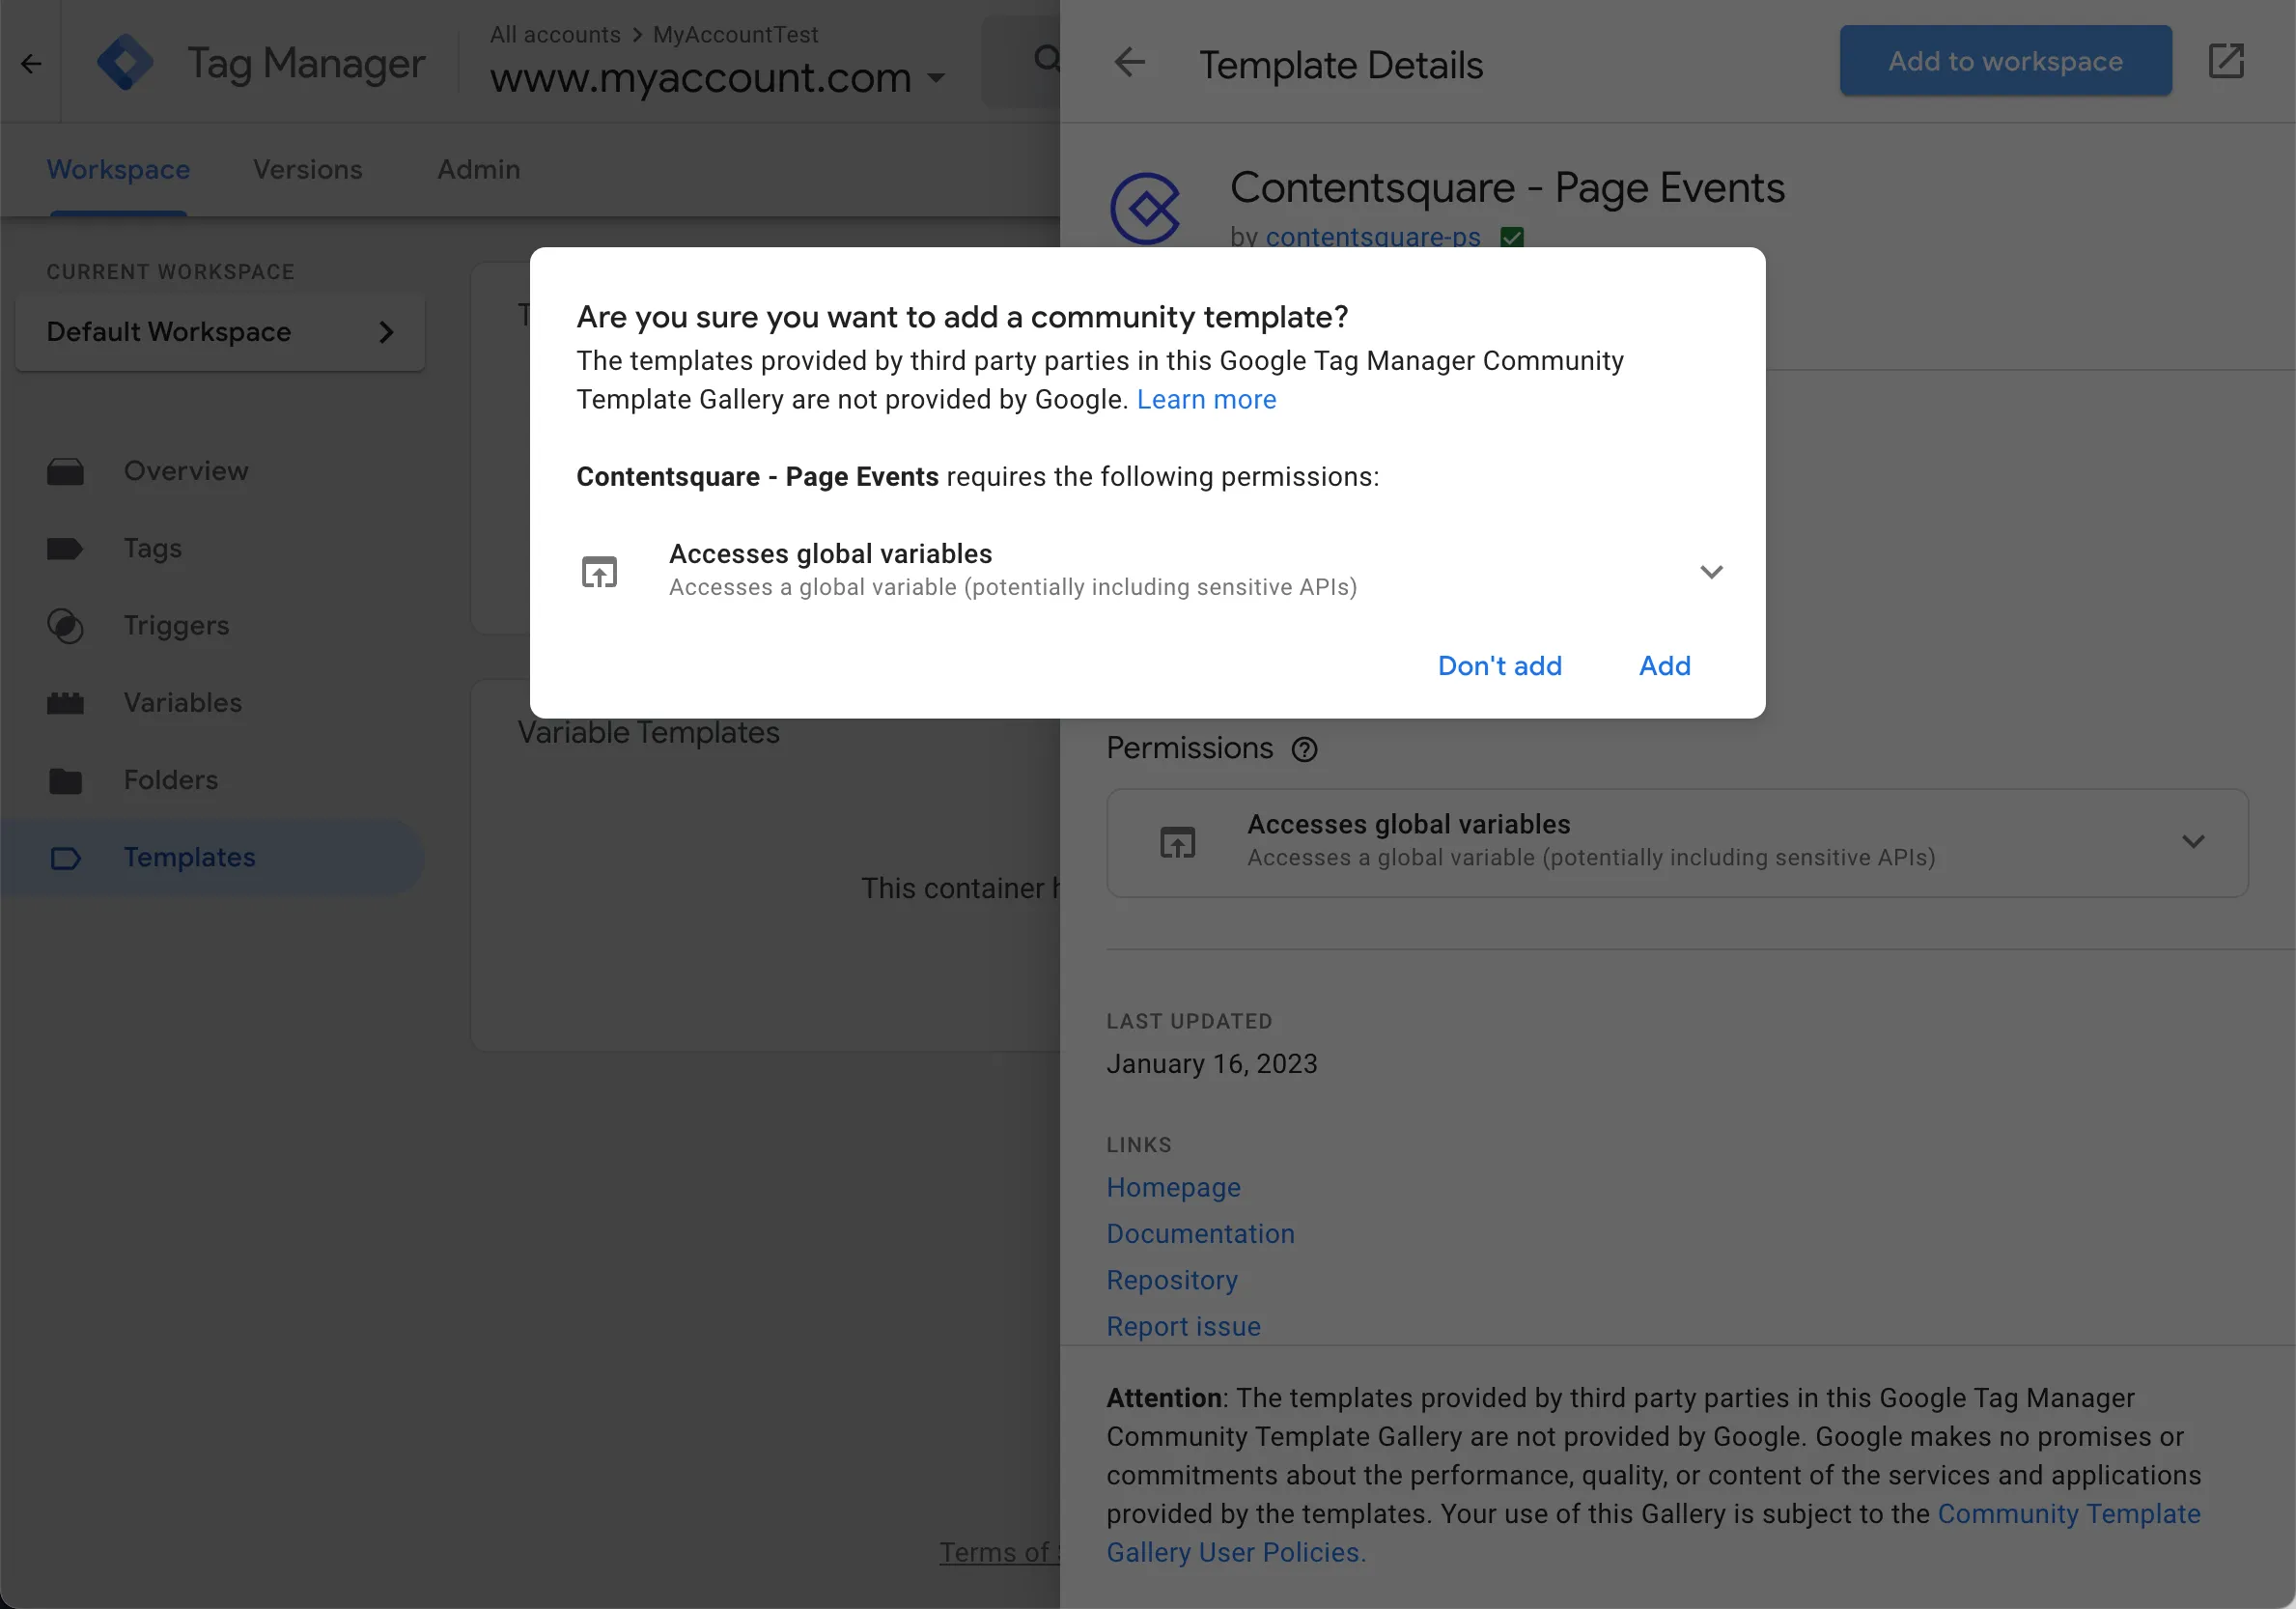
Confirm your choice by selecting Add
-
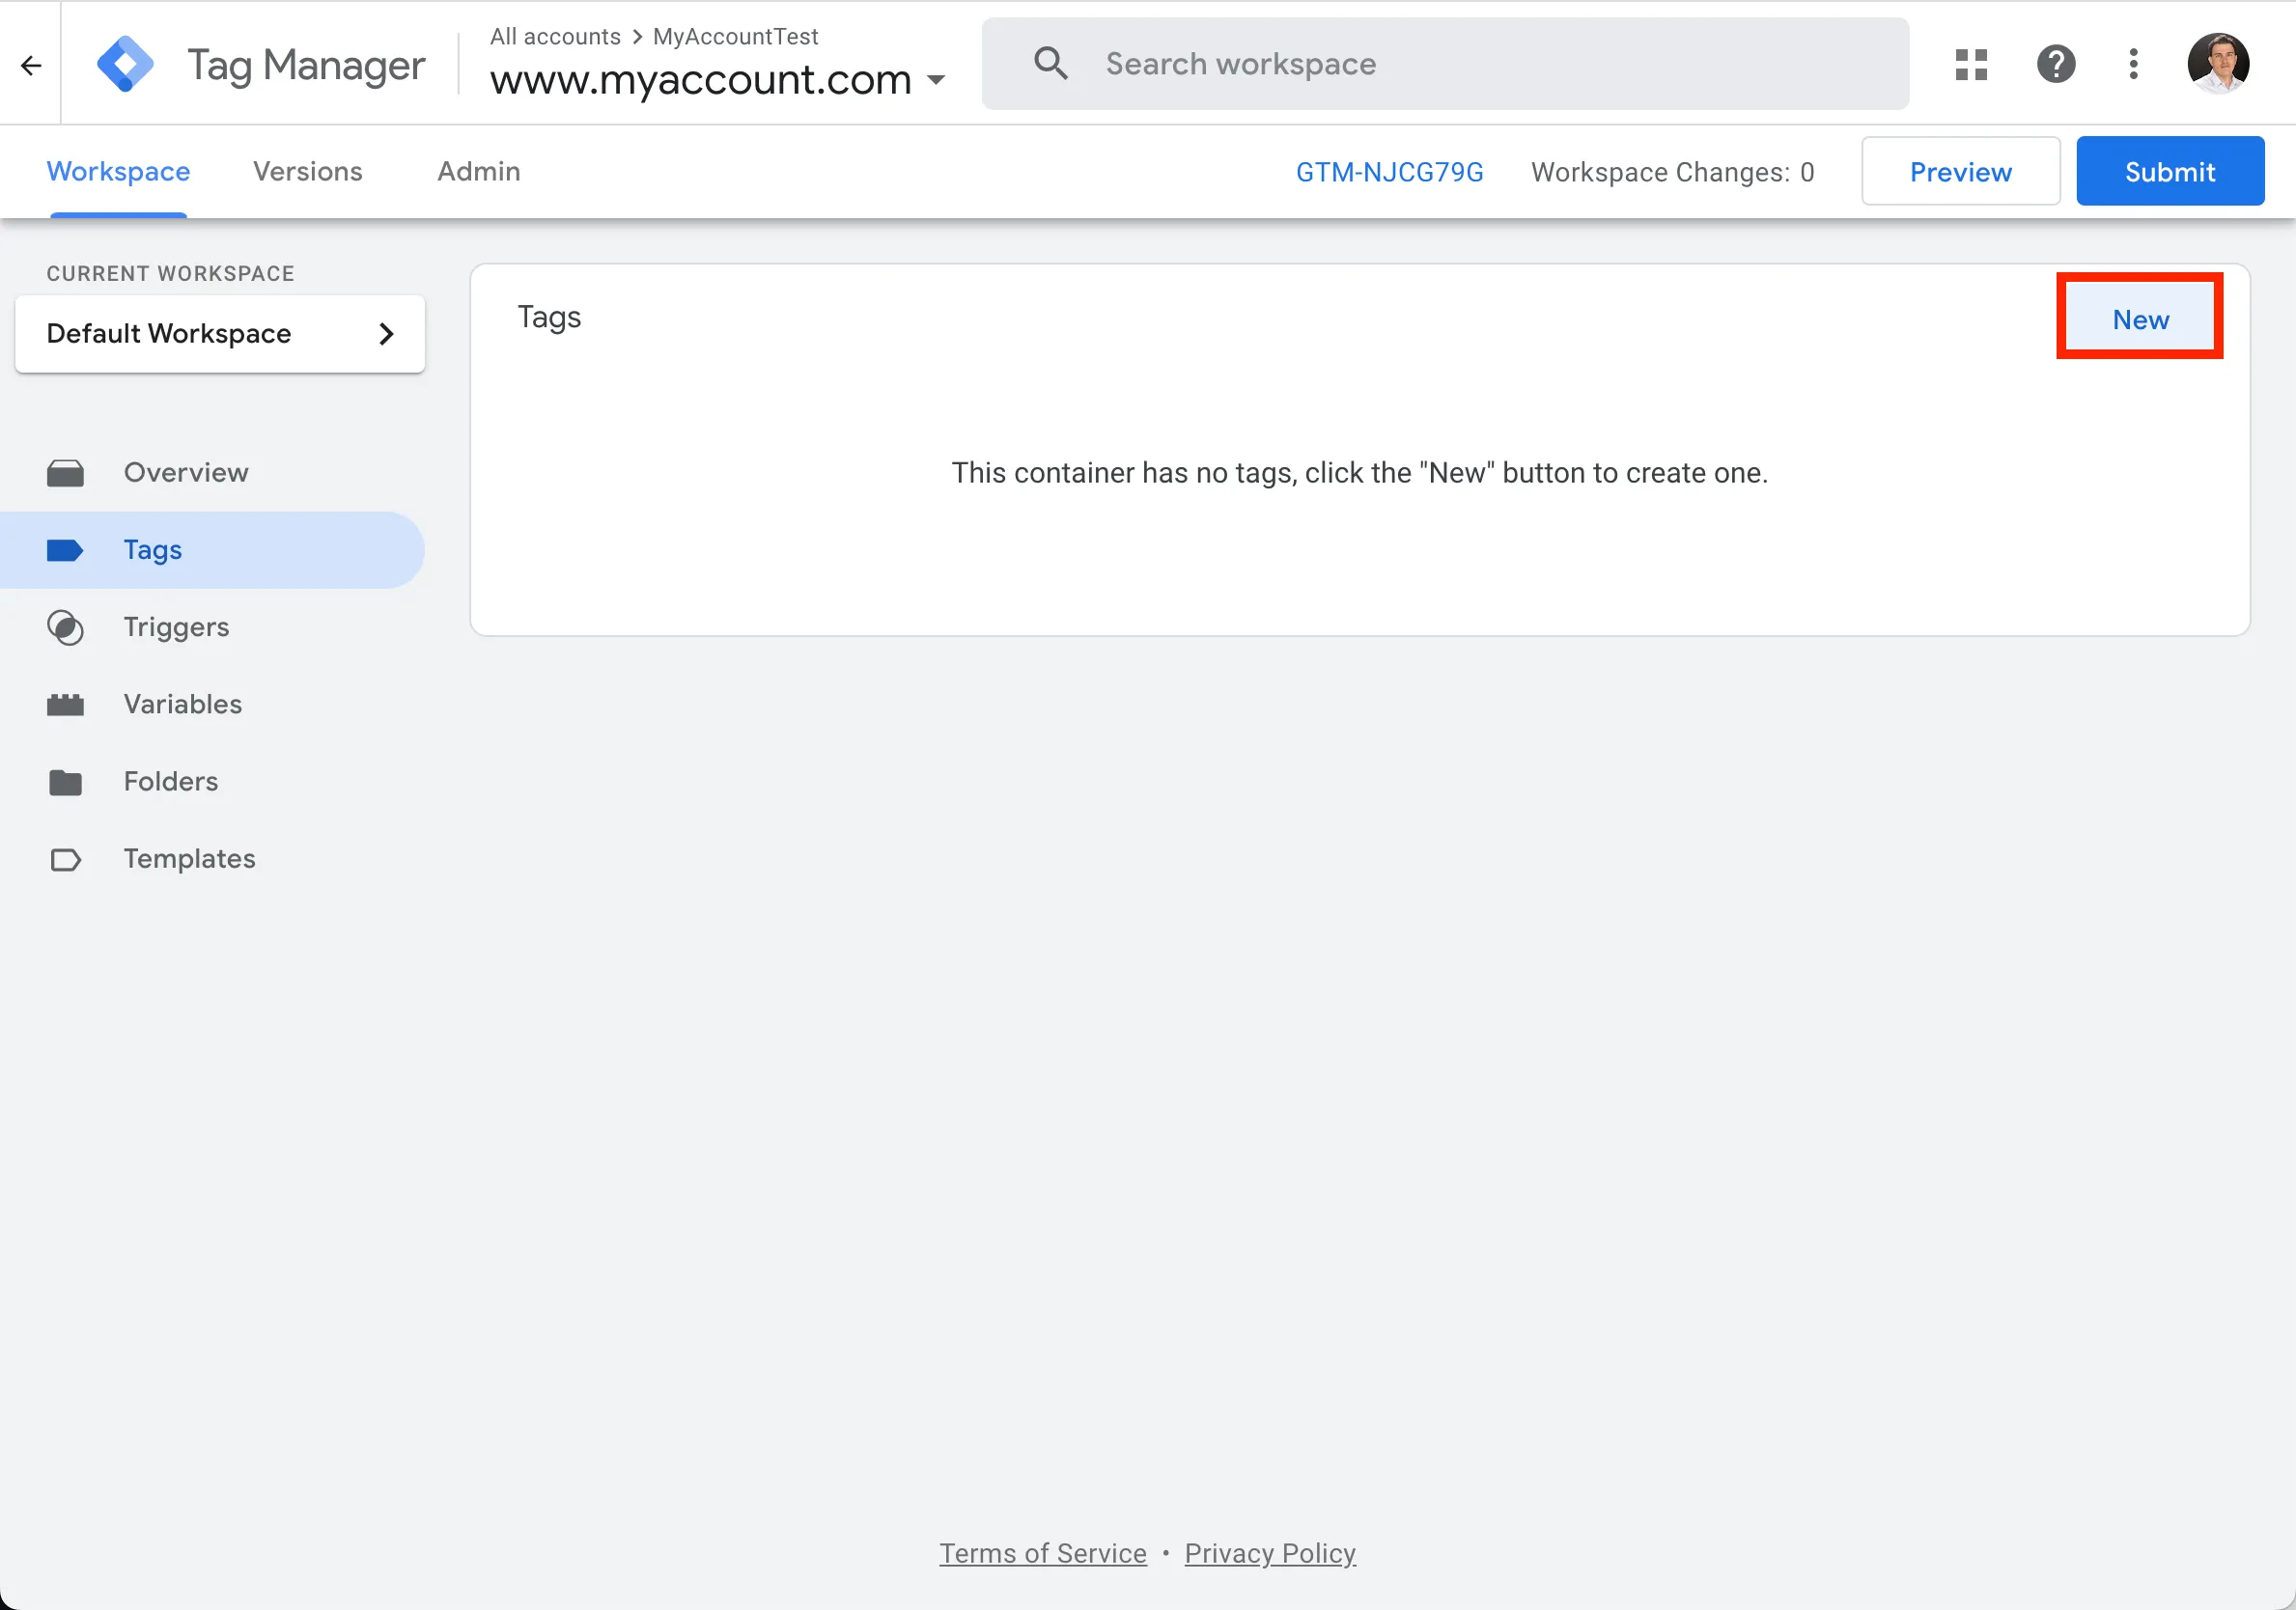
Go to the Tags section and click the New button to create a new tag.
-
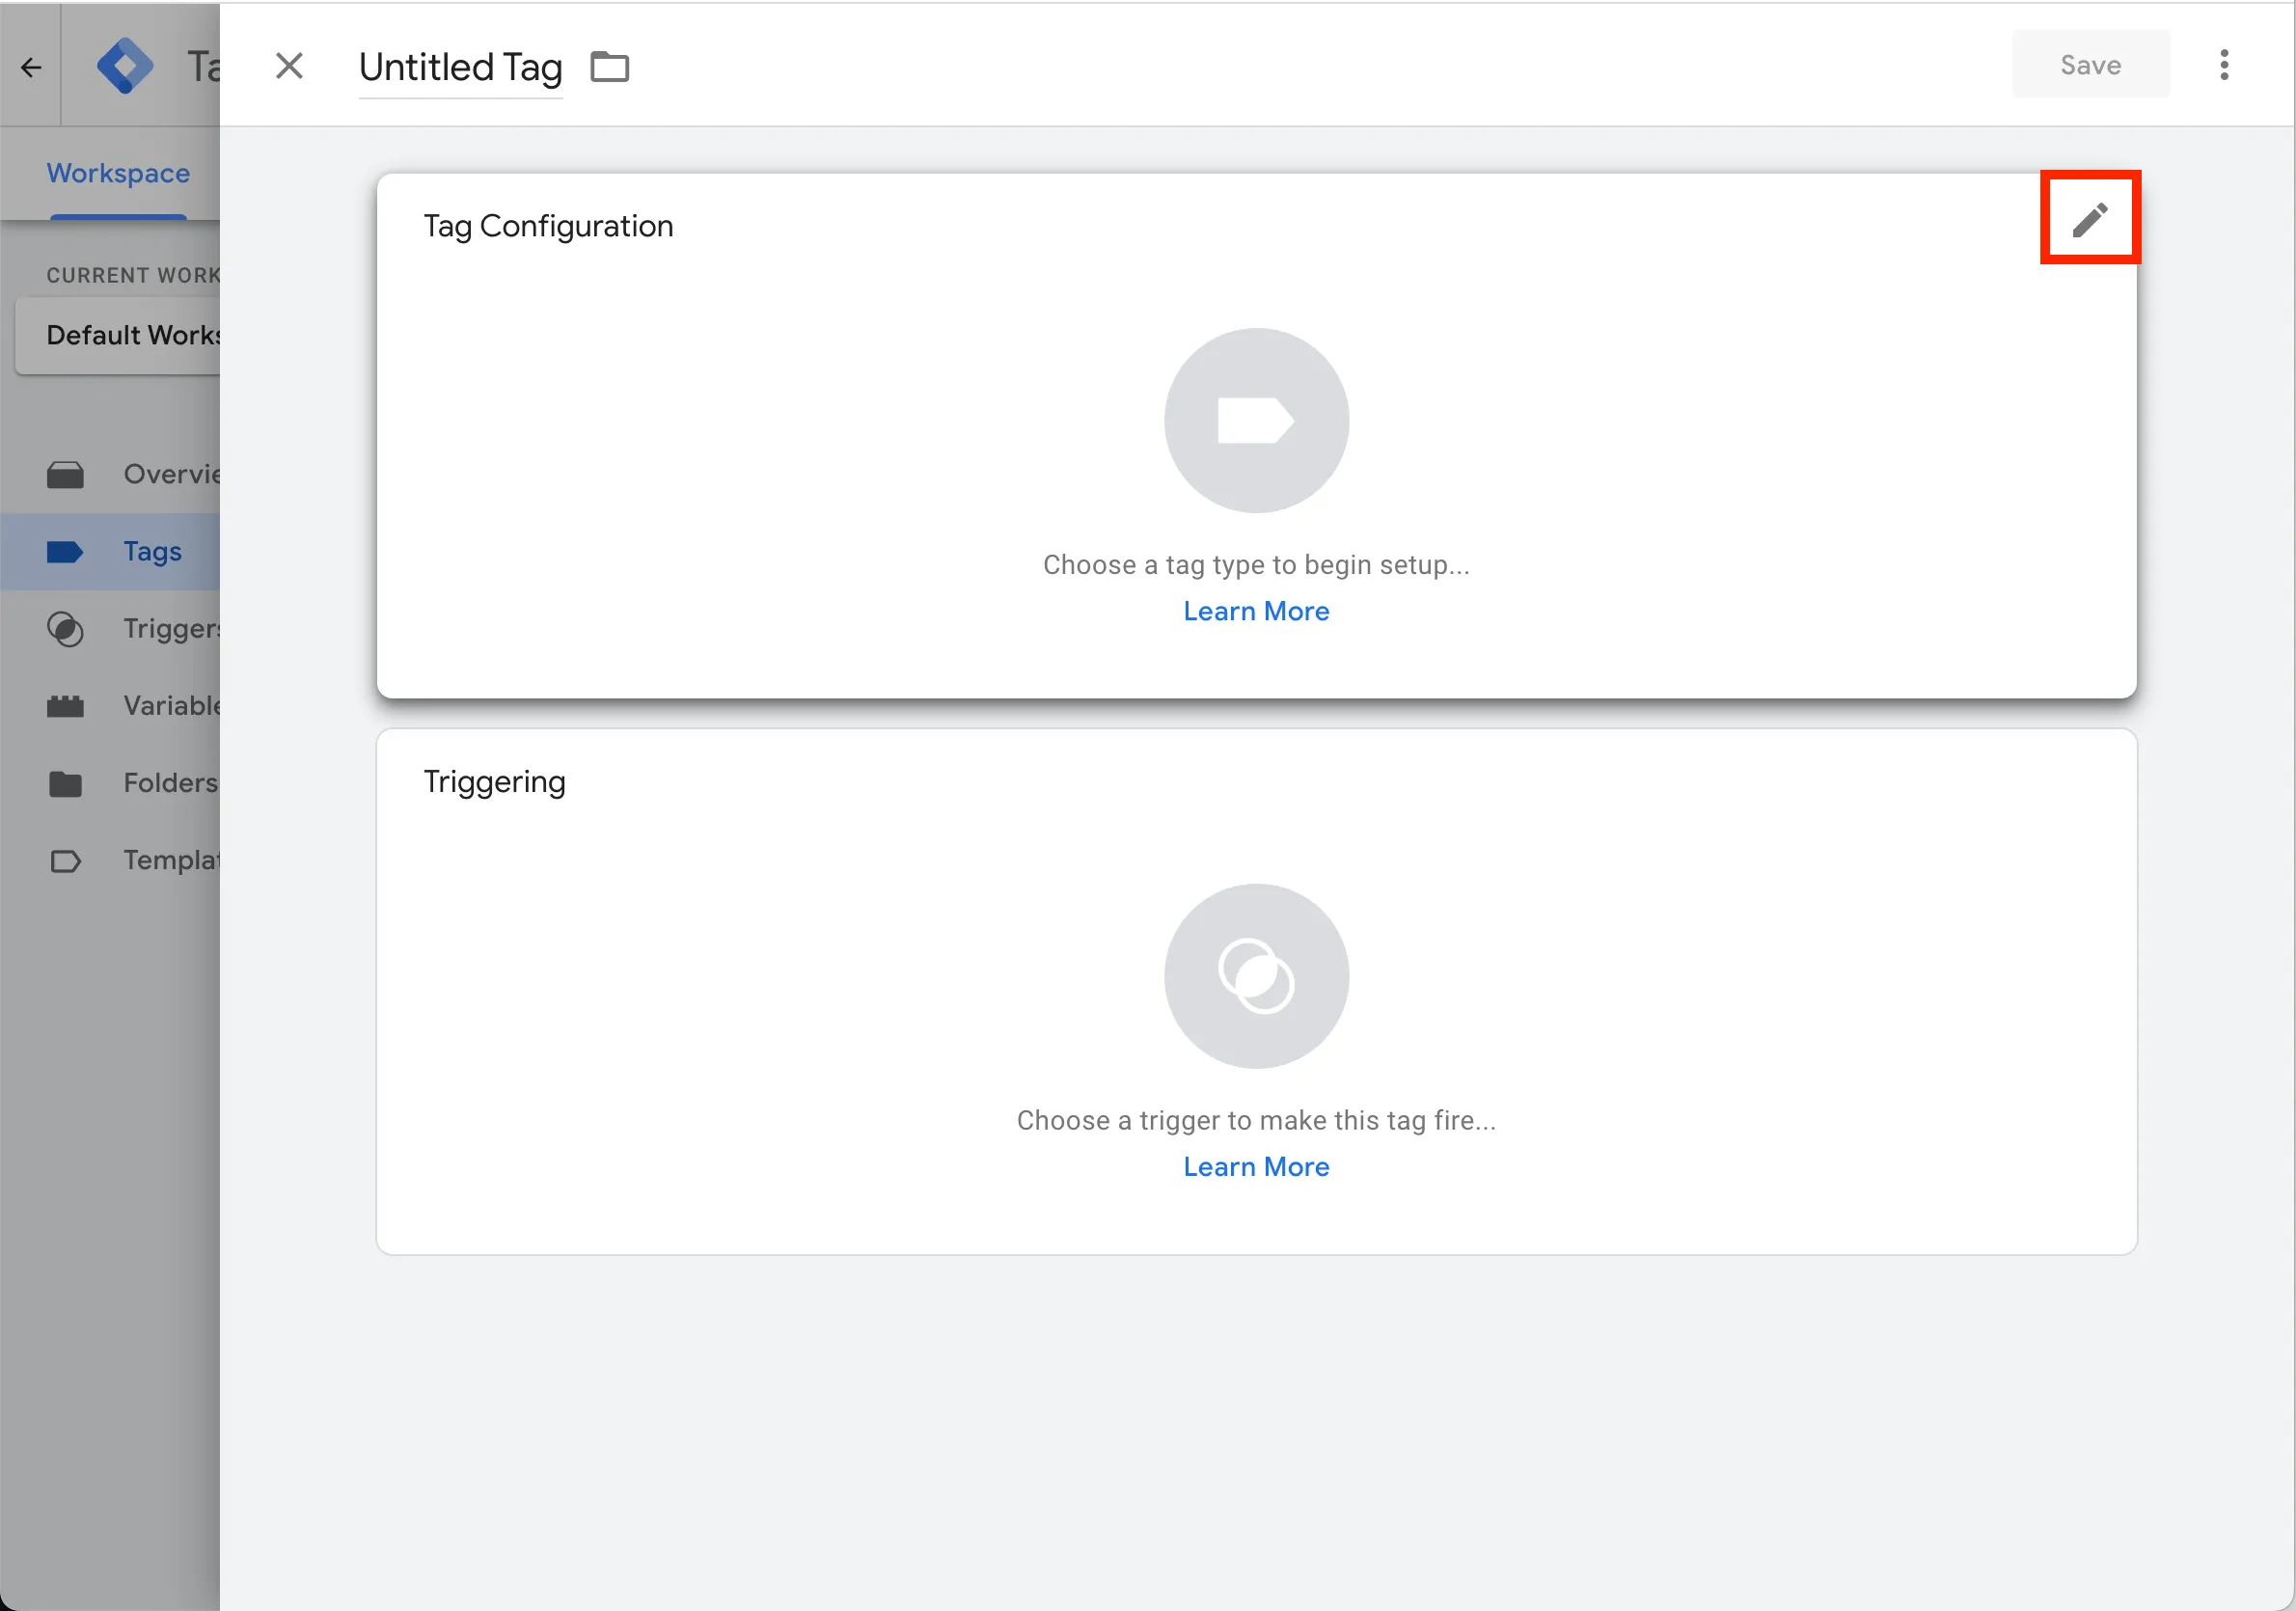
Configure it by selecting the top-right button.
-
Search for
contentsquareand select the Contentsquare - Page Events template that you've previously added to your container.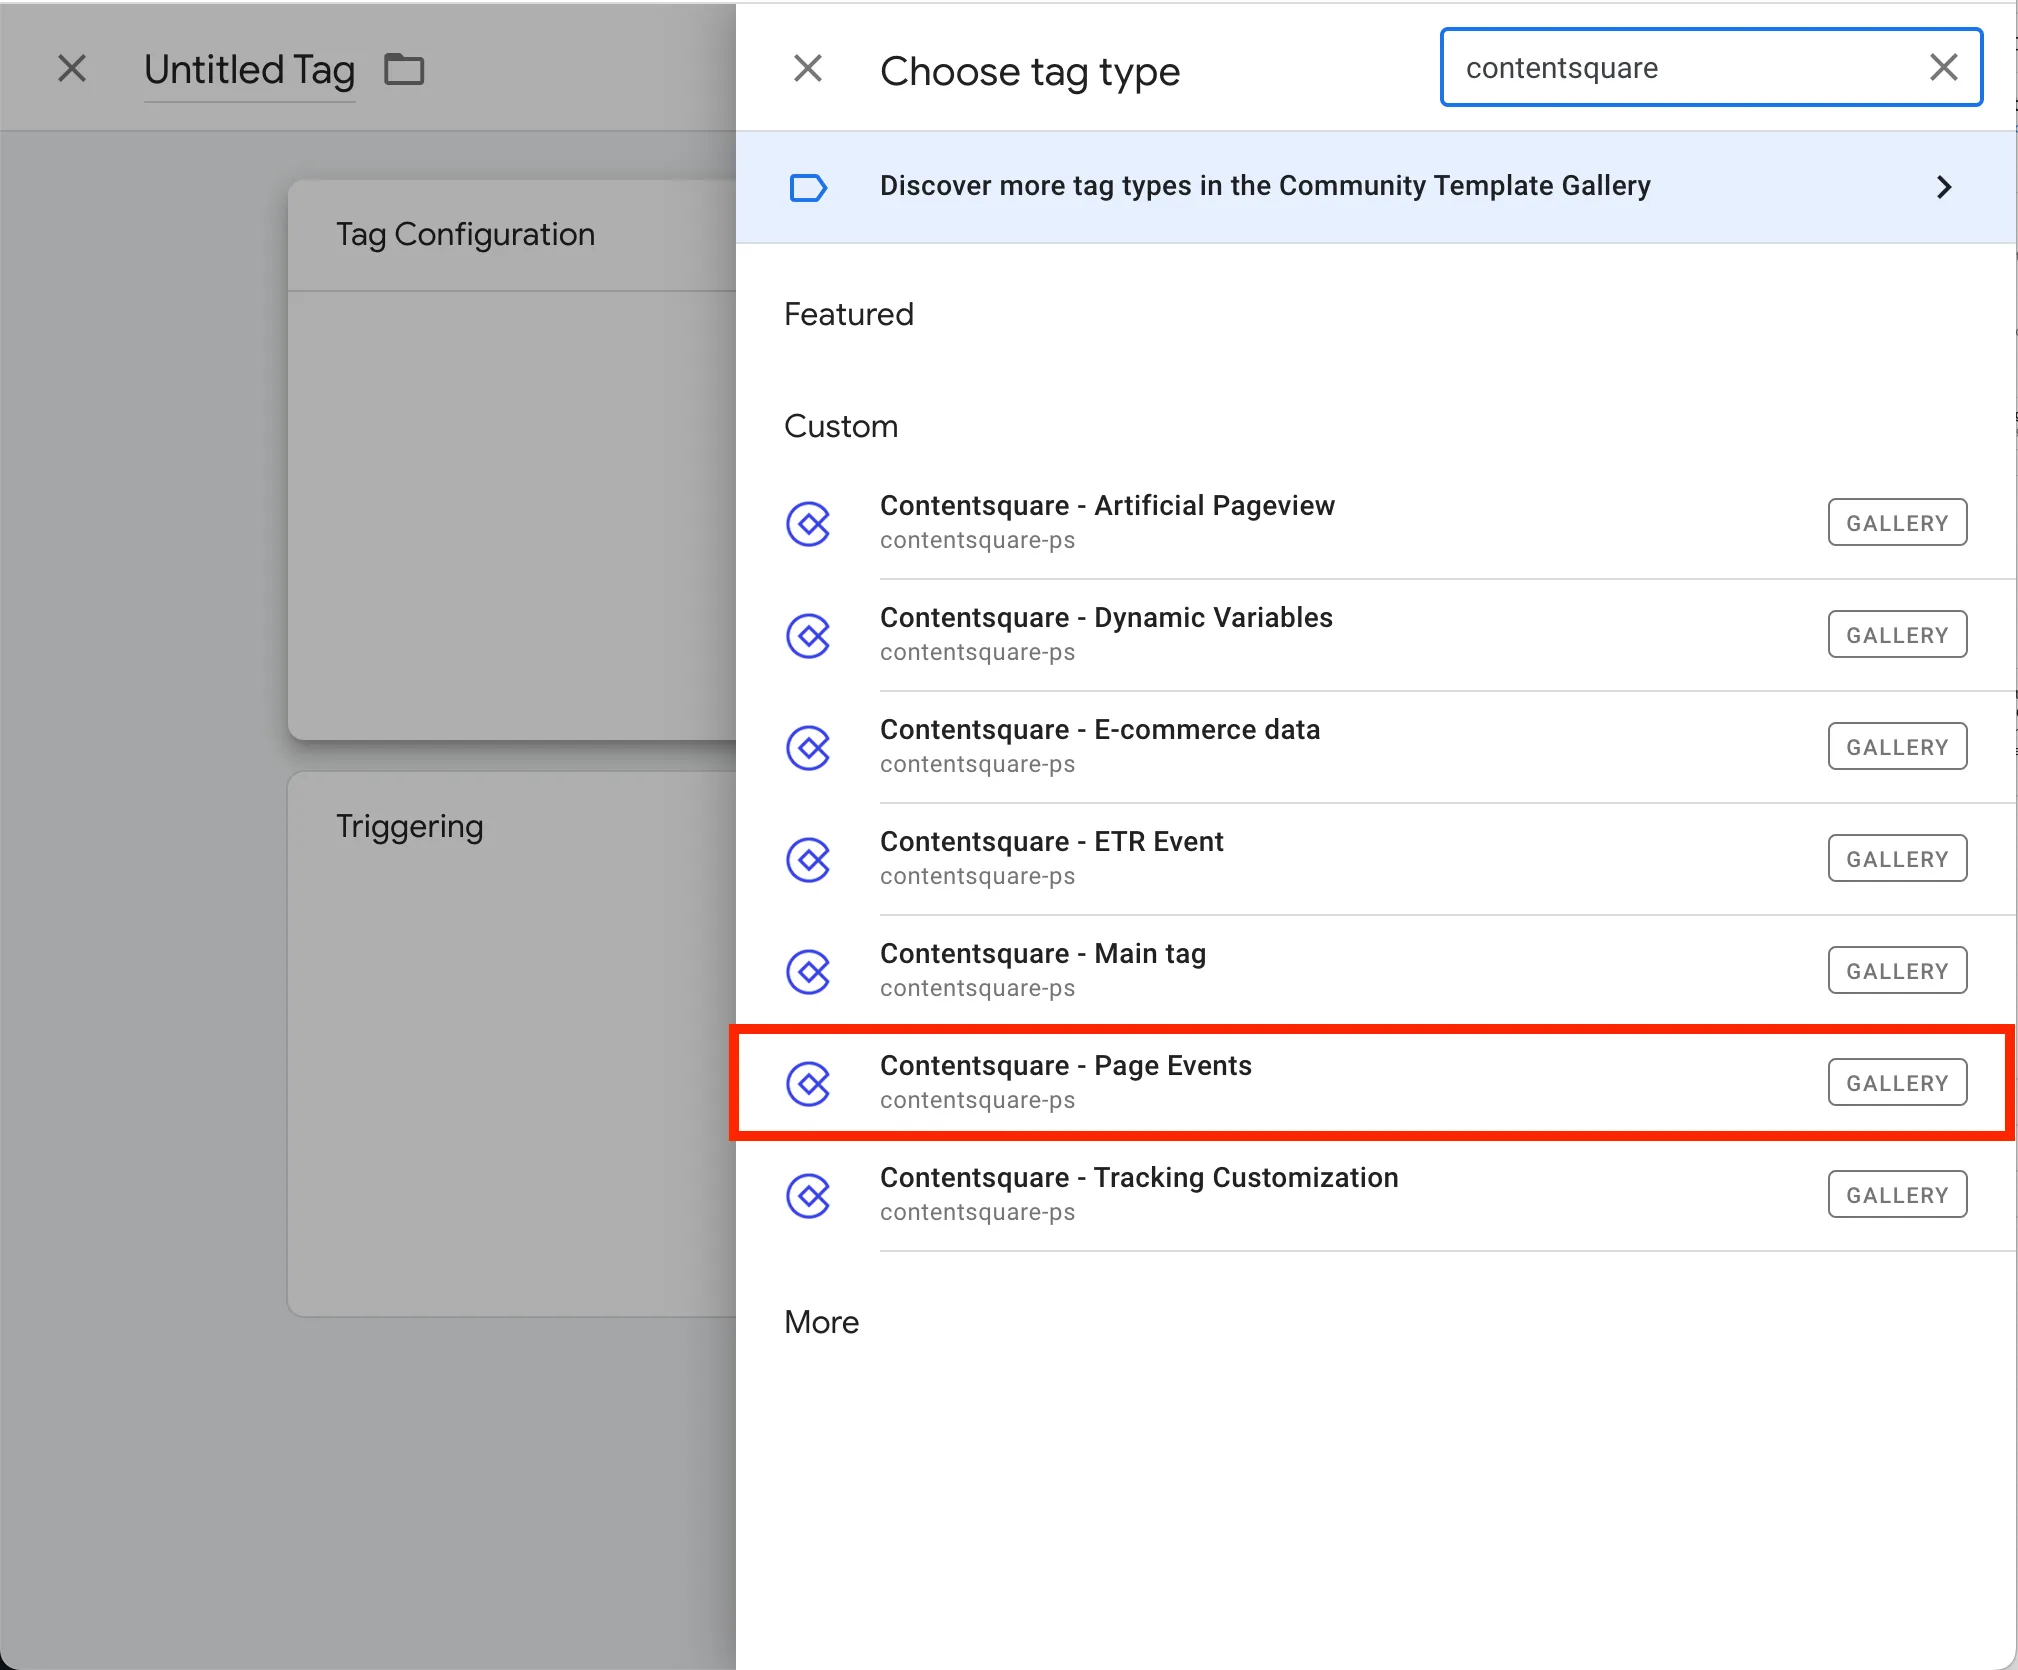
-
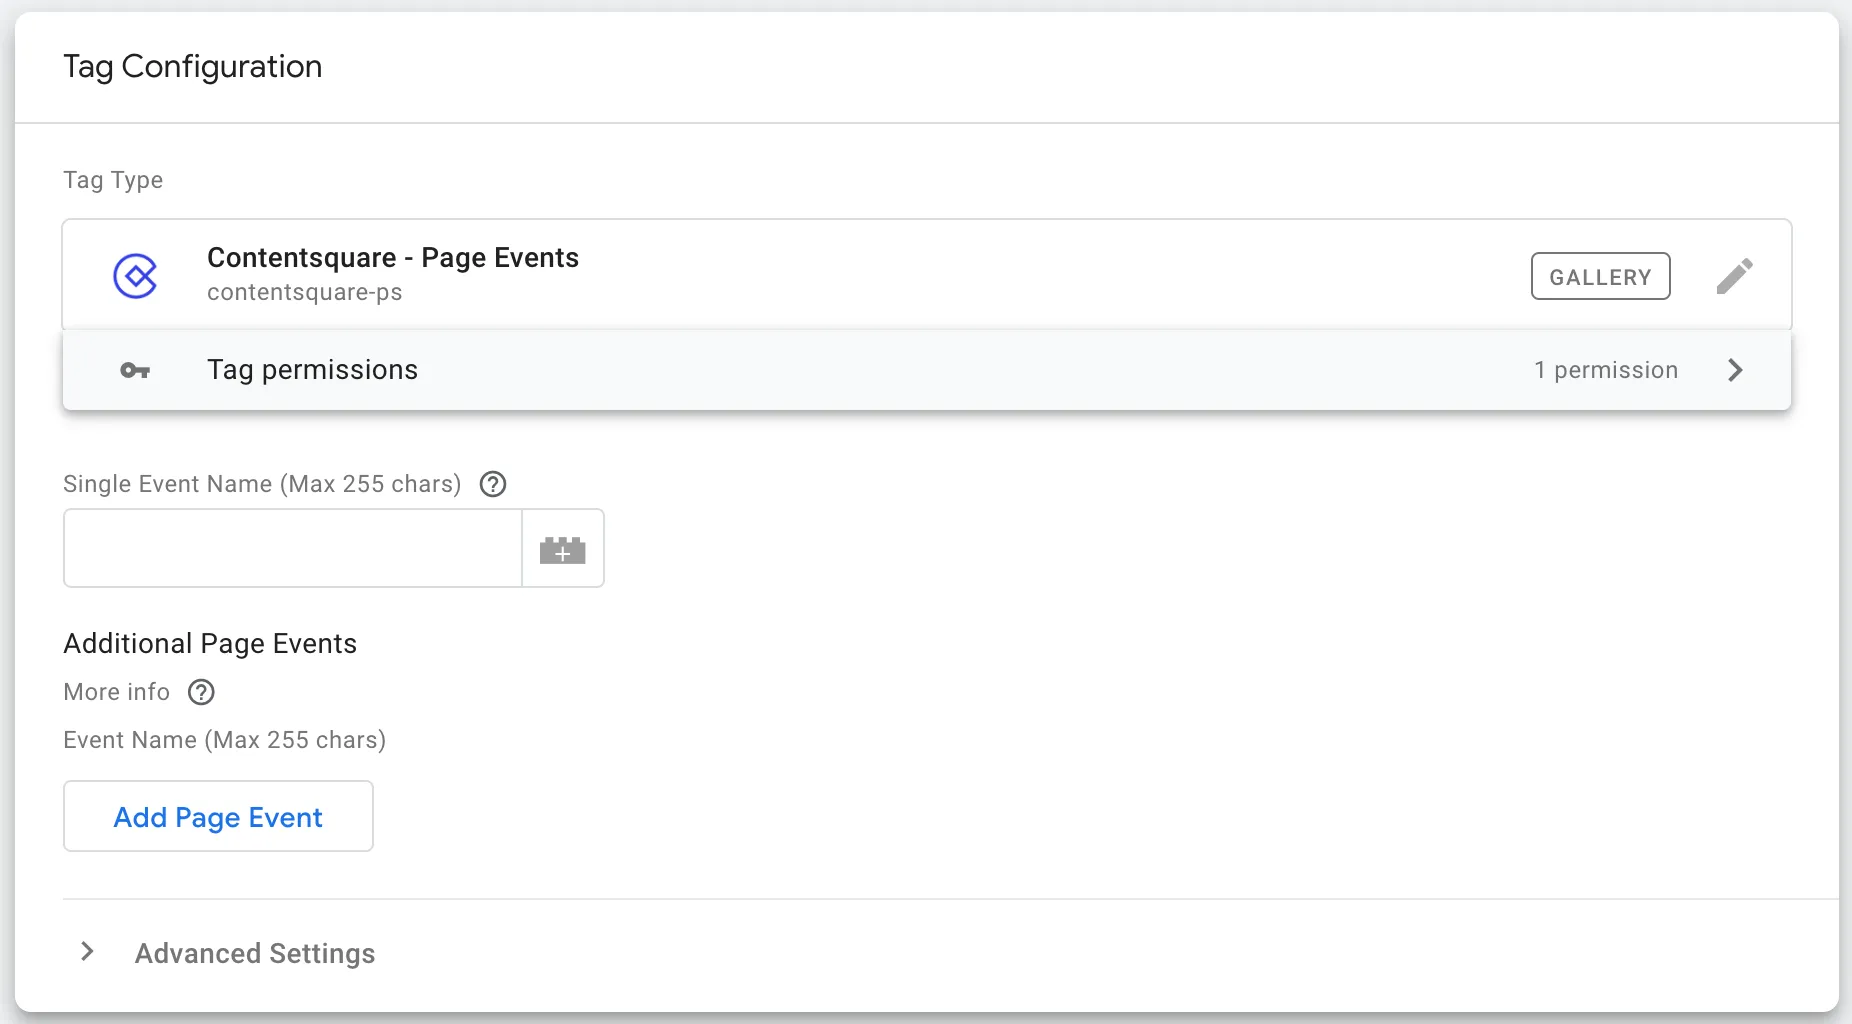
Give a title to the tag and input your Tag ID in the dedicated field.
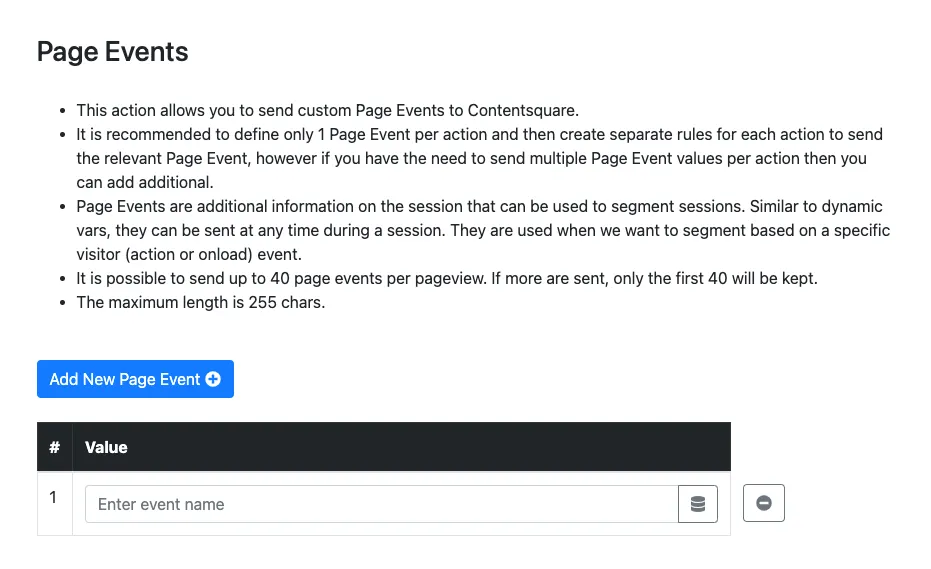
-
Enter the event name.
-
(Optional) If needed, add additional page events.
-
Select the trigger.
-
Save your changes and go back to your container. You should now see both the template and the newly created tag.
Adobe Launch
Section titled Adobe Launch-
Within Tag properties, select Rules > Add Rule.
-
Specify a name, events, and conditions.
-
Add an Action with the following settings:
- Extension:
Contentsquare, - Action Type:
Page Events, - Name:
Contentsquare - Page Event.
- Extension:
-
On the right-hand side, enter the event name.
-
Select Keep Changes > Save.
Custom HTML
Section titled Custom HTMLDefining page Event
Section titled Defining page EventTo define a page Event which will be automatically sent right away, use the trackPageEvent command:
<script type="text/javascript"> window._uxa = window._uxa || []; window._uxa.push(["trackPageEvent", eventName]);</script>For example, here's how to collect a click event:
window._uxa = window._uxa || [];window._uxa.push(["trackPageEvent", "SubscribedToPropertyButtonClick"]);Or how to collect a user identifier to filter Session Replays, with the @user-identifier@ prefix:
<script type="text/javascript"> window._uxa = window._uxa || []; window._uxa.push(["trackPageEvent", "@user-identifier@USER_IDENTIFIER"]);</script>Verifying the sending of page events
Section titled Verifying the sending of page eventsOur Contentsquare Tracking Setup Assistant Chrome Extension ↗ displays each page event sent.
Inspecting the payload
Section titled Inspecting the payloadIf you can't use our Chrome extension, use the _cs_debug cookie.
-
From the browser console, run this command to create the cookie:
document.cookie = "_cs_debug=compressionDisabled" -
Reload the page.
-
In the Network tab, search for
pageEvent, select the request, and check the value of thevalueparameter.
Checking the requests
Section titled Checking the requestsTo check the actual request that is sent for transactions, follow GET requests sent to //c.contentsquare.net/pageEvent, with these parameters.
| Name | Description | Type |
|---|---|---|
value | Page Event (compressed) | String |
pid | Project ID | Integer |
r | A random digit to avoid request caching | Integer |
uu | Unique user ID | String |
pn | Page number (each pageview increments of 1) | Integer |
sn | Session number | Integer |
isETR | Identifies the page Event has ETR or not | Boolean |
v | Tracking tag version | String |