

Set up the extension
This page will guide you to set up Mobile Experience Analytics Extension for Contentsquare Product Analytics.
This will supercharge the Product Analytics platform with:
- Powerful Session Replay
- Heatmaps
- Analysis capabilities of Mobile API Errors and Crashes
This guide assumes that you have already implemented the CSQ SDK for Product Analytics.
Enable the extension in the Product Analytics UI
Section titled Enable the extension in the Product Analytics UI- In Product Analytics, navigate to Account > Manage > Replays & Heatmaps.
- If this is your first time setting up Session Replay, select the checkbox to accept the terms and conditions.
- Click Add web or mobile app to launch the setup wizard. There is one configuration per app.
- Select Mobile as platform.
- Give your app a name and choose a storage location (US or EU).
- Set a sampling rate for how many sessions to record.
- Configure replay settings:
- App ID: enter the bundle ID of your app (for example,
com.companyname.appname). - Quality Settings: choose the recording fidelity for Wi-Fi and Cellular connections. The default for both is Medium; keep Cellular equal to or lower than Wi-Fi.
- User Consent: enable this if your app requires explicit opt-in before recording. See Privacy docs for the opt-in API.
- App ID: enter the bundle ID of your app (for example,
- Click Save and Continue to finish the wizard.
Enable error and crash collection
Section titled Enable error and crash collectionError and crash collection is managed separately from the setup wizard. Navigate to Account > Manage > Replays & Heatmaps, click Edit next to your app configuration, then scroll to the relevant section under General Settings:
- Error Capture: toggles for API Errors and Custom Errors.
- Crashes Capture: toggle for Crashes.
Click Save when finished.
Session Replay masking
Section titled Session Replay maskingThe Session Replay feature replays every interaction of your users with your app. To respect the user's right to privacy, the Contentsquare SDK:
- Masks everything by default
- Allows you to control which part of the user interface is collected via our Masking rules
Masking mechanisms
Section titled Masking mechanismsMasking depends on the type of element:
| Element Type | Masking Behavior |
|---|---|
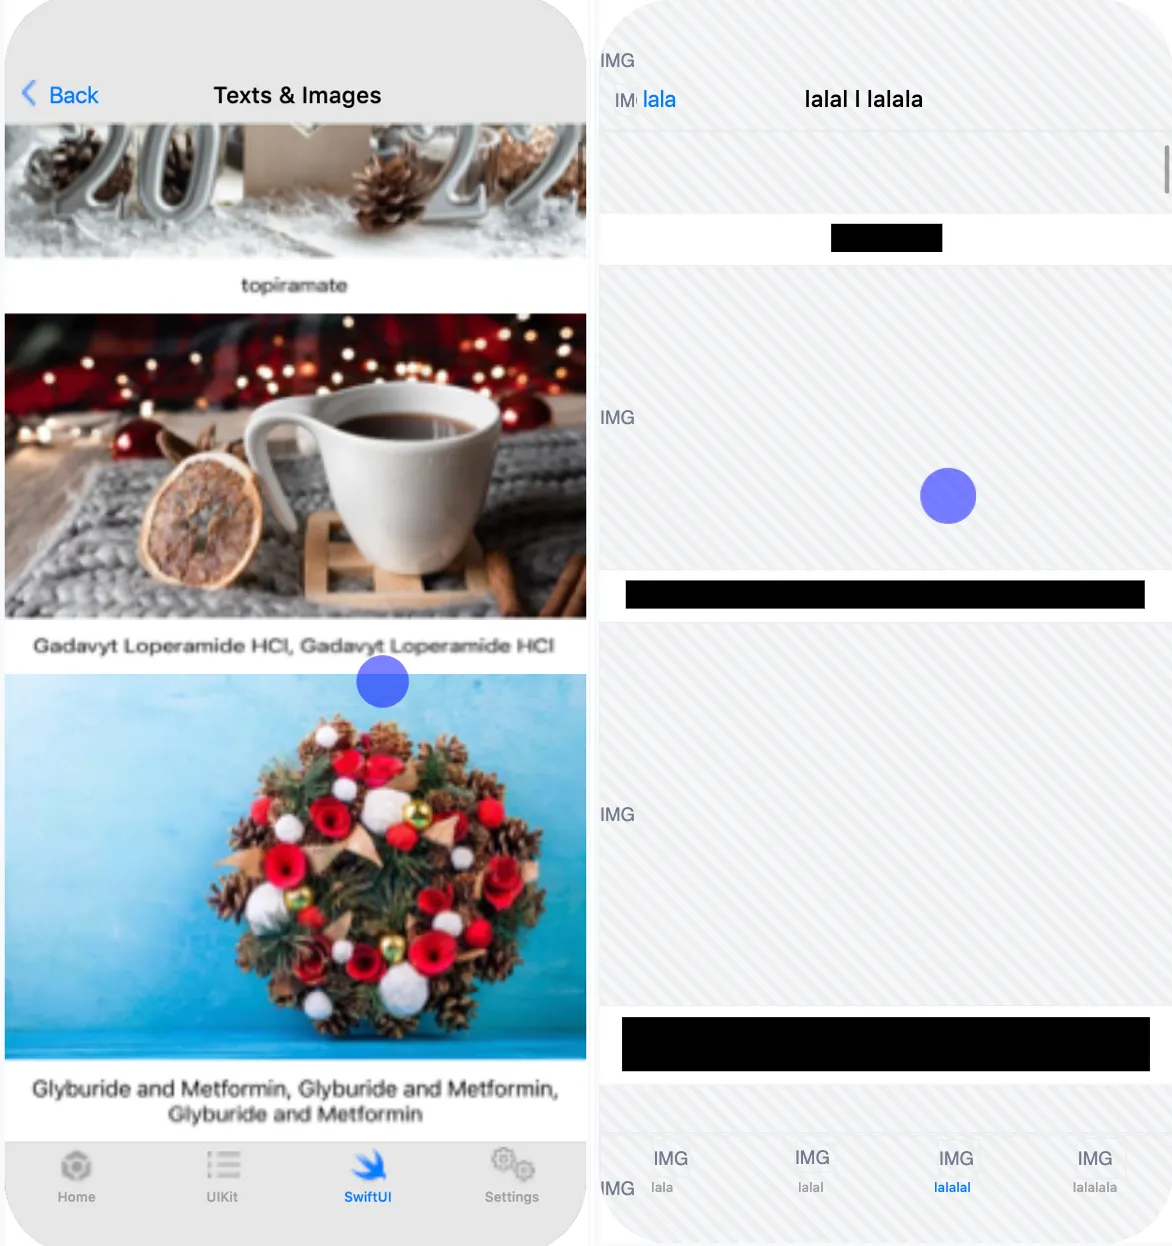
UIKit.UIImage and SwiftUI.Image | Image isn't collected, a placeholder is sent instead of the content; the "IMG" placeholder will be displayed in the frame of the element. |
UIKit.UILabel and UIKit.UITextView | Text is replaced by "la" repeated as many times as needed to equal the original character count. White characters are preserved. For instance the lazy fox is collected as lal lala ala. All other visual properties are collected (text color, background color, alignment, etc.). |
UIKit.UITextField | Same as UIKit.UILabel or UIKit.UITextView unless isSecureTextEntry is set to true. In this case all characters, including whitespaces are replaced with "•". |
SwiftUI.Text | Element is replaced by a black rectangle. |
| All other types | No specific data is collected but all visual properties are collected: size, background color, corner radius, etc. |
If you think a specific element can reveal personal data from one of these properties mask it using one of the methods presented below.
An efficient way to check how a view is rendered in the Session Replay is to navigate to the desired view with the SDK running then use the quick replay link.
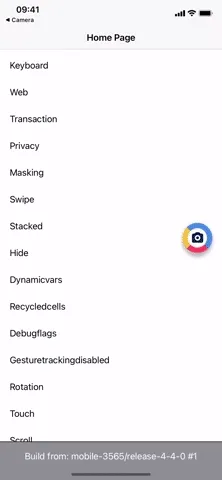
Original vs Replay fully masked
Section titled Original vs Replay fully masked
Masking rules
Section titled Masking rulesMasking rules can be applied in two ways:
-
Through remote masking configuration in the CSQ Console (for admin users): this is managed directly in the Console and takes effect for all sessions as soon as the app is restarted or brought to the foreground. See How to customize masking rules from the Data Masking tab ↗ in the Help Center.
-
Using public masking APIs in the SDK (for mobile application developers): these APIs require developer implementation and will be applied only after the mobile app has gone through its release cycle.
The SDK determines whether views, images, and texts are masked according to the following rules, ranked from highest to lowest priority. Once a rule is triggered, the state is set, and subsequent rules are not applied.
General rules
Section titled General rules| Rules (highest to lowest priority) | Configured via |
|---|---|
| 1. The app or SDK version is fully masked | Data Masking tab in the CSQ Console ↗ |
| 2. Remote Text or Image masking is defined | Data Masking tab in the CSQ Console ↗ |
| 3. An instance is specifically masked or unmasked | API |
| 4. A parent is specifically masked or unmasked | API |
| 5. A type is masked or unmasked | API |
| 6. A parent type is masked or unmasked | API |
| 7. Remote Text or Image unmasking is defined | Data Masking tab in the CSQ Console ↗ |
| 8. Otherwise the default masking state is applied | API |
Text input fields rules
Section titled Text input fields rulesUIKit.UITextField, UIKit.UITextView and SwiftUI.TextField text inputs follow specific rules as the risk of leaking personal data is higher with these elements:
| Rules (highest to lowest priority) | Configured via |
|---|---|
| 1. The app or SDK version is fully masked | Data Masking tab in the CSQ Console ↗ |
| 2. Remote Text inputs masking is defined | Data Masking tab in the CSQ Console ↗ |
| 3. An instance is specifically masked or unmasked | API |
| 4. A type is masked or unmasked | API |
| 5. Otherwise a text input field remains masked | default |
Public masking APIs
Section titled Public masking APIsDefault masking
Section titled Default maskingAll iOS views and subclasses of UIView are fully masked by default.
Change the default masking state with:
/// Change the masking state of all types of views./// - Parameter mask: true restores the default masking state./// false unmasks every type of views.static func setDefaultMasking(_ mask: Bool)Masking/Un-masking by instance
Section titled Masking/Un-masking by instanceUse mask(view:) and unmask(view:) methods to mask or unmask a specific view instance. Masking is applied recursively to all subviews unless specified otherwise (cf. Masking and Unmasking behaviors on a parent view).
Following the previous example on un-masking UIButtons: you are in default masking, the UIButton are unmasked but a screen shows a button, myButton, that contains sensitive information. You can mask it with mask(view: myButton).
Mask or unmask a SwiftUI View instance by using the following view modifier. Masking is applied recursively to all subviews unless specified otherwise (cf. Masking and Unmasking behaviors on a parent view).
@ViewBuilderfunc csMasking(_ shouldMask: Bool) -> some ViewMasking/Un-masking by type
Section titled Masking/Un-masking by typeAlthough the SDK allows masking elements by type for convenience but it isn't the recommended masking mechanism because it impacts all screens of your application.
Use this when you have a specific class for presenting user information or for displaying the user profile picture to make sure it always stays masked, for instance.
Use mask(viewsOfType:) and unmask(viewsOfType:) methods if you want to handle a specific type, whether system or custom.
Example: un-masking UIButtons:
If default masking is set to true, and you don't want any button to be masked, call unmask(viewsOfType: UIButton.self): to specify that all instances of UIButton and its subclasses should not be masked.
Mask or un-mask by type using following methods as needed:
/// Masks or unmasks all text elements.////// The text elements are `Text` for SwiftUI and `UILabel` for UIKitstatic func maskTexts(_ mask: Bool)/// Masks or unmasks all image elements.////// The image elements are `Image` for SwiftUI and `UIImageView` for UIKit.static func maskImages(_ mask: Bool)/// Masks or unmasks all text input elements.////// The text input elements are `TextField`, `SecureField`, `TextEditor` for SwiftUI/// and `UITextField`, `UITextView` for UIKit.///static func maskTextInputs(_ mask: Bool)Masking and Unmasking behaviors on a parent view
Section titled Masking and Unmasking behaviors on a parent viewUIKit
Section titled UIKitMasking is applied recursively to all children unless a specific rule has been applied to one of them. In this case, this rule also applies recursively.
Examples
Consider the following structure:
(parent view)------------------------| "Parent Label" || || (child view) || -------------------- || | "Child Label" | || | | || -------------------- || |------------------------Here's how the masking rules applied affect the parent and child labels:
| Rules applied | Parent Label | Child Label |
|---|---|---|
| No rule applied | Masked | Masked |
| Parent view unmasked | Unmasked | Unmasked |
| Parent view unmasked and child view masked | Unmasked | Masked |
| Default masking = false | Unmasked | Unmasked |
| Default masking = false and parent view masked | Masked | Masked |
See Masking rules.
Unmasking an instance when its type is masked
If you've masked UILabel types specifically or are in default masking, call unmask(view: myLabel) so that all UILabel instances are masked except myLabel.
Mask an instance when its type is unmasked
If you've unmasked the UILabel type specifically or are using default masking, call mask(view: myLabel) so that no UILabel is masked except myLabel.
Implementation recommendations
Section titled Implementation recommendationsMasking operations should always be performed before the target view is added to the window to avoid any Personal Data leak.
For instance, you can set up masking in the didFinishLaunching
callback of your app or if you need to change masking behavior while your app is launched: this
can be done in loadView, viewDidLoad or viewWillAppear if you use a ViewController.
Masking operations should be done as early as possible.
For masking by type, in the setup of your app for instance.
For masking by instance, in the body of your View by calling
the csMasking modifier.
Keeping track of what is masked
Section titled Keeping track of what is maskedThe SDK doesn't provide a list of what is currently masked, if you need to keep track, you probably will have to write your specific wrapper.
Masking operations performance impact
Section titled Masking operations performance impactRepeating the same operation has little to no impact. For example, you can call unmask(viewsOfType: UIButton.self) multiple times without impacting the SDK or your app performance.