---
title: The E-commerce tag - Web
description: The e-commerce tag is used to keep track of the e-commerce transactions happening on the site and empower analysis with revenue-related metrics
lastUpdated: 05 December 2025
source_url:
html: https://docs.contentsquare.com/en/web/ecommerce-tag/
md: https://docs.contentsquare.com/en/web/ecommerce-tag/index.md
---
The e-commerce tag is used to keep track of the e-commerce transactions happening on the site and empower analysis with revenue-related metrics.
It needs to be **fired a single time on the confirmation page**, after the transaction has been finalised, and needs the following **mandatory parameters** in order to function:
* Transaction ID, which is the unique identifier for that transaction
* Revenue, which is the total amount of the purchase
You can also include the following **optional** parameters:
* Currency, which is the currency used for the purchase and also in our platform for a potential conversion. [Full technical documentation firing the e-commerce tag…](https://docs.contentsquare.com/en/web/sending-ecommerce-commands/)
## Google Tag Manager (Template)
1. Open your container and go to the **templates** section 
2. Select **Search gallery** 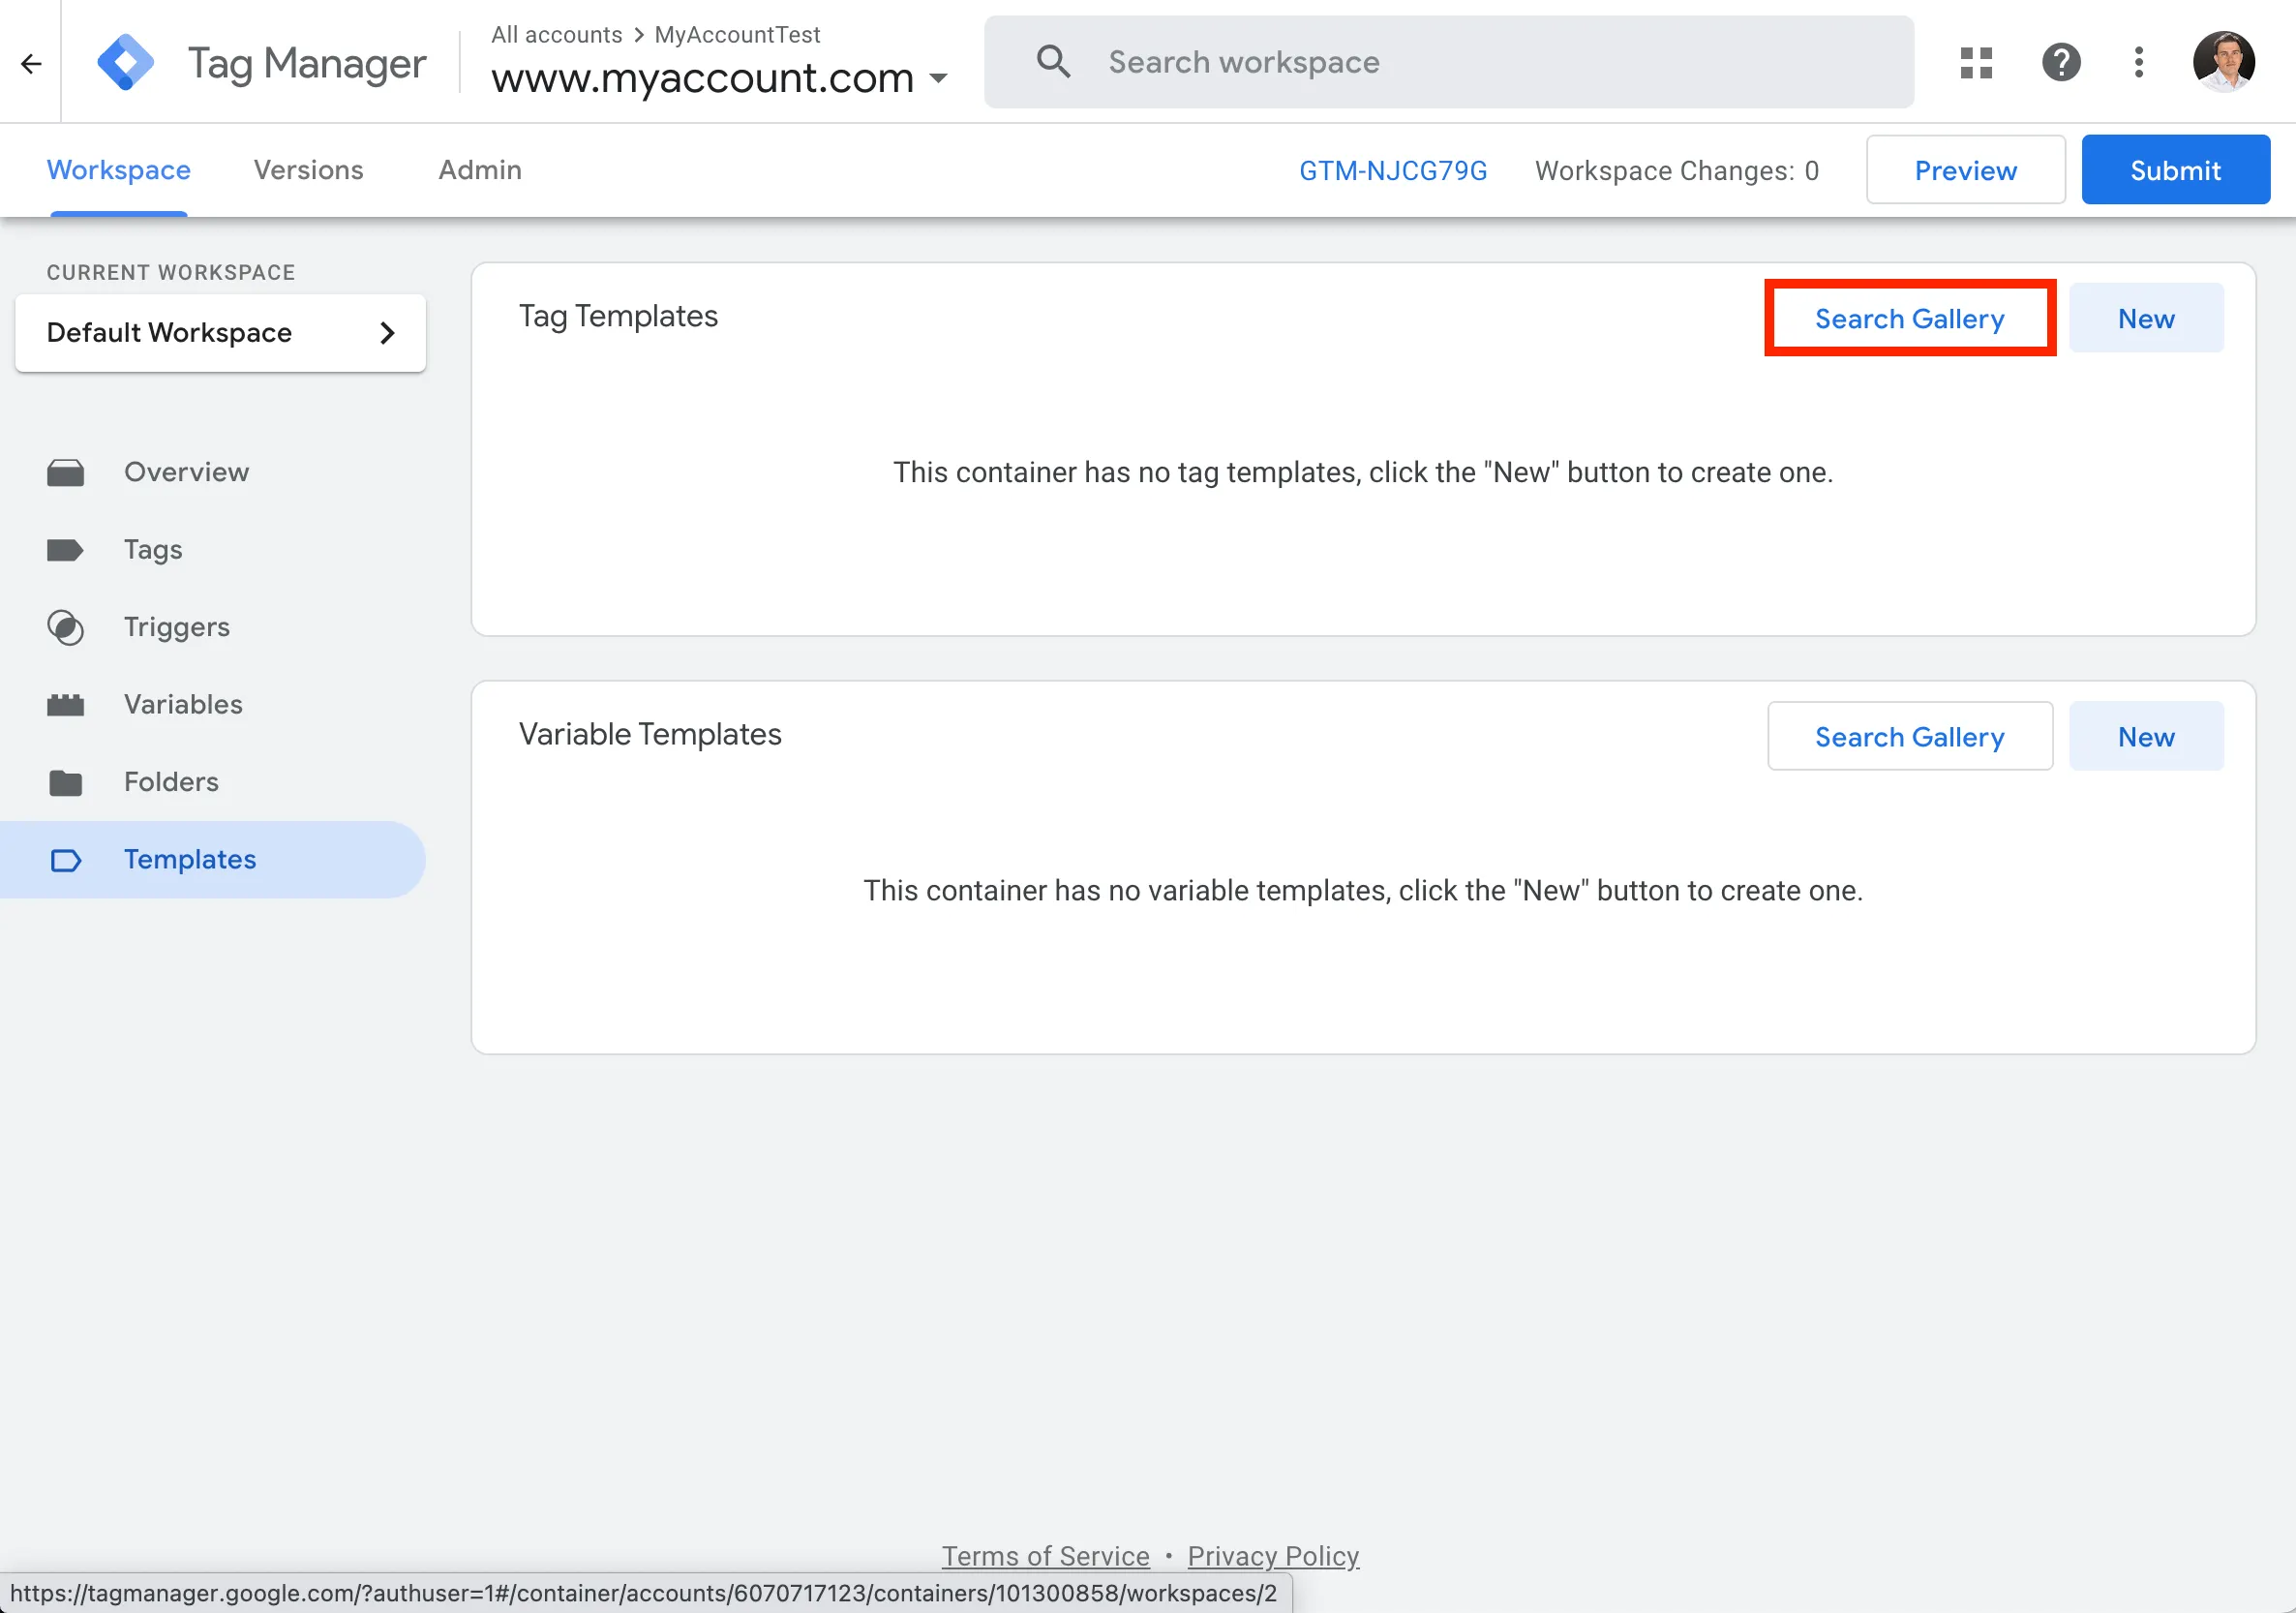
3. Type in **`contentsquare`** and select the **Contentsquare - E-commerce data** option 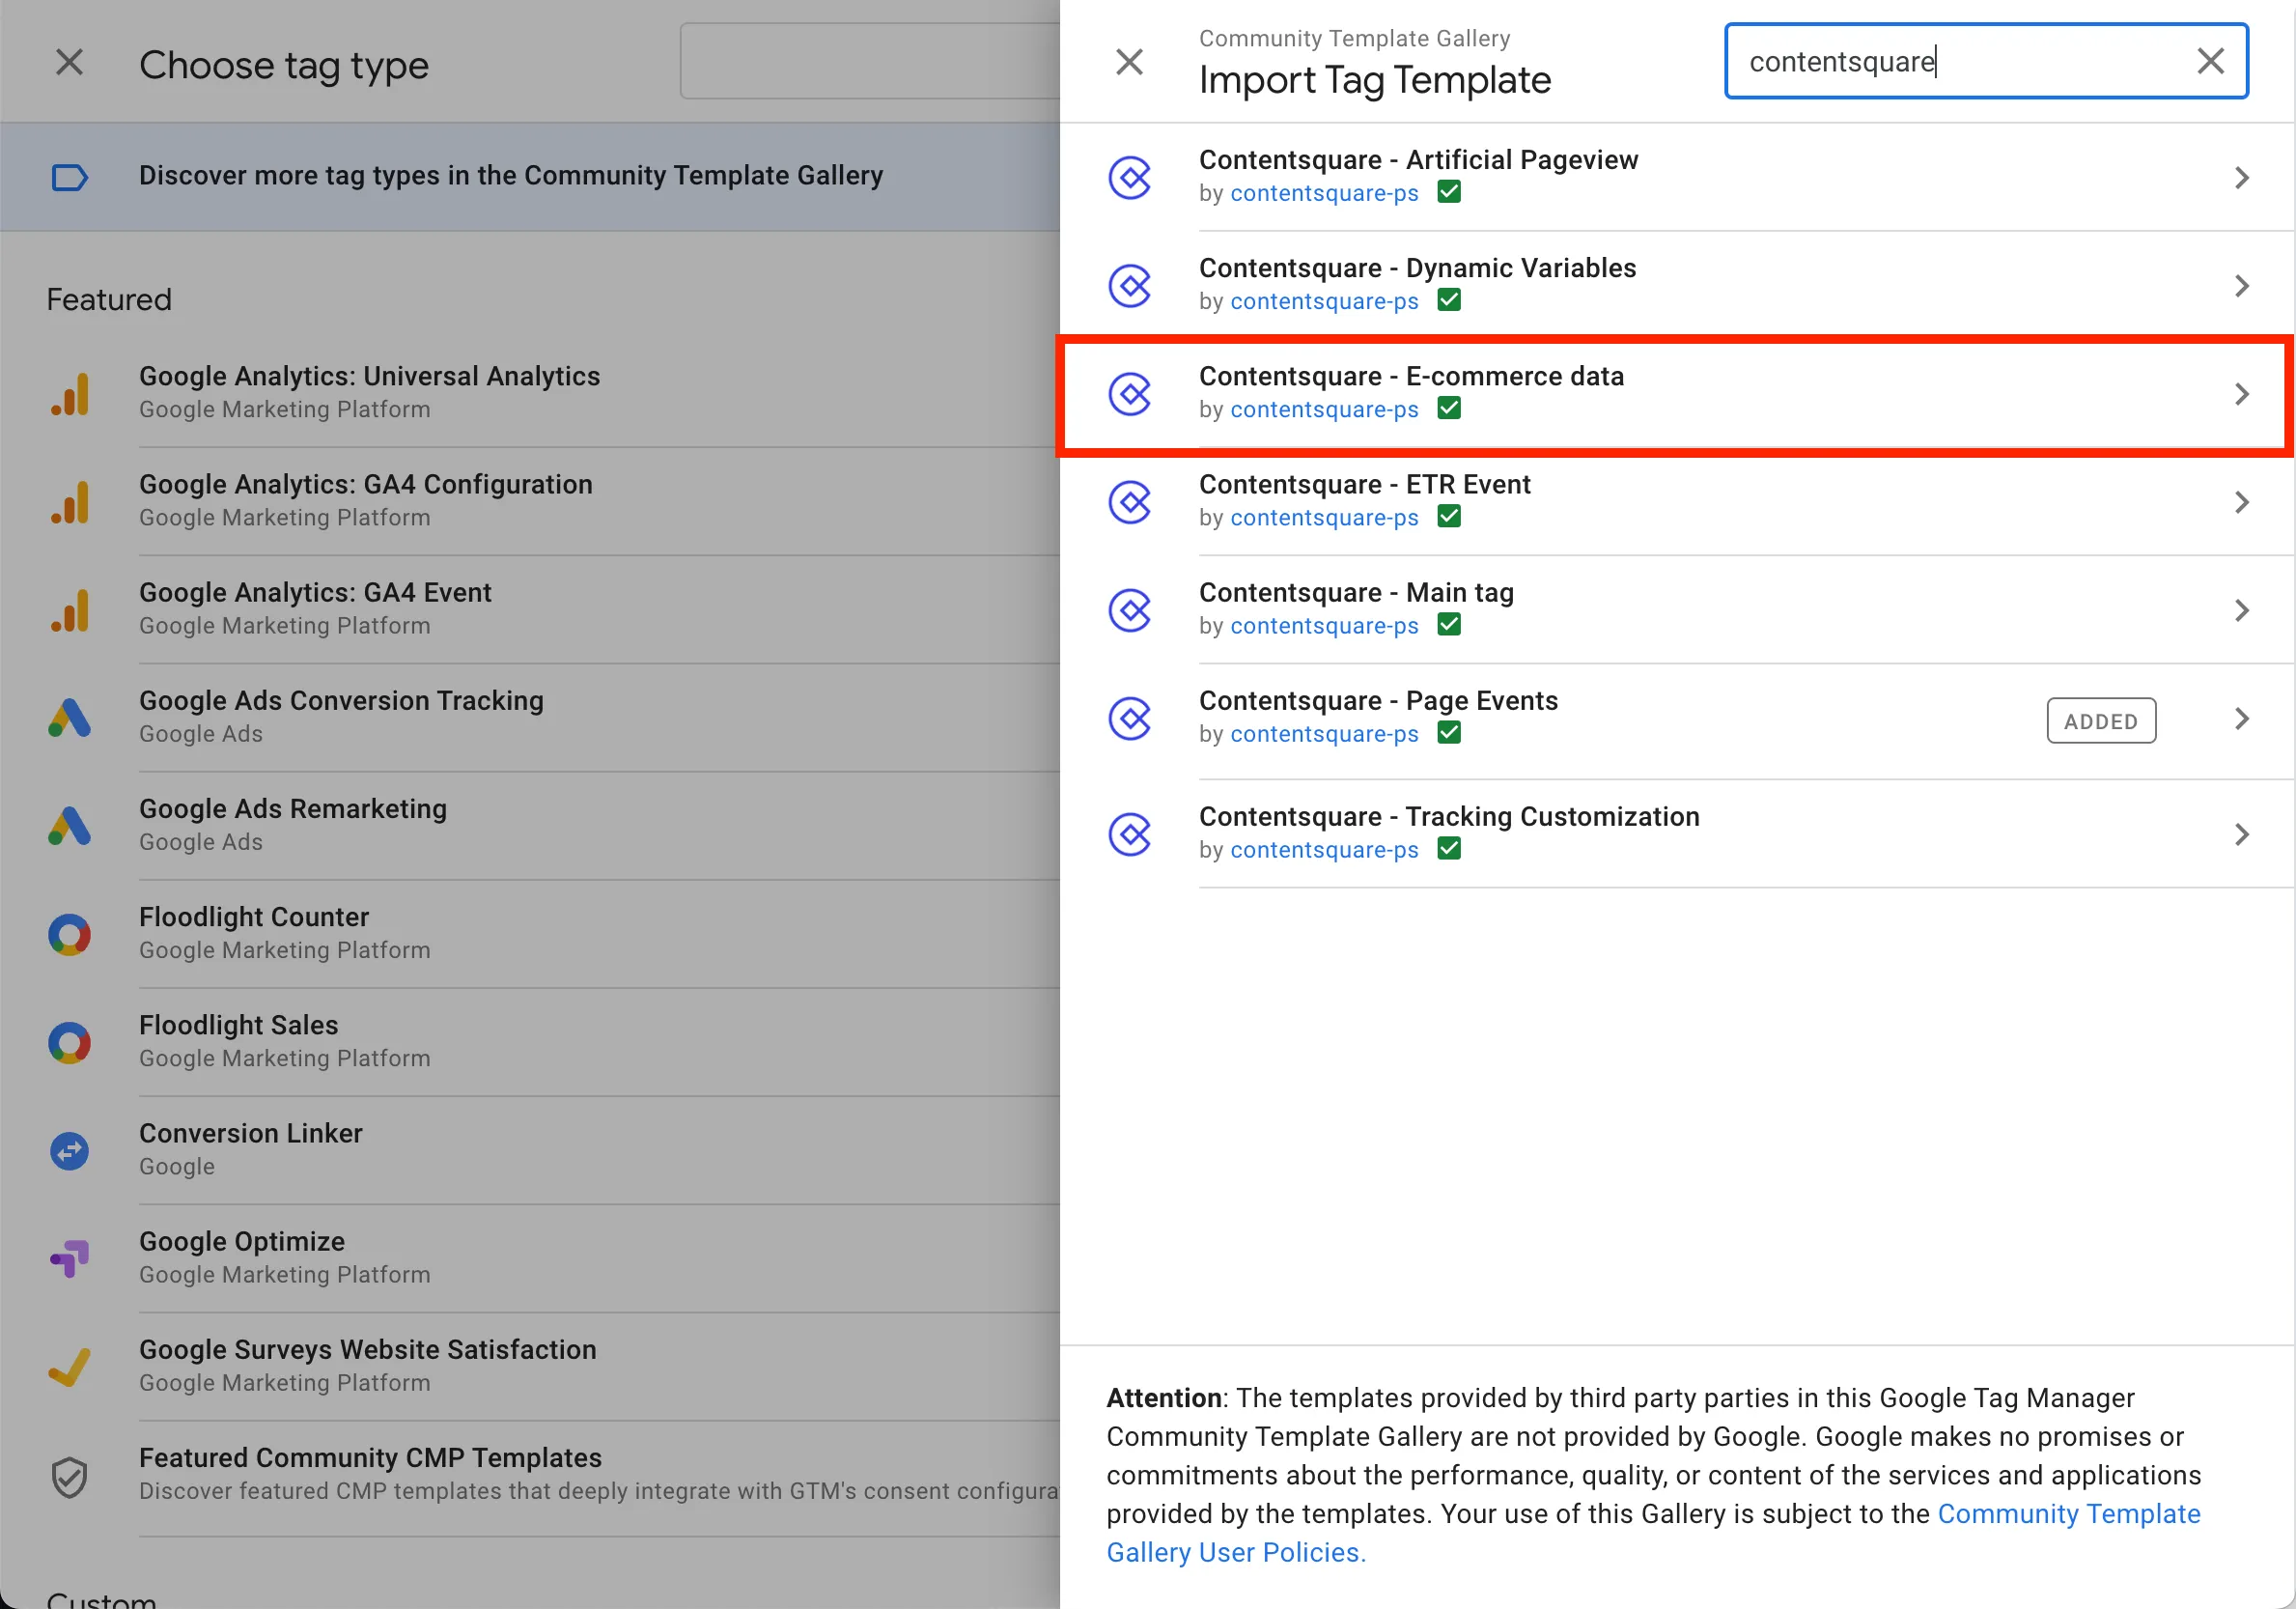
4. Click **Add to workspace** 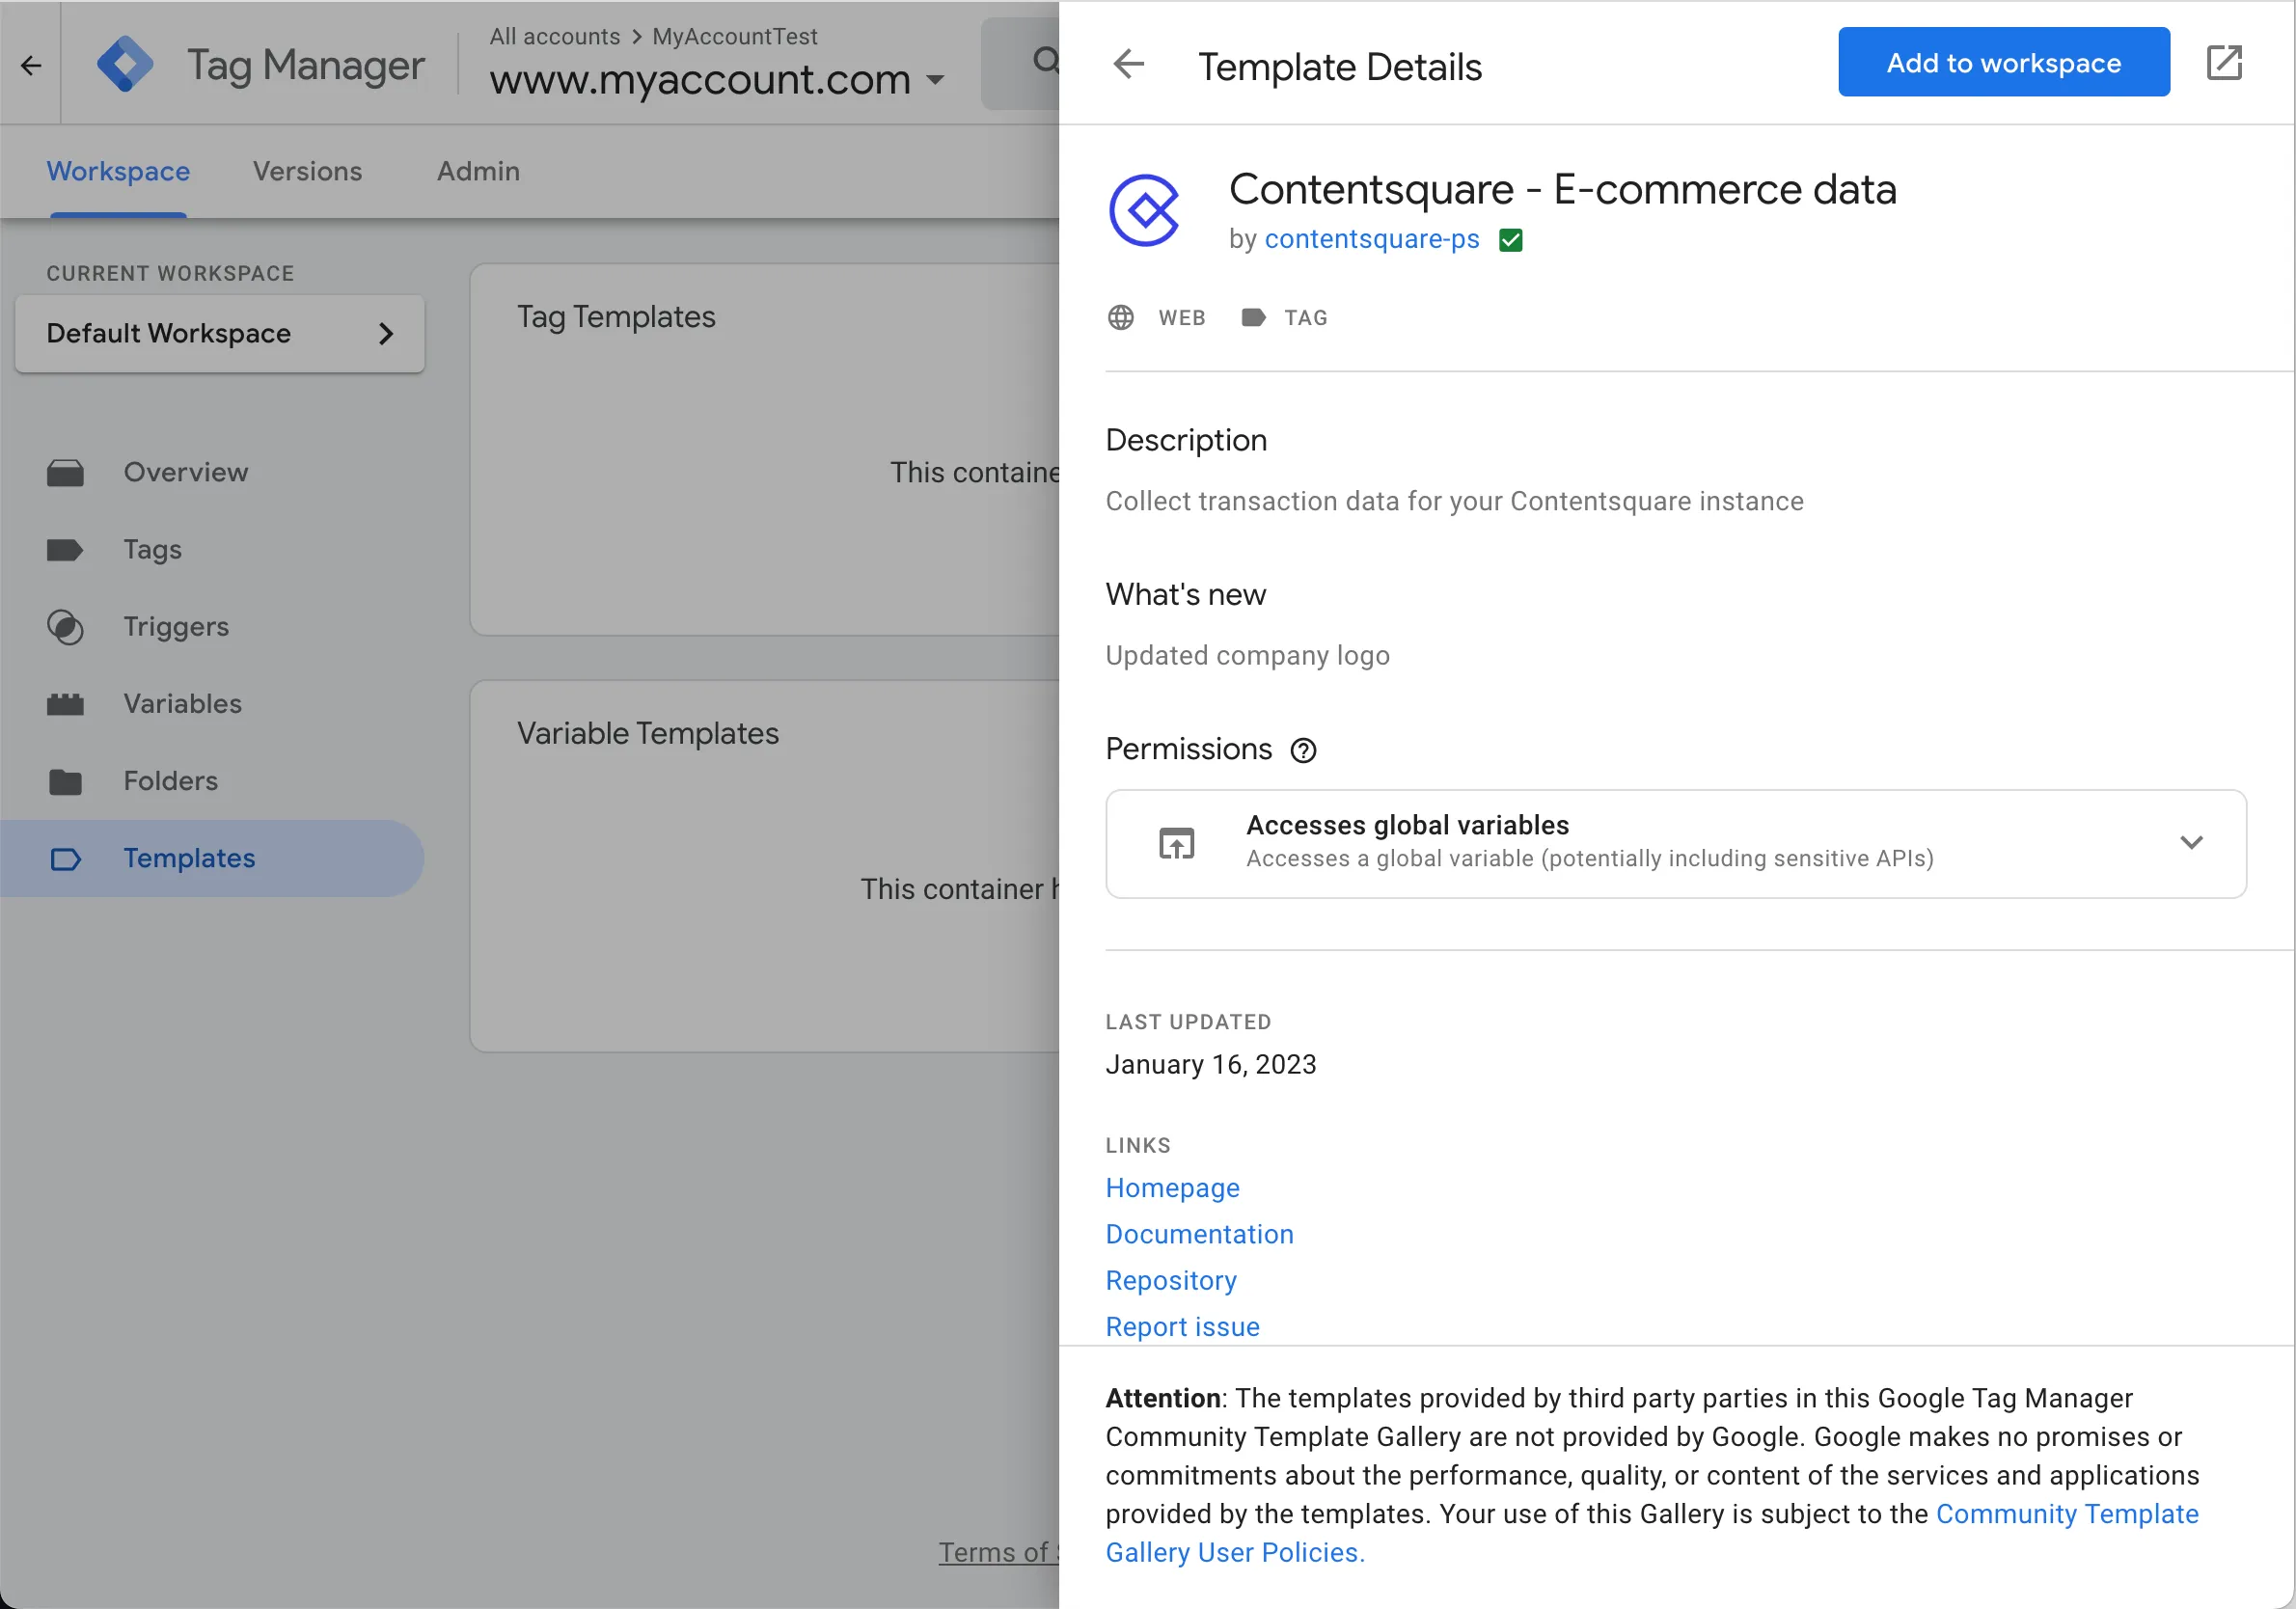
5. Confirm your choice by selecting **Add** 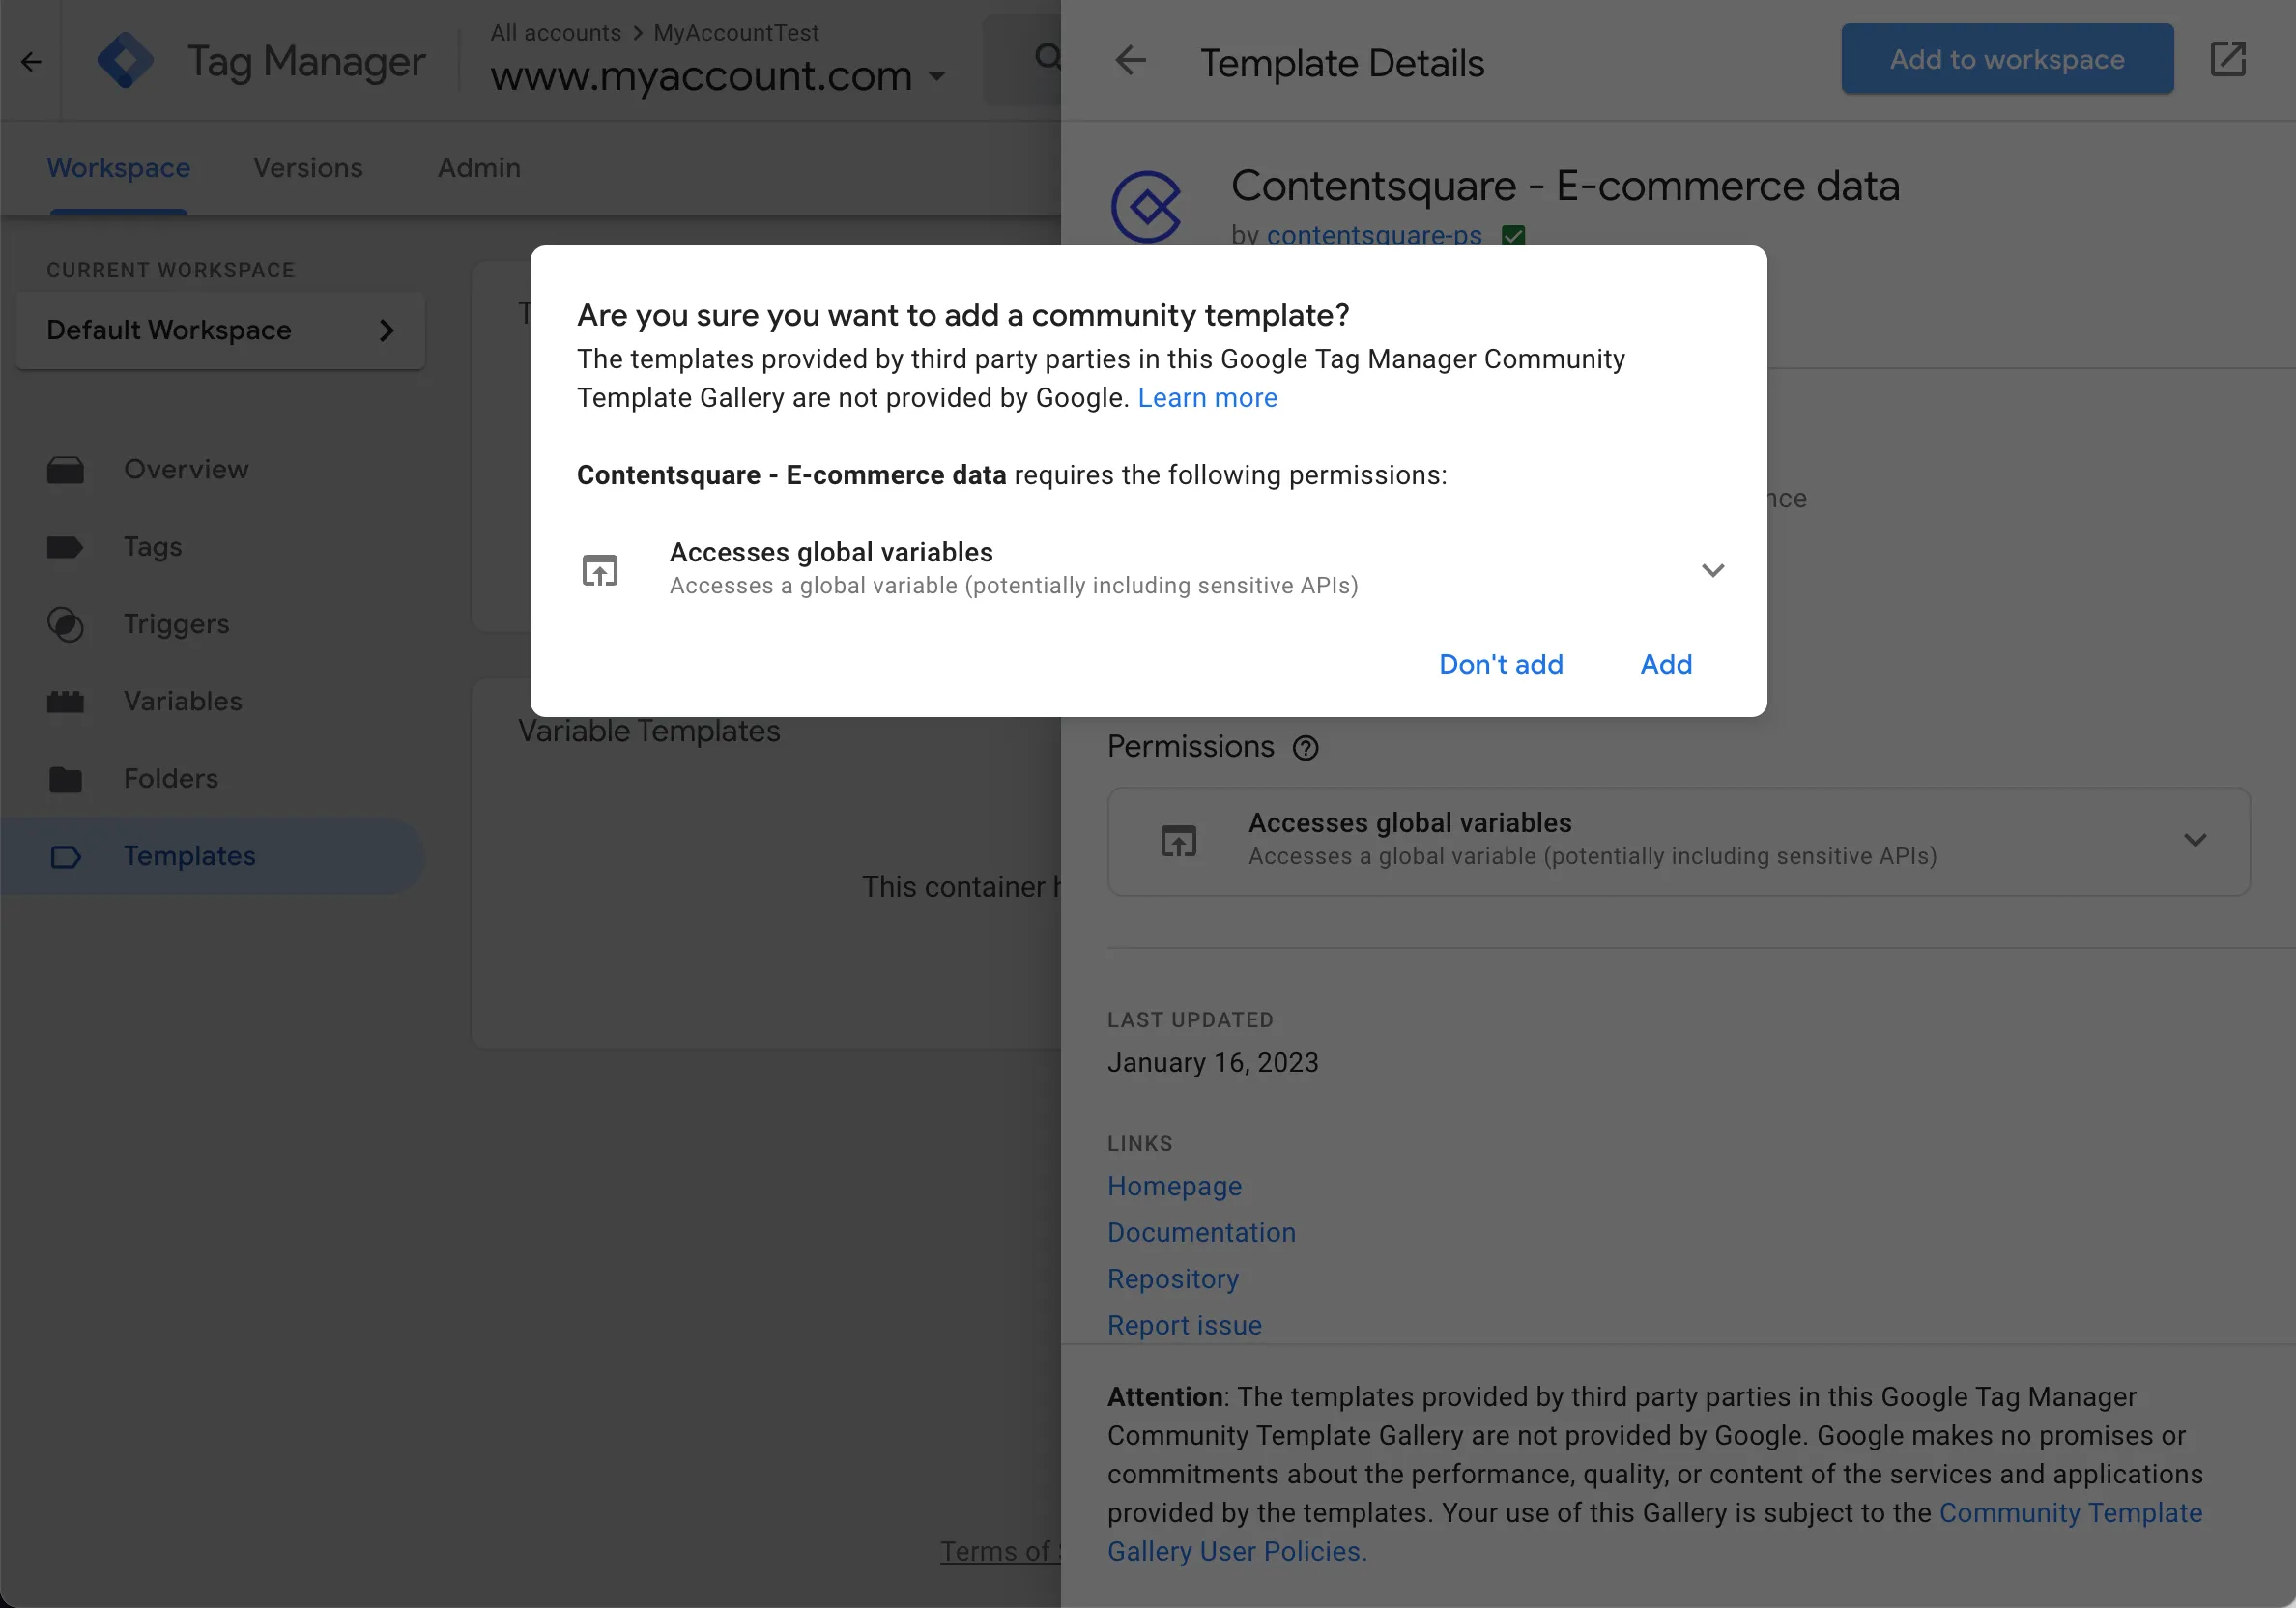
6. Go to the Tags section and click the **New** button to create a new tag 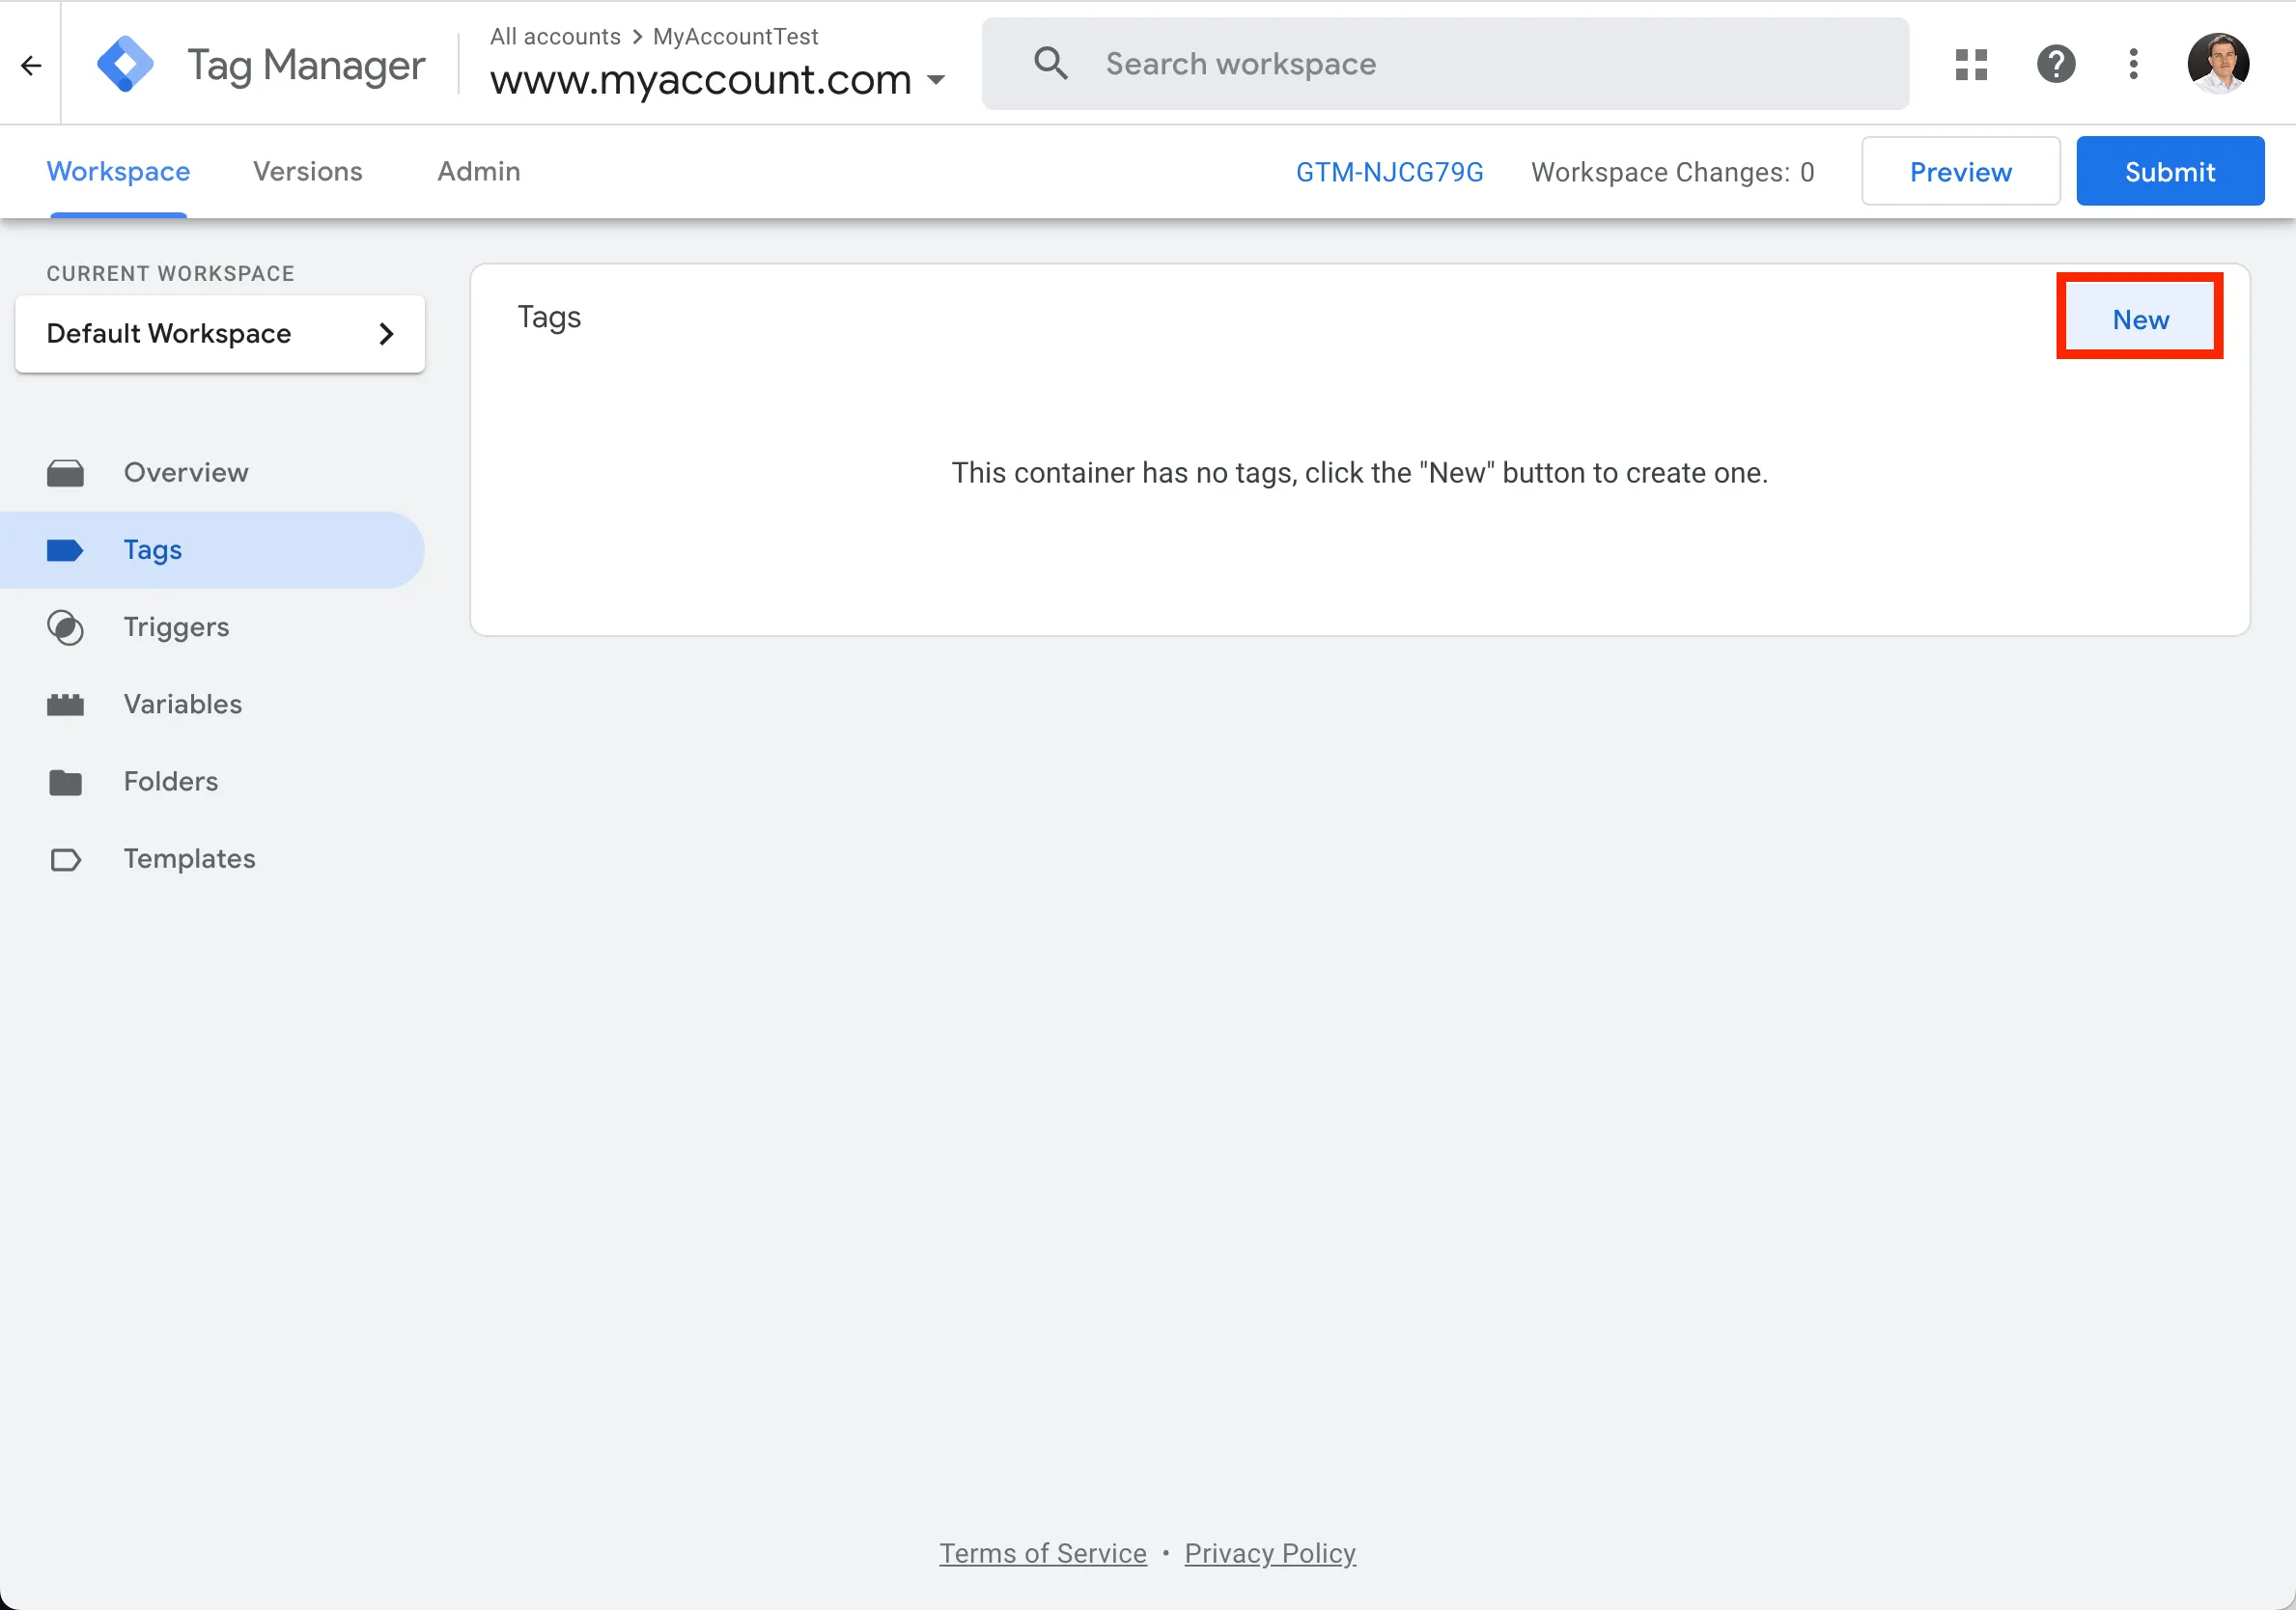
7. Configure it by selecting the top-right button 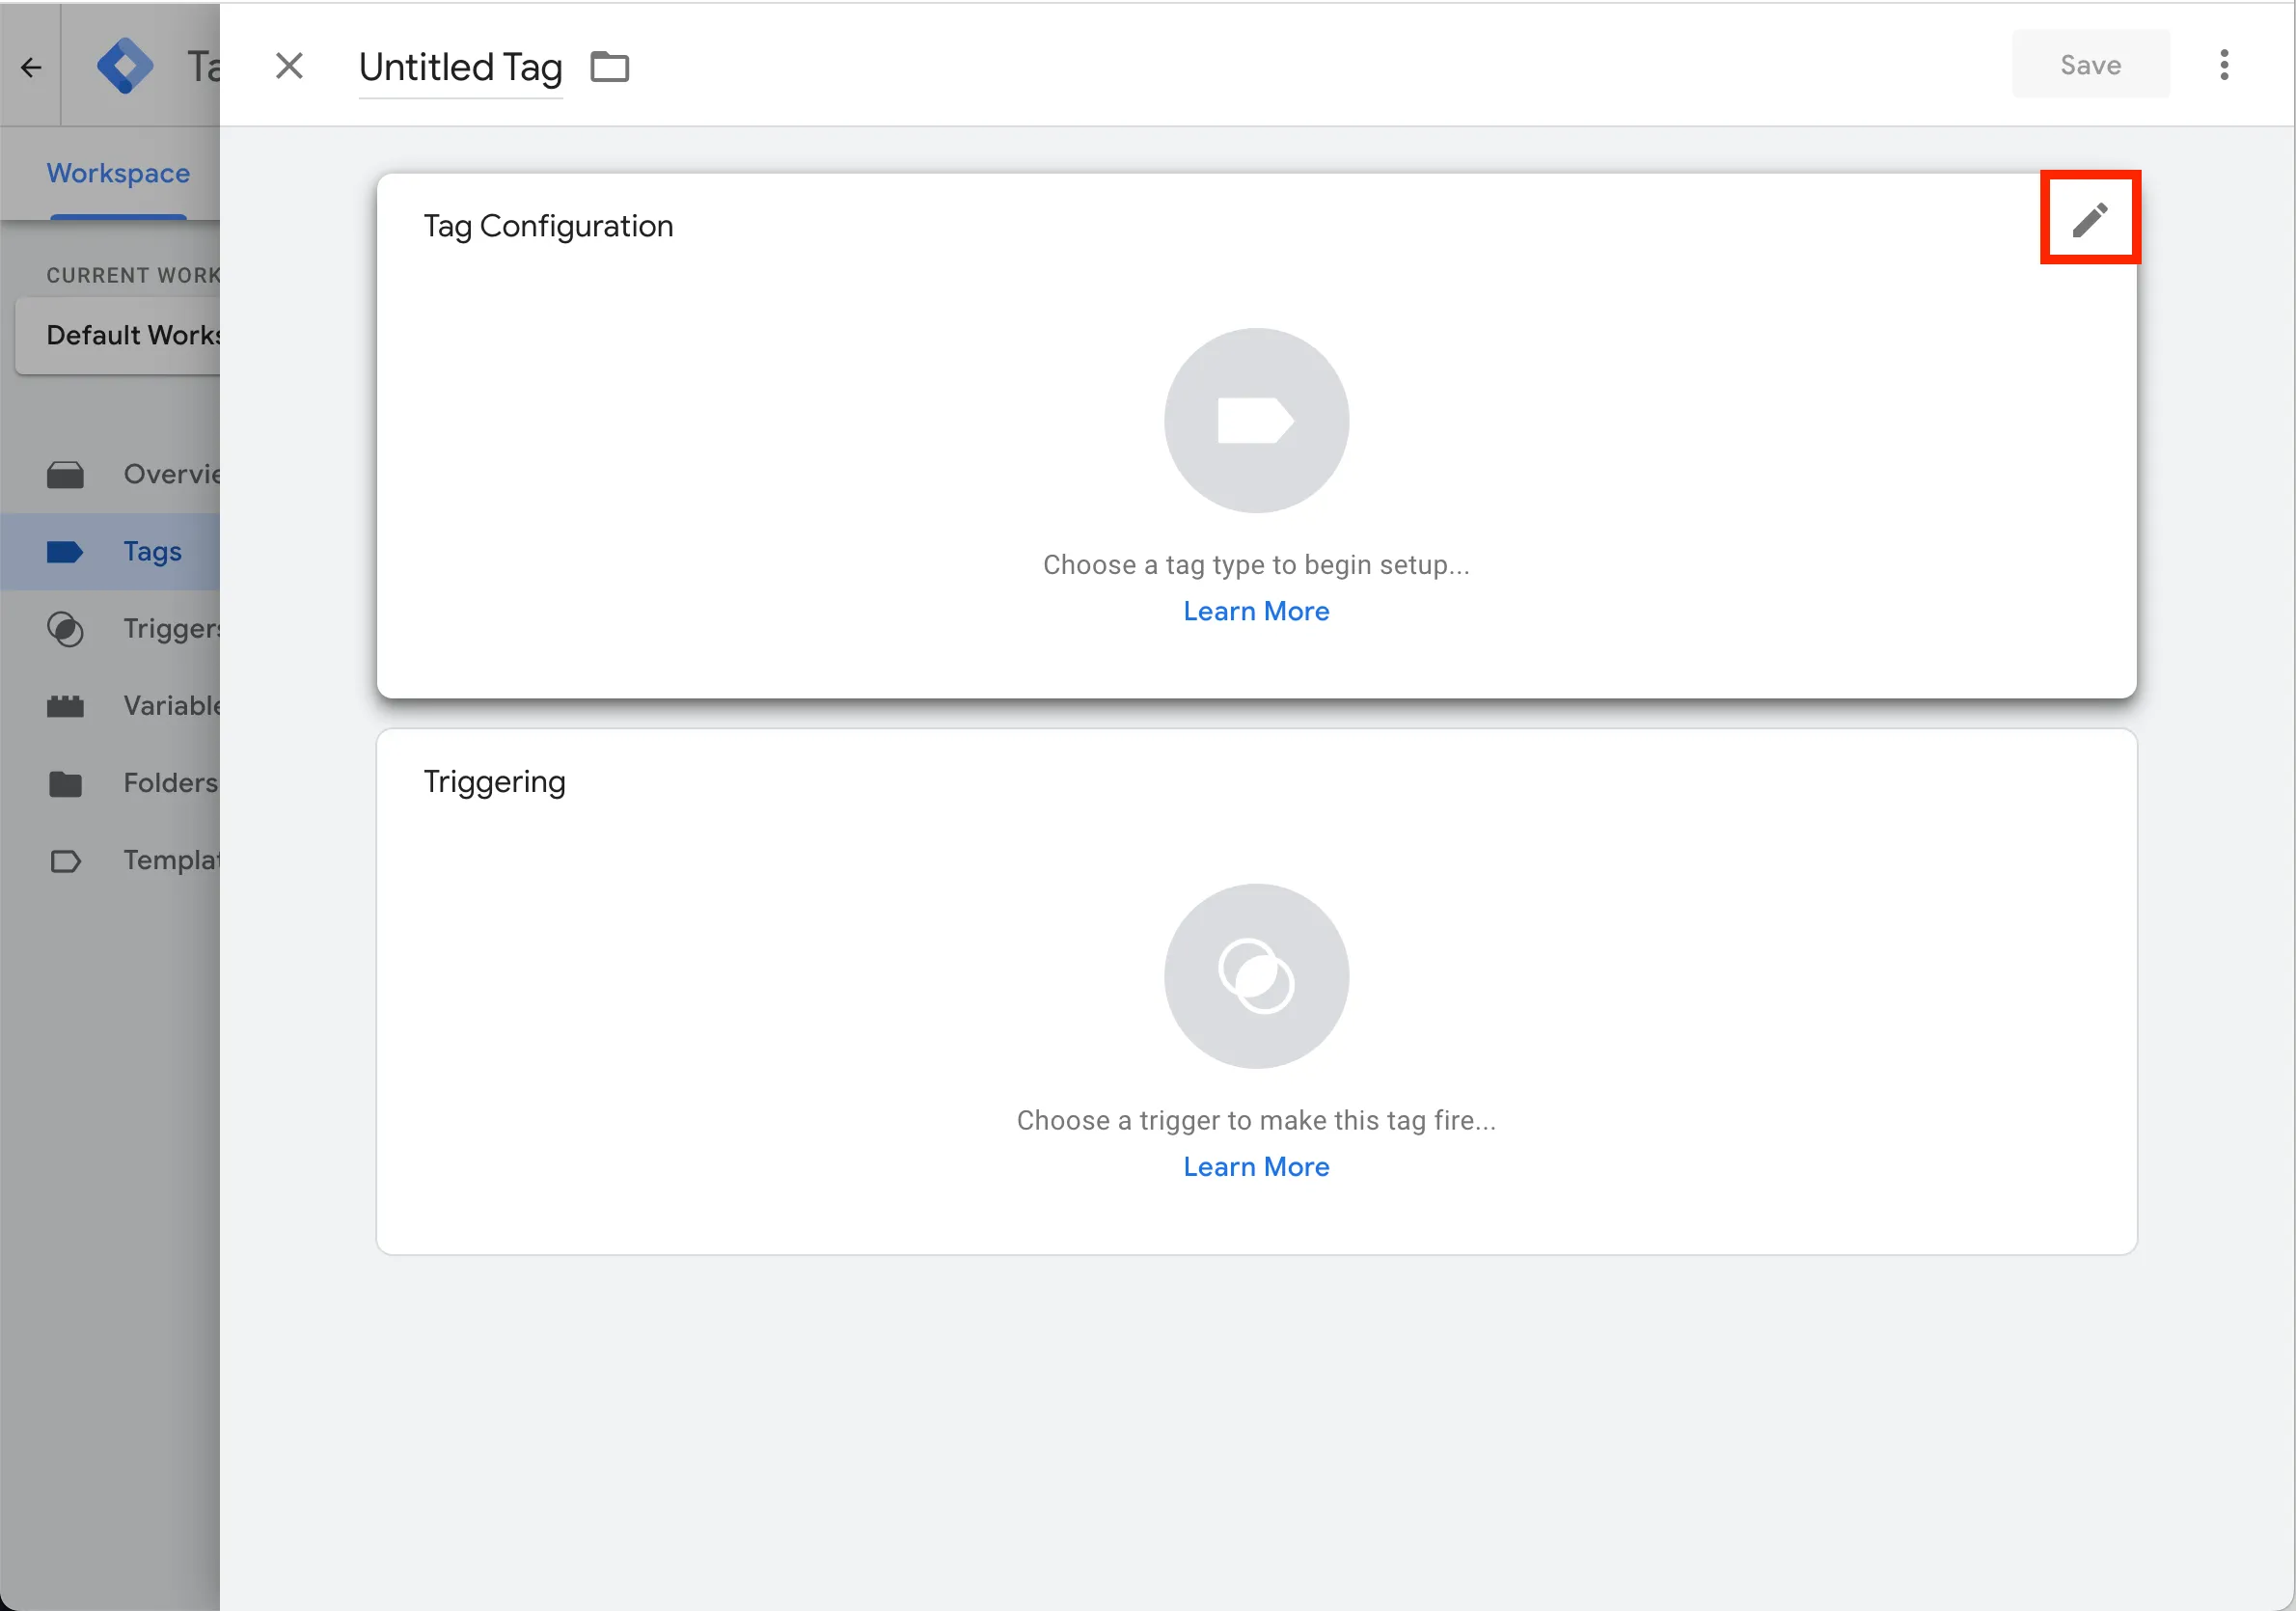
8. Search for **`contentsquare`** and select the **Contentsquare - E-commerce data** template that you’ve previously added to your container. 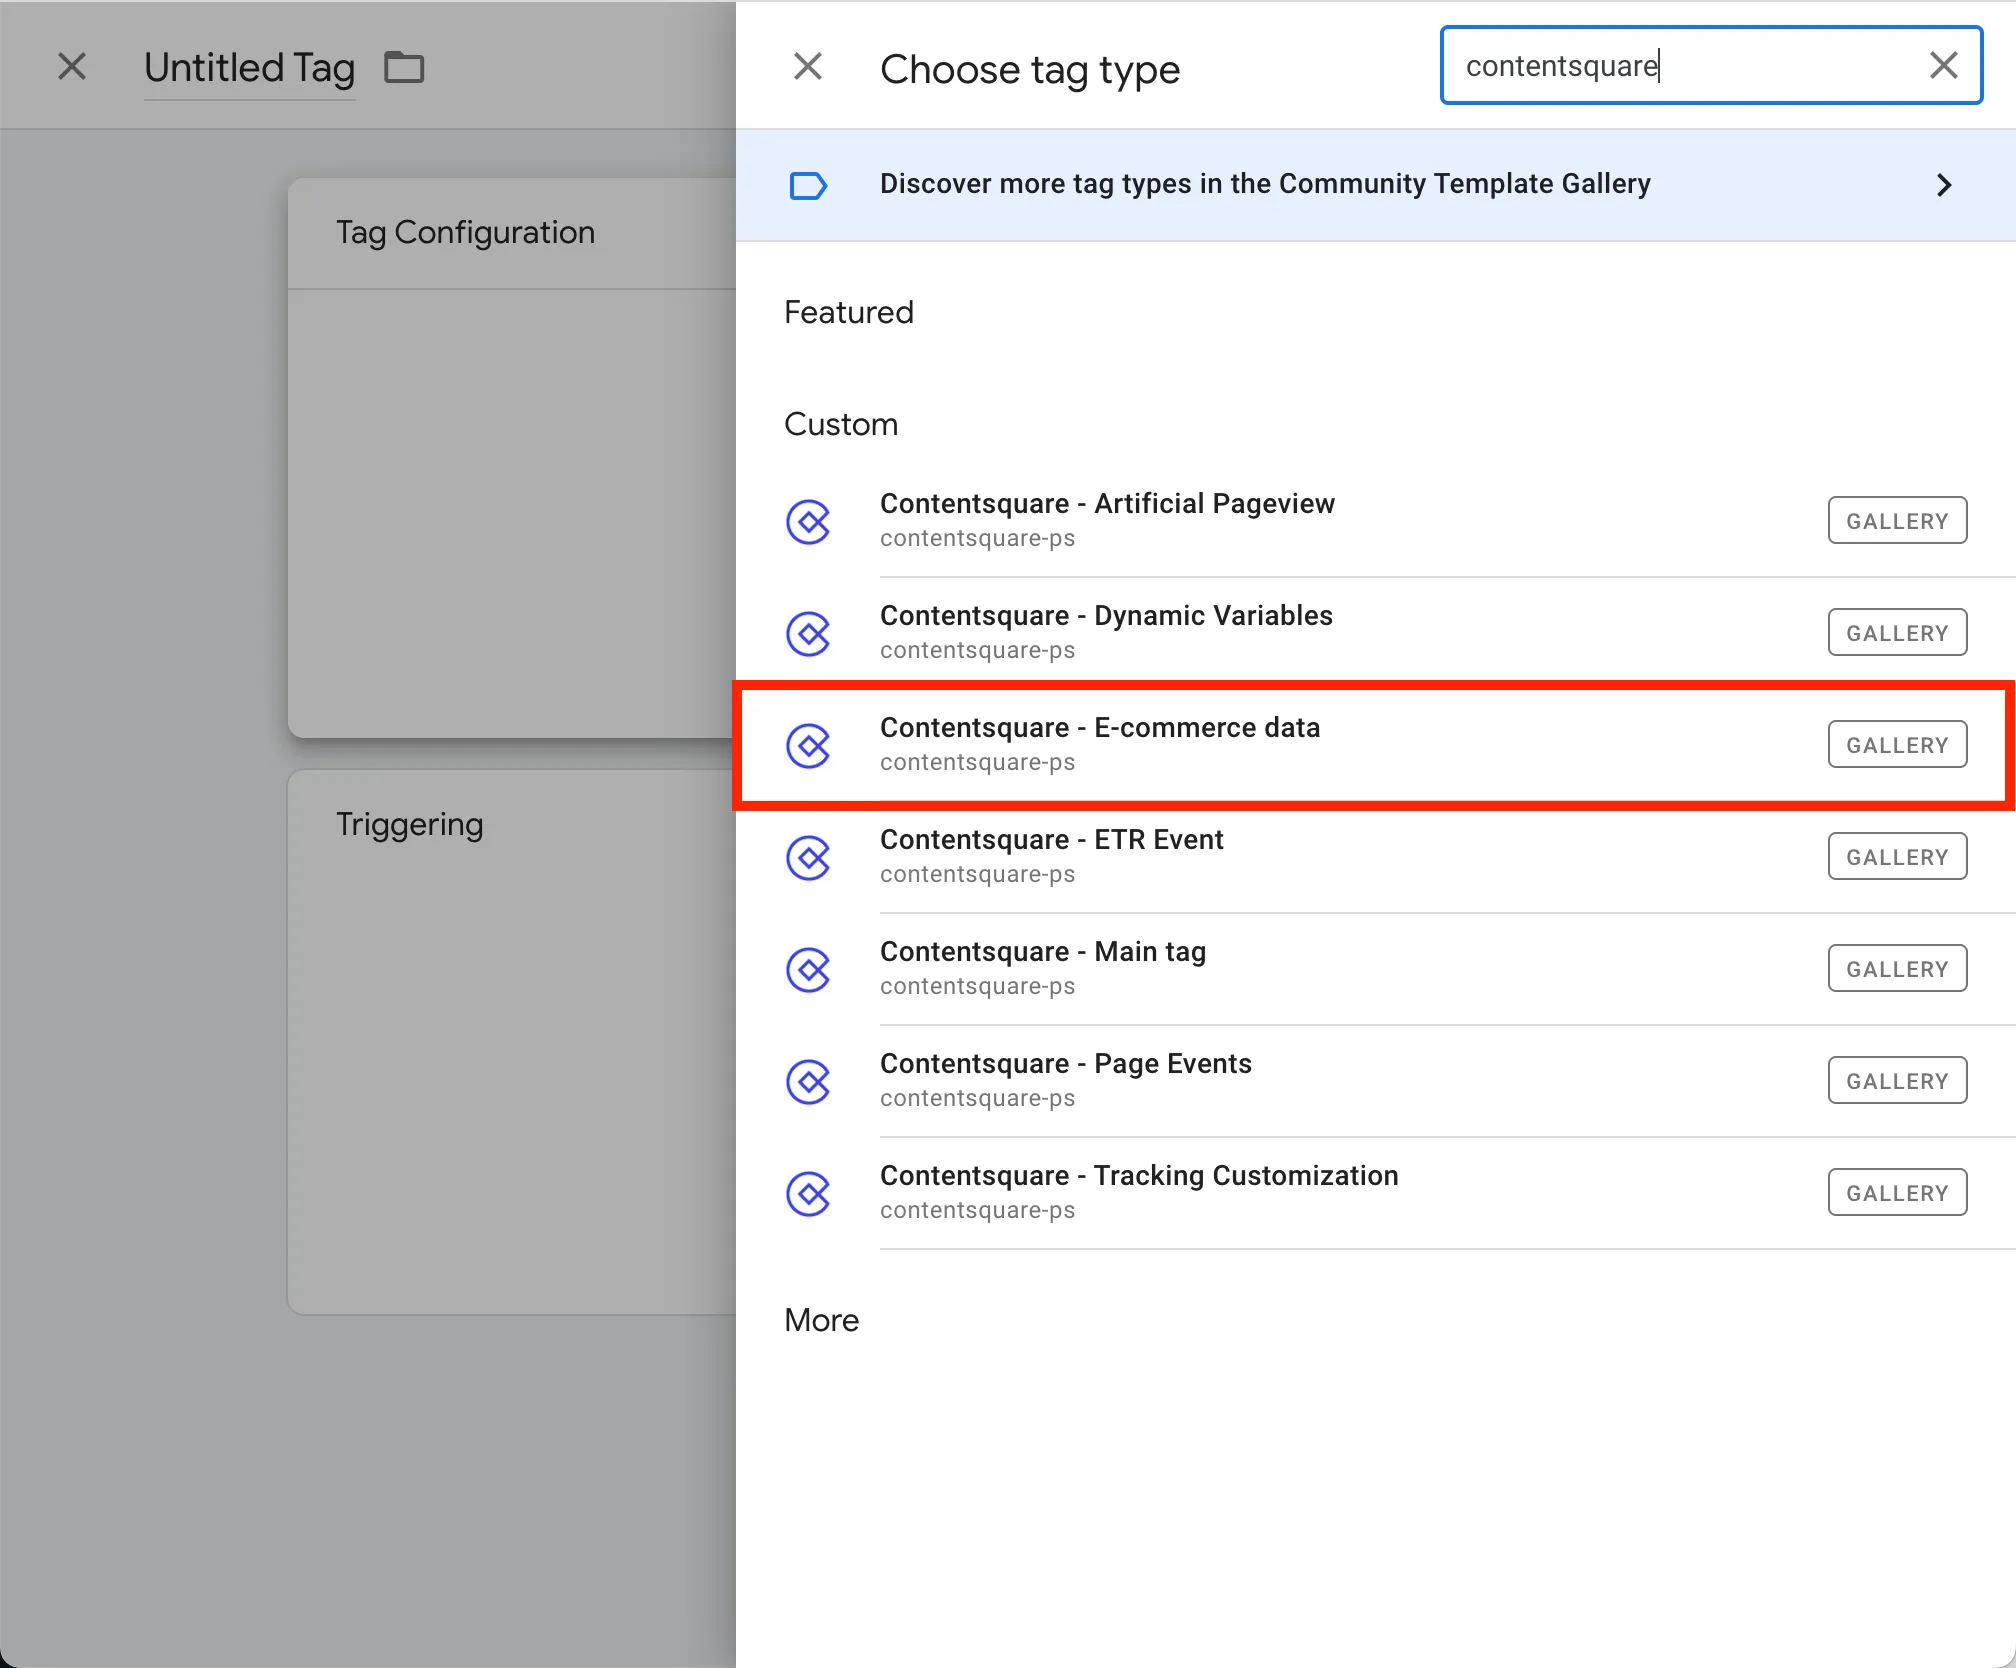
9. Give a title to the tag and add your **GTM Variables** to the **Transaction IDs** and **Revenue** fields.
Make sure to select a trigger that fires only on the confirmation page, or on all the pages that are needed to keep track of transactions, on which **your variables are going to be populated**.
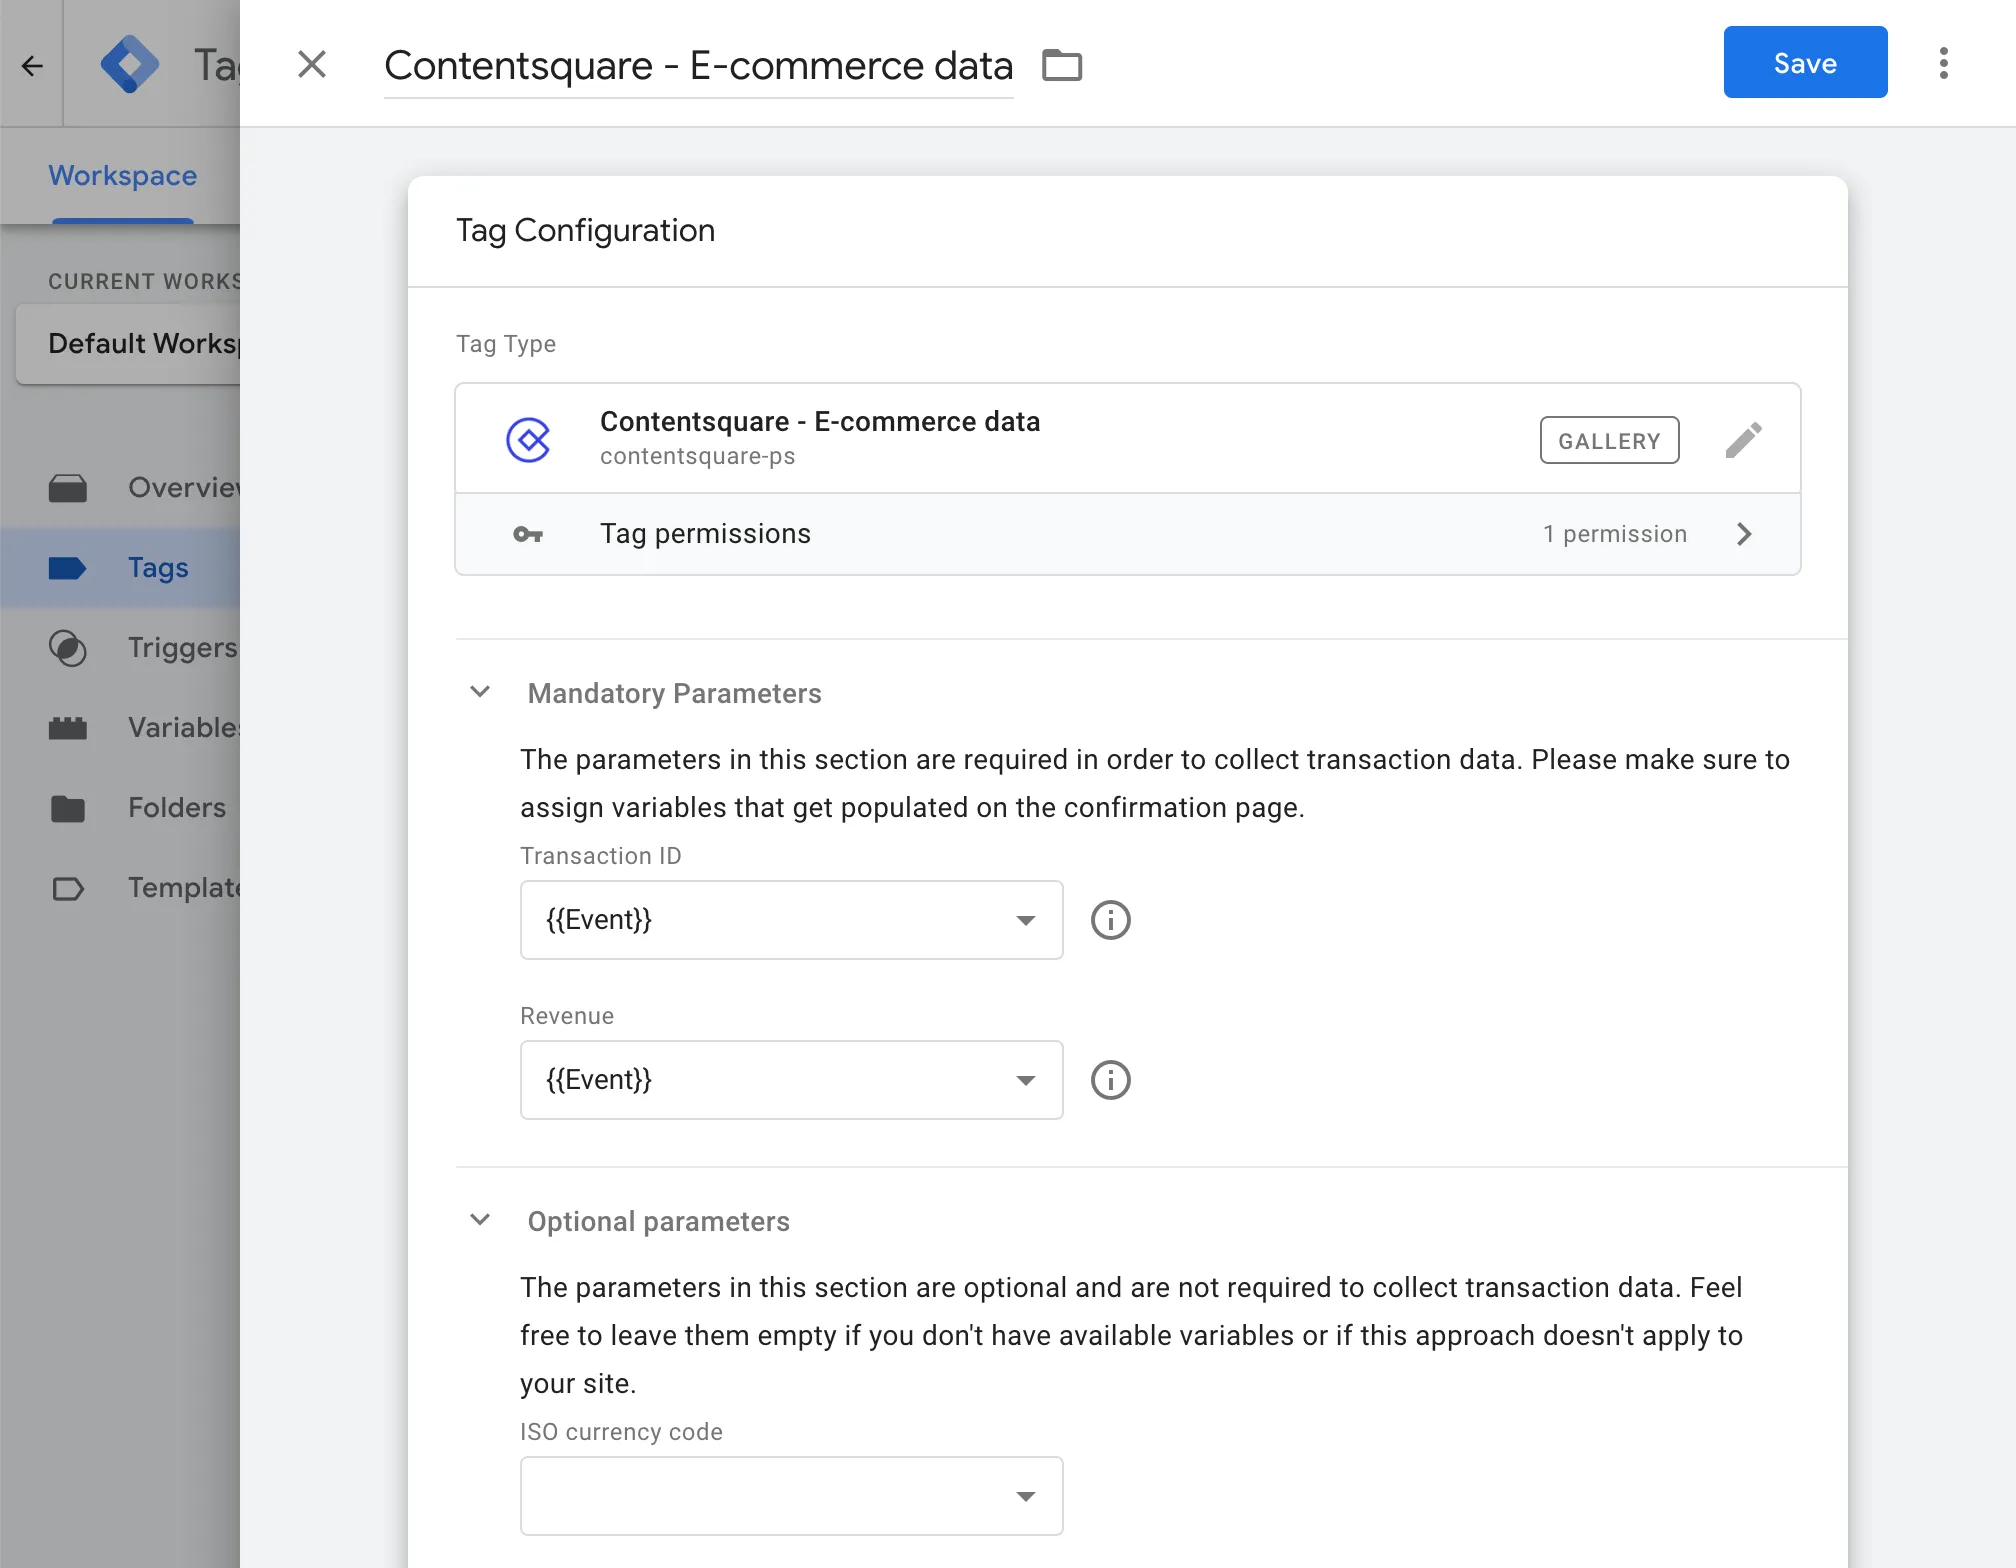
10. If you would like to send Contentsquare the **currency** value as well, fill in the **optional parameters** section. 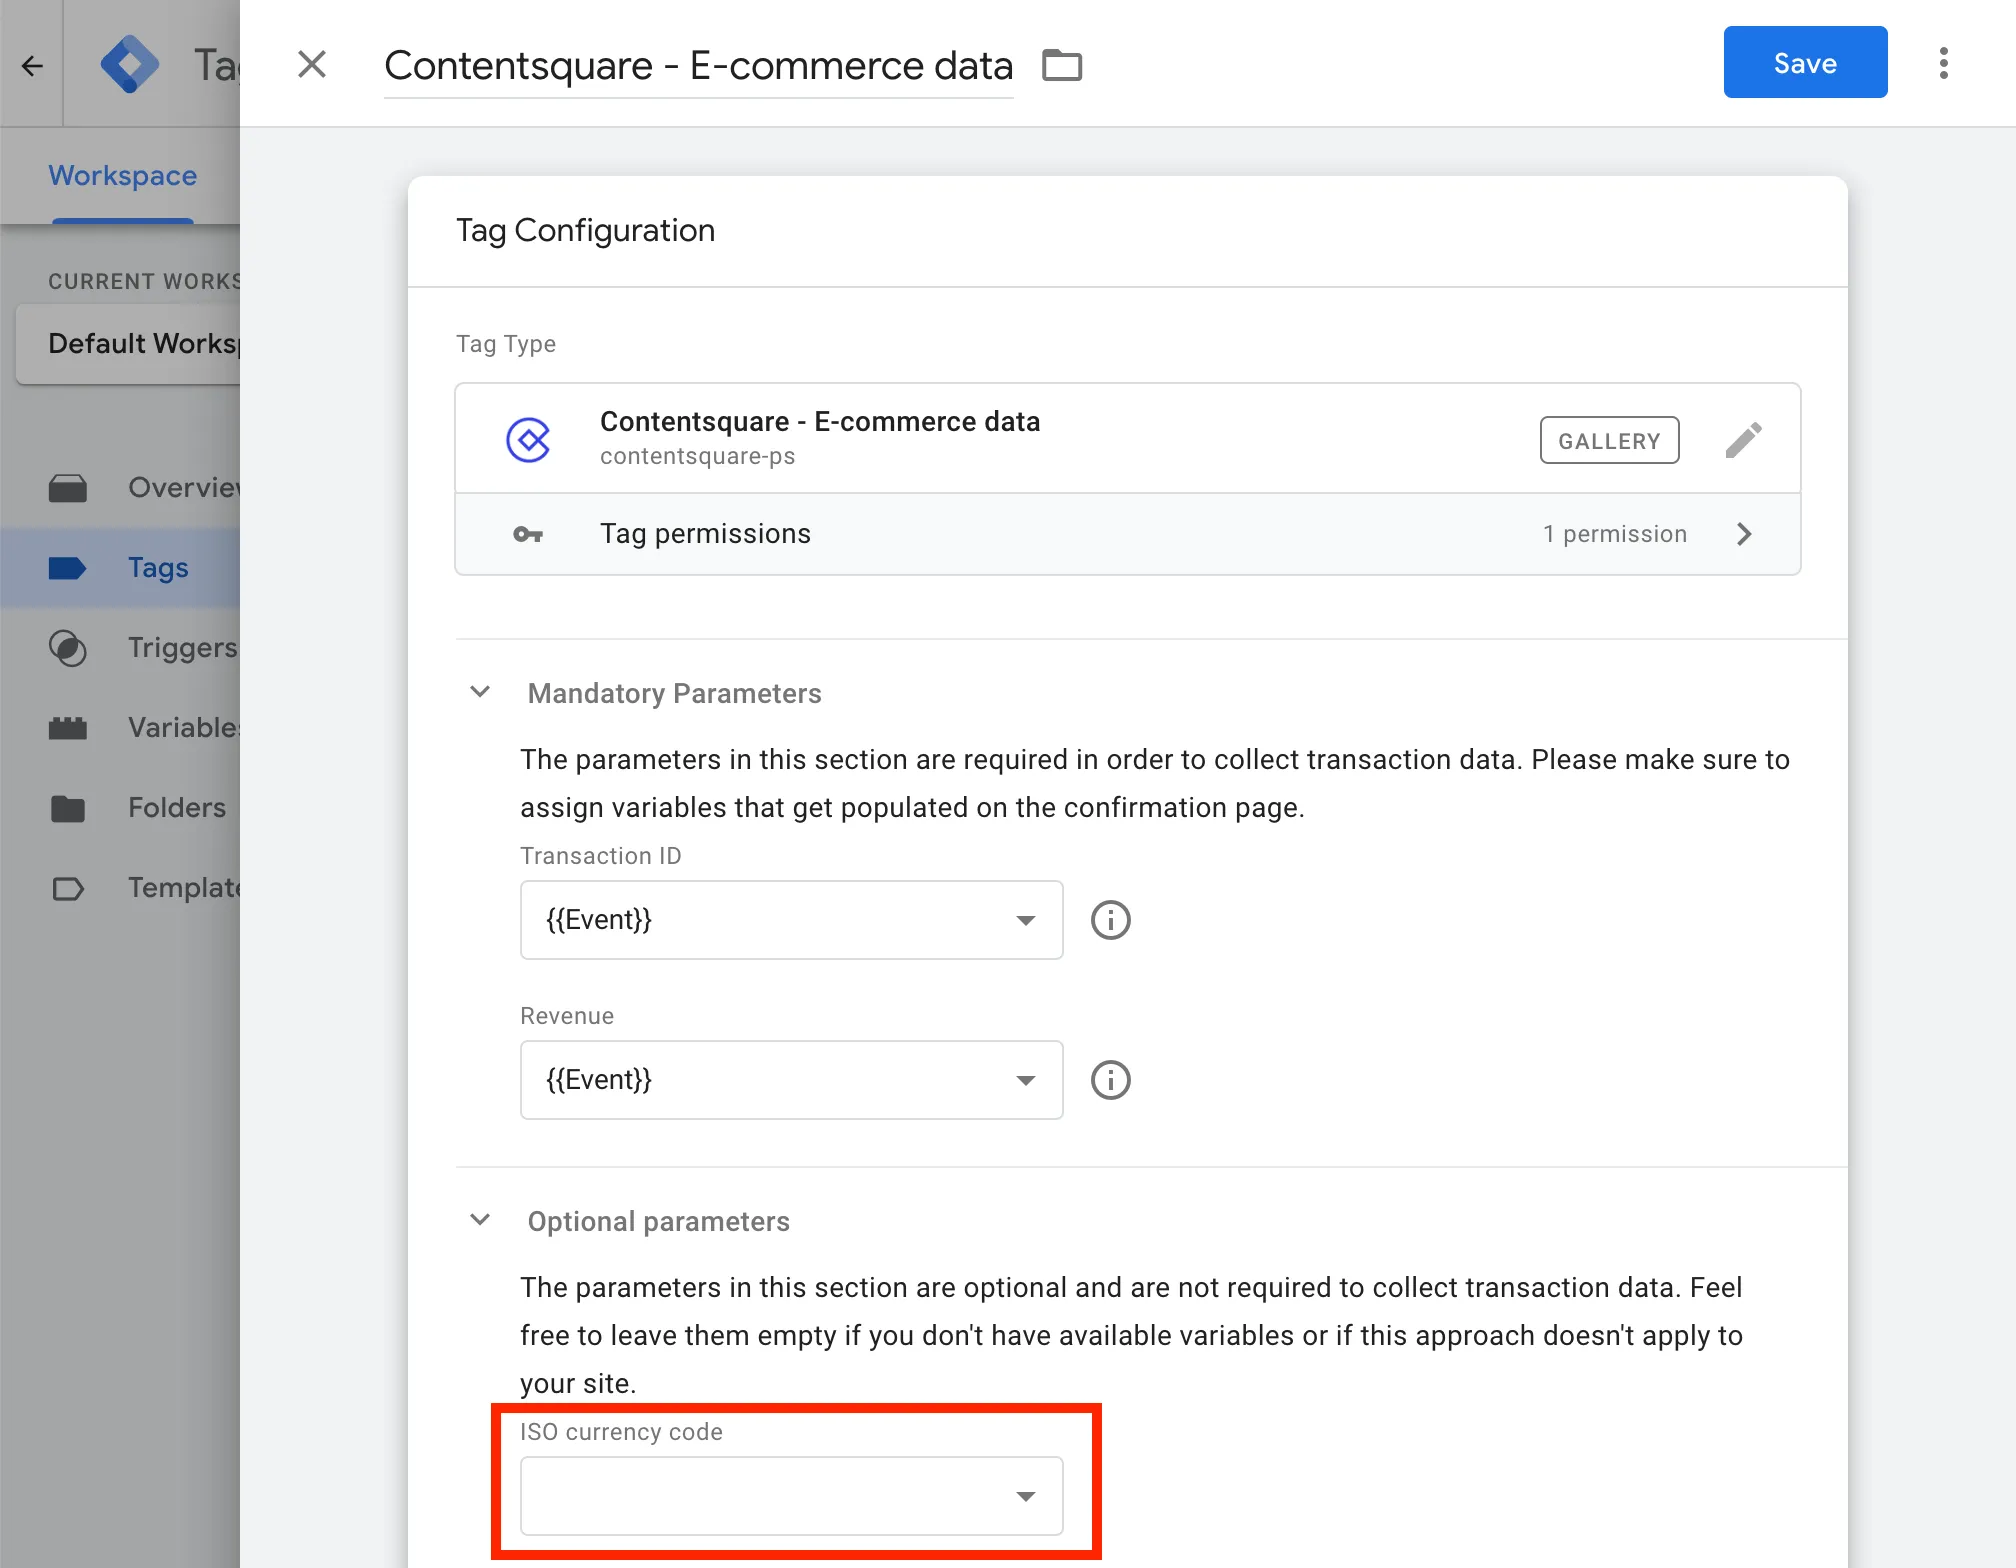
11. Save your changes and go back to your container. You should now see both the template and the newly created tag.
## Google Tag Manager (Custom HTML)
1. Create a new tag and paste the following code in the **HTML field**:
```html
```
2. Inside the script, **replace all the placeholder variables** with your GTM values (using the double brace notation: `{{transaction id}}`, `{{transaction revenue}}`).
These variables must be available in the “Variables” section of Google Tag Manager.
3. In the trigger list, select the “Confirmation page”, or create one if it doesn’t exist.
* Select the ”+” on the top right,
* Select “Choose a trigger type to begin setup…”
* Pick “Window Loaded”
* You don’t want this to be trigger on every page, so choose “Some Window Loaded Events”
* Add a condition to match only the confirmation page — for instance, `"Page URL" contains "checkout/confirmation"`
* Save and name your trigger “Confirmation page”
## Tealium
The Tealium extension will **automatically fire the Contentsquare transaction code** as soon as the transaction values defined have been populated in your `utag` datalayer.
## Adobe Launch
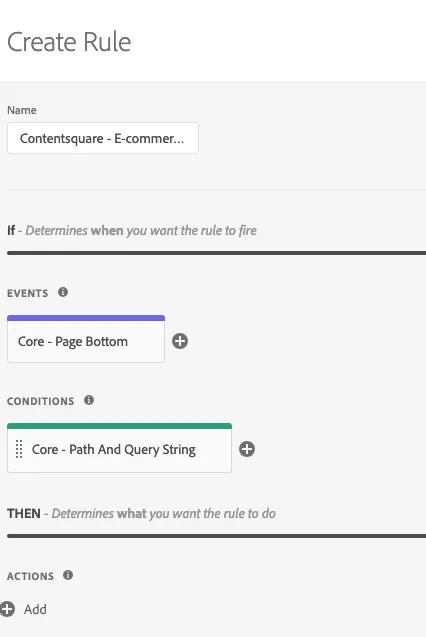
Navigate to **Rules**, and open an existing rule or create a new one.
### Event Configuration
The E-commerce tag **needs to be fired once on the confirmation page**, after a transaction has been made and needs to be tracked. In order to do so, **specify the path or the event** to be used as a trigger. For example, if you want to target the confirmation page, you could use a similar condition:

If you have chosen the event+condition route, your setup should look similar to this:
### Action Configuration
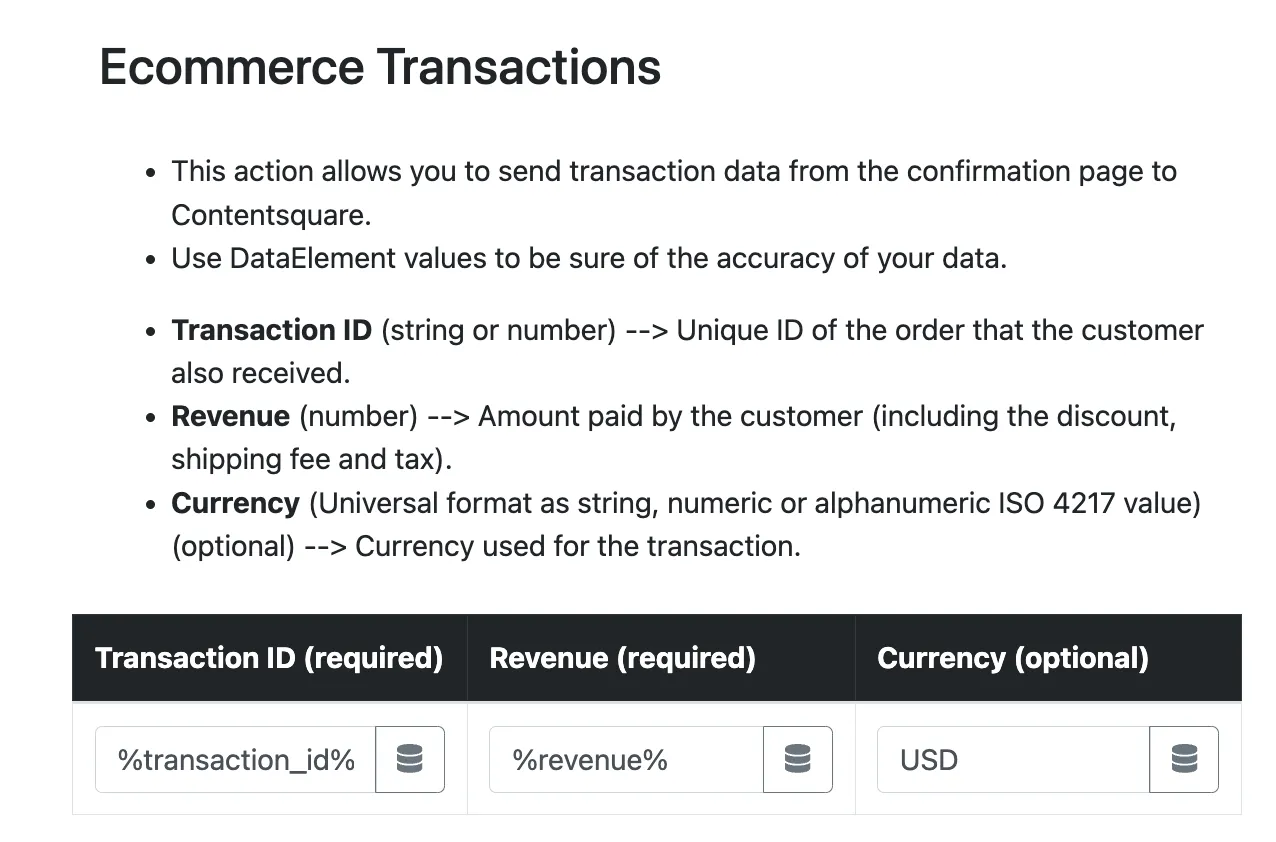
Select the **Contentsquare** extension and then **Ecommerce Transactions** as the action type.
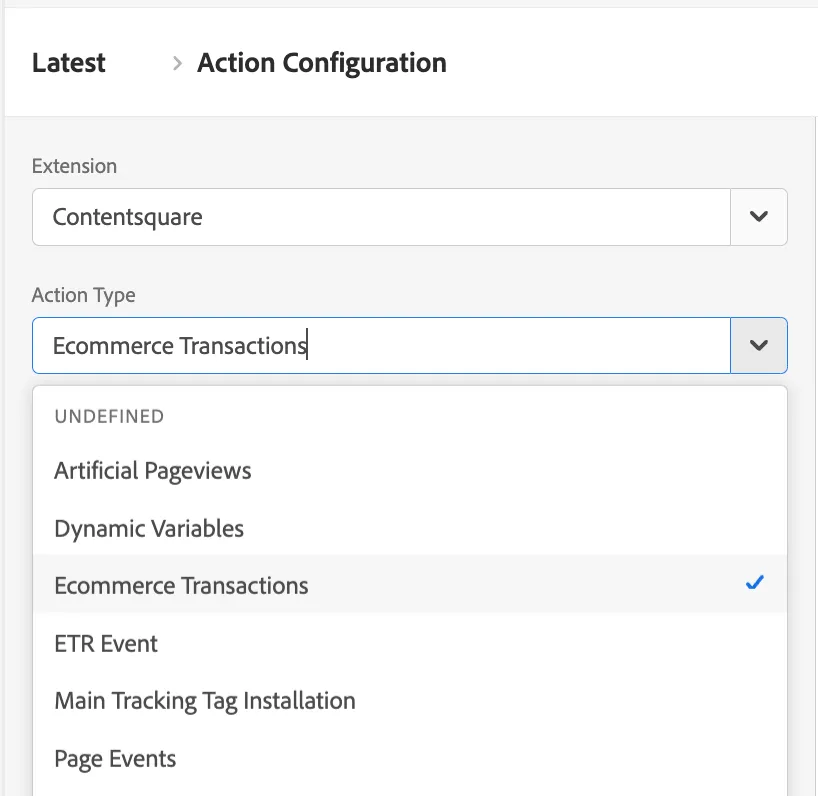
You will then be prompted to fill in the required information by using either strings or Data Elements.
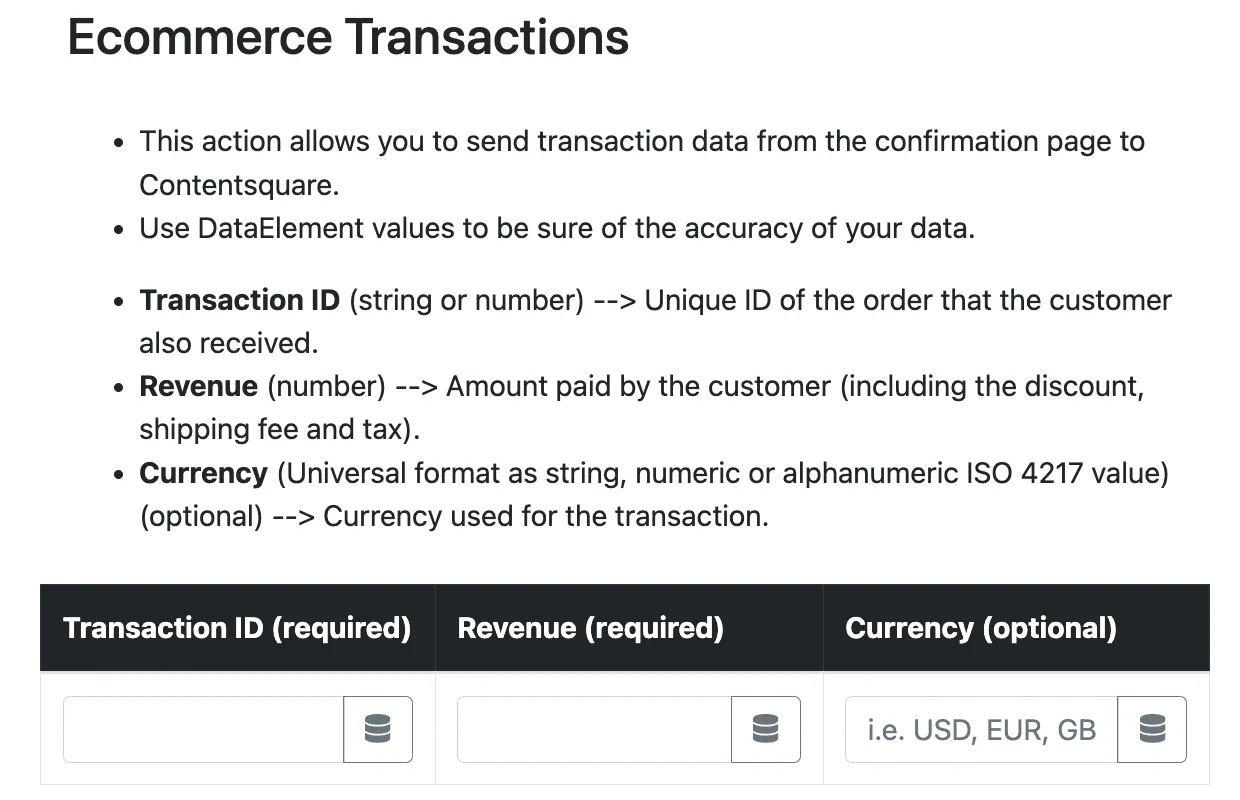
Given the dynamic nature of transaction details, **it is required to have previously setup Data Elements with the requested information**.
## Commanders Act
1. Add a new tag to your container by choosing “Contentsquare (Builder)”. 
2. Set the right Contentsquare template selecting **Ecommerce**. 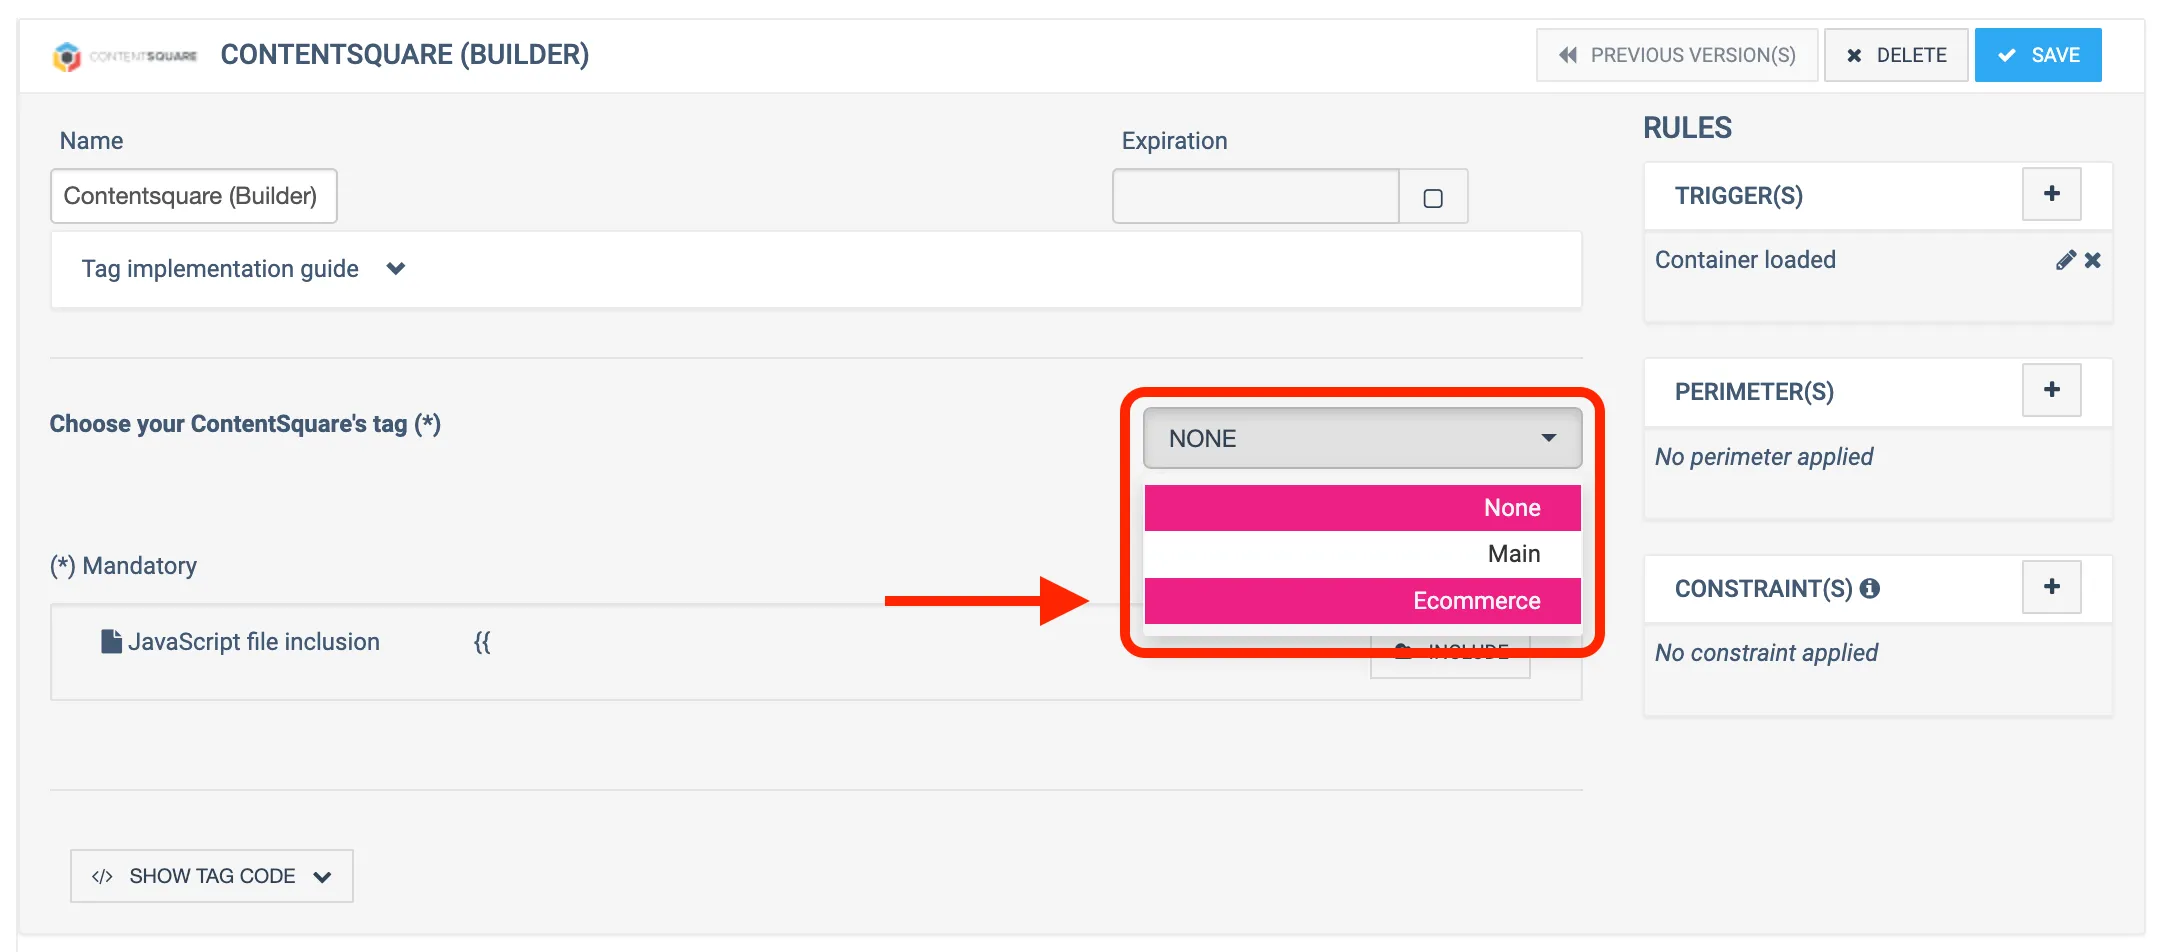
3. Fill in all required fields with your Commanders Act variables. 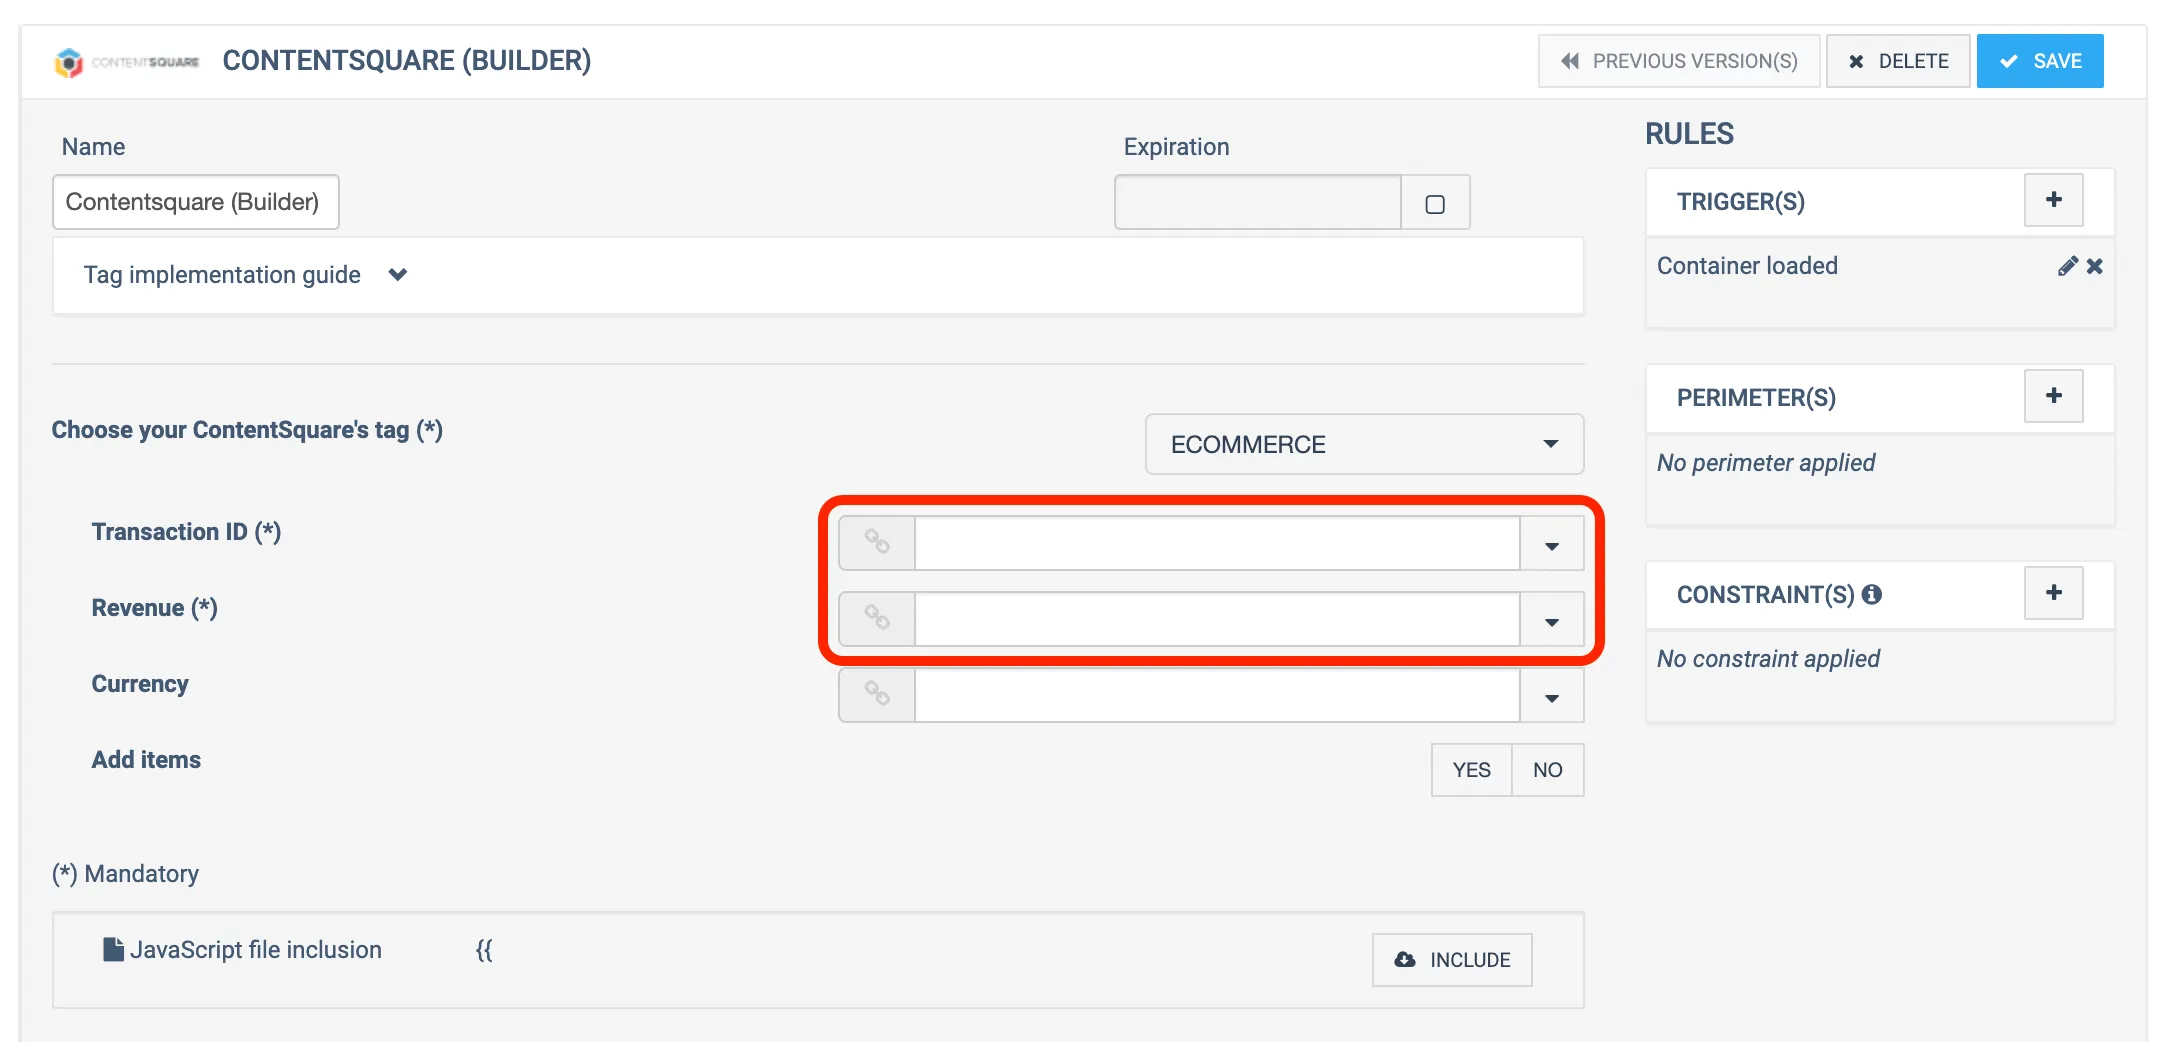
4. (Optional) If your transactions have different currencies, send Contentsquare the currency value. 
5. (Optional) If you are a merchandising customer, add items.
6. Select a trigger/perimeter that fires only on the confirmation page, and click **Save**.
Your Tag is ready to be deployed.
## Shopify
The Contentsquare Shopify app automatically collects e-commerce transaction data during the checkout flow, eliminating the need for manual tagging.
**No additional configuration is required** — once the app is installed and configured, transaction data (order ID, revenue, and currency) is automatically captured on checkout completion.
For installation instructions, see [Shopify app installation](https://docs.contentsquare.com/en/web/#shopify).
## Custom HTML
Supply the transaction ID, revenue, and currency ISO code as parameters to the [`ec:transaction:create`](https://docs.contentsquare.com/en/web/command-reference/#ectransactioncreate) command.
```html
```
Then execute the [`ec:transaction:send`](https://docs.contentsquare.com/en/web/command-reference/#ectransactionsend) command to send the transaction to Contentsquare.
```html
```